Smart Monitor User’s Guide
29
3
3
.
.
2
2
.
.
2
2
U
U
s
s
e
e
r
r
L
L
i
i
s
s
t
t
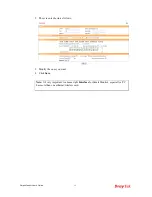
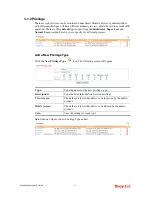
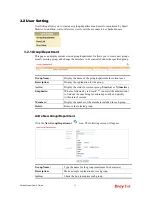
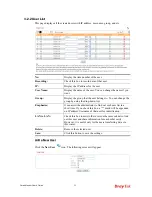
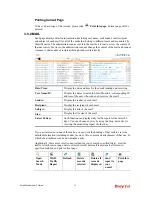
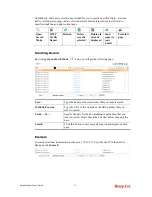
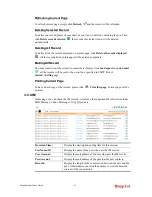
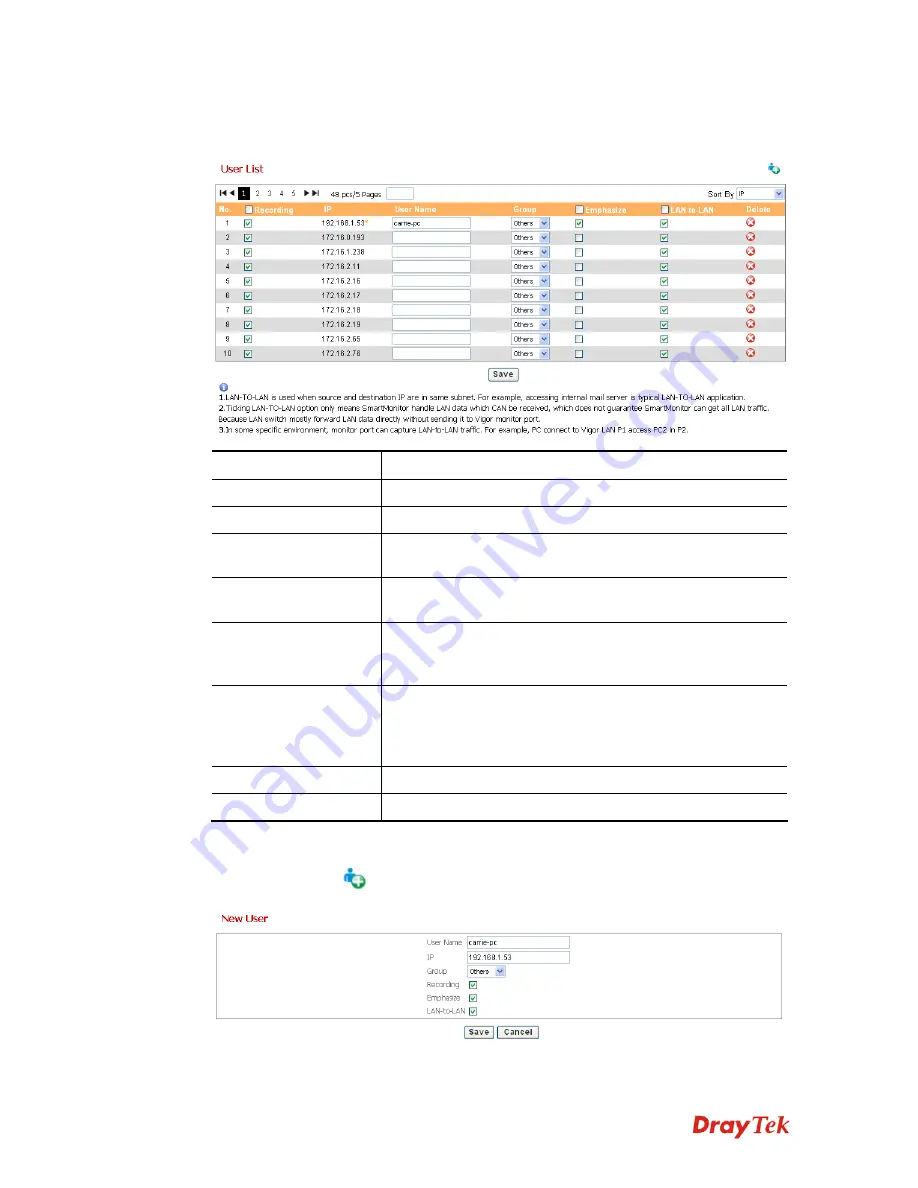
This page displays all the created users with IP address, user name, group, and etc.
No:
Display the item number of the user.
Recording:
Check this box to record data of that user.
IP:
Display the IP address for the user.
User Name:
Display the name of the user. You can change the name if you
want.
Group:
Display the group that the user belongs to. You can change the
group by using the drop-down list.
Emphasize:
It can assist the administrator to find out such user list in a
short time. If you check this box, a “*” mark will be appended
on IP address/Username of that user for identification.
LAN to LAN:
Check this box to assist other users on the same subnet to find
out this user and share information for each other easily.
However, it is useful only for the users transferring data via
this router.
Delete:
Remove the selected user.
Save:
Click this button to save the settings.
A
A
d
d
d
d
a
a
N
N
e
e
w
w
U
U
s
s
e
e
r
r
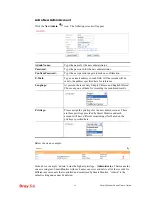
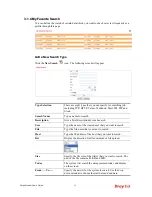
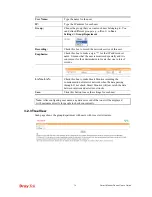
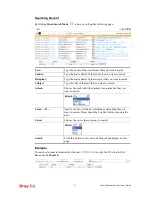
Click the
New User
icon. The following screen will appear.
Summary of Contents for Smart Monitor
Page 1: ...i ...
Page 6: ......
Page 11: ...Smart Monitor User s Guide 5 etc init d smartmonitor start ...
Page 12: ...Smart Monitor Series User s Guide 6 This page is left blank ...
Page 22: ...Smart Monitor Series User s Guide 16 This page is left blank ...
Page 68: ...Smart Monitor Series User s Guide 62 This page is left blank ...

