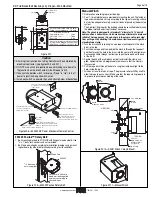


EZ-Fold Basketball Backstops by Draper—Wall-Mounted
Page 6 of 18
www.draperinc.com
(765) 987-7999
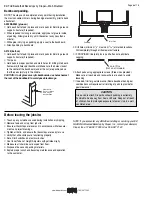
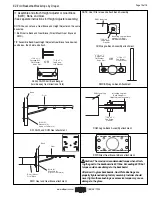
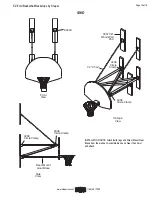
Joint Pins
(
N
ot on all models)
➅
Attach pads using appropriate screws (three sizes provided).
Make sure all washers and lock washers are used, to avoid
loosening.
➆
If needed, trim for goal clearance. (Some backboard and goal
combinations will require extra trimming of pads to provide for
goal
clearance.)
➄
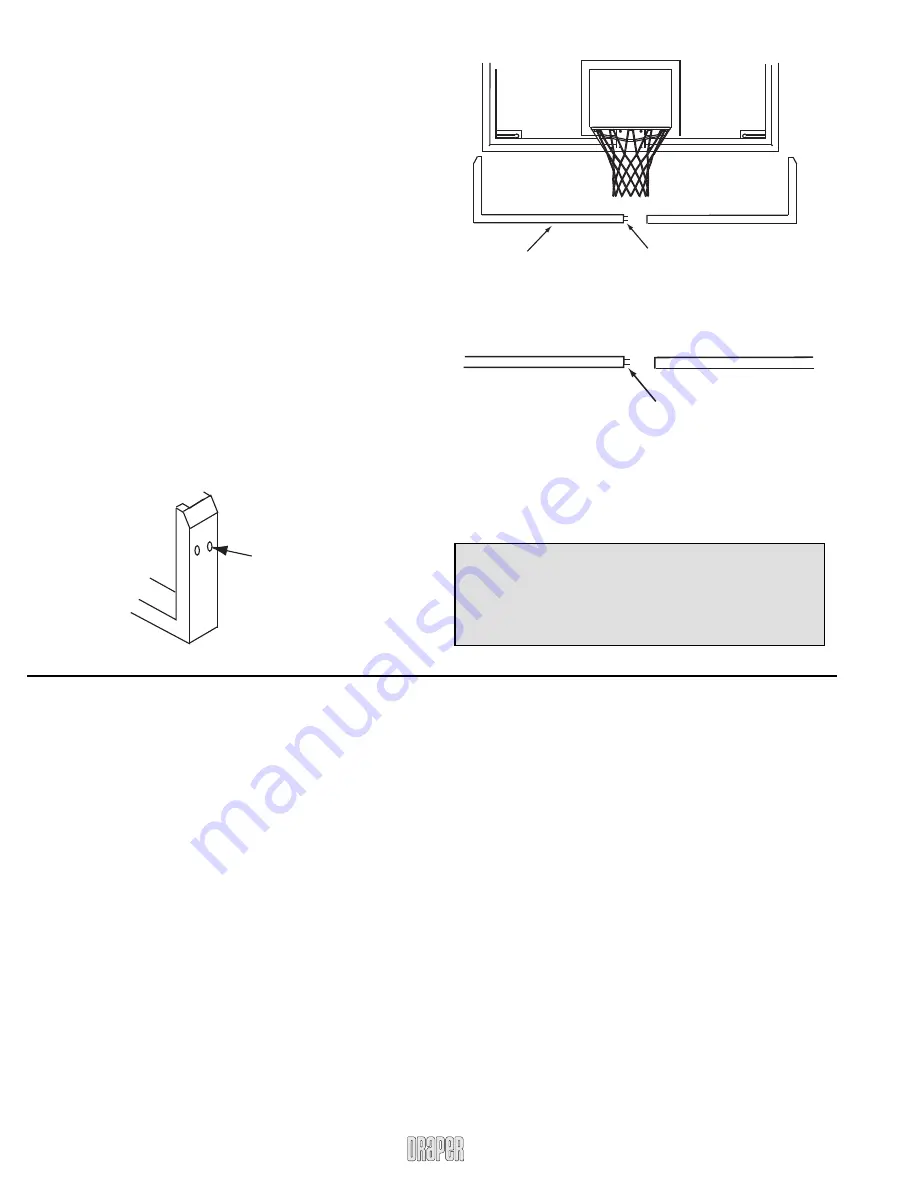
IF PROVIDED: Use joint pins in pad half ends to eliminate
sagging.
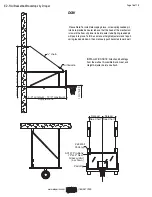
➃
Drill holes (min i mum
1
/
4
", maximum
5
/
16
") at marked locations.
Drill completely through all framework structure.
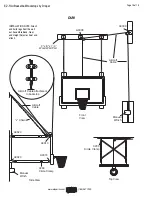
A0253/A0264 (glue-on:)
➀
Hold each half of pad in place and mark pads for trimming around
support structure (if required).
➁
When required trimming is complete, apply coat of glue to inside
of padding. Allow glue to dry until it becomes tacky (less than a
minute).
➂
While glue is drying on padding, apply a coat to the backboard.
➃
Attach padding to backboard.
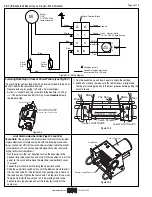
A0142 (bolt-on)
➀
Hold each half of pad in place and mark pads for trimming around
support structure (if required).
➁
Trim pads.
➂
Hold pads in proper po si tion and mark holes for drilling into board
frame
work (8 holes per backboard). Make sure the holes closest
to the center of the backboard (under the rim) are positioned so
that the pads join fully in the middle.
CAUTION: On all glass or acrylic backboards, use holes nearest
the rear of the backboard to avoid pos si ble damage.
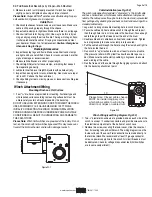
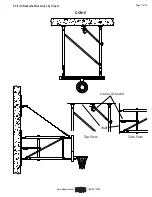
Padding
Joint Pins
Backboard padding.
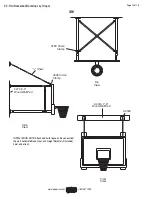
NOTE: This step can be completed at any point during installation;
the most convenient time is during bank/goal as sem bly, prior to bank
attachment.
N
earest to
b
ack for glass
and acrylic
b
ack
b
oards
➀
Touch up any scratches caused during installation or shipping.
➁
Remove tools and scrap from job site.
➂
Ensure all backstops are level and in accordance with measure-
ments on project drawings.
➃
Tighten all bolts, and ensure that backstops are ready for use.
➄
Verify that all backstops are functioning properly.
➅
Set all limit switches on electric winches.
➆
Coat Inner Tubes of Height Adjusters with petroleum jelly.
➇
Make sure all chalk lines are wiped from fl oor.
➈
Dispose of boxes and packing materials.
➉
Explain proper winch and backstop maintenance and operation
to the customer.
Before leaving the jobsite:
NOTE: If you encounter any diffi culties installing or ser vic ing your EZ-
Fold® Wall-Mounted Backstop by Draper, Inc., contact your dealer or
Draper, Inc. at (765) 987-7999 or fax (765) 987-7142.
CAUTION
Glue used to attach Draper backboard pad ding is extremely
fl ammable. Keep away from heat and fl ame. Keep out of reach
of children. Avoid prolonged ex po sure to fumes: Use in a well-
ventilated area.


