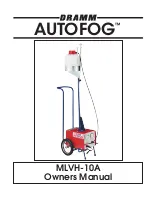
Dramm Autofog MLVH-10A Manual
6
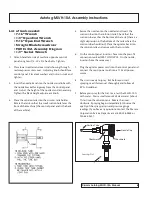
1. Attach handle to side of machine opposite control
panel using four 1/4- 20 x 3/4 hex bolts. Tighten.
2. Place lower nozzle stand over studs showing through
red compressor unit cover. Adjusting knob should face
control panel. Place lockwashers and nuts on studs and
tighten.
3. Insert the nozzle stand into the nozzle stand tube with
the nozzle bracket facing away from the control panel
end. Adjust the height of the nozzle stand as necessary.
Tighten the black height adjustment knob.
4. Place the solution tank into the circular tank holder.
Rotate the tank so that the small suction hole faces the
front of the machine (the control panel end is the back
of the machine).
5. Secure the nozzle onto the nozzle stand. Insert the
suction tube into the solution tank. Check that the
suction tube reaches the bottom of the tank (there is a
slight depression in the bottom of the tank where the
suction tube should rest). Place the agitator back into
the solution tank and secure with the turn tabs.
6. On the control panel, insert air hose into the press-fit
connection marked AIR TO NOZZLE. On the nozzle,
insert air hose the same way.\
7. Plug the agitator power cord into the control panel and
connect the main power cord into a 110 volt power
source.
8. The unit is ready to spray. But before you start
spraying, read this manual thoroughly and follow all
E.P.A. Guidelines.
9. Before you spray for the first time, test the MLVH-10A
with water. Pour a small amount of clear water (about
1 liter) into the solution tank. Rotate the timer
clockwise. Spraying begins immediately. Observe the
quality of the spray pattern and pressure gauge
readings. If you have any questions, contact the Dramm
Corporation Service Department at 800-258-0848 or
920-684-0227.
List of tools needed:
• 7/16" Wrench
• 1/2" Open End Wrench
• 9/16" Open End Wrench
• Straight Blade Screwdriver
• MLVH-10A Assembly Diagram
• 1/2" Socket Wrench
Autofog MLVH-10A Assembly Instructions
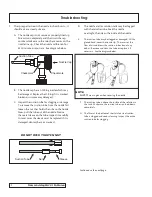
Nozzle Cap
Checkmark
Checkmark
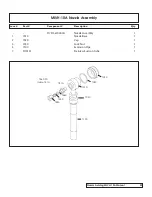
Suction Tube
Securing Nut
x
Summary of Contents for Autofog MLVH-10A
Page 1: ...AUTOFOG MLVH 10A Owners Manual...
Page 12: ...Dramm Autofog MLVH 10A Manual 14 MLVH 10A Assembly Diagram...
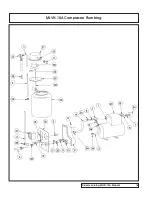
Page 14: ...Dramm Autofog MLVH 10A Manual 16 MLVH 10A Compressor Plumbing...
Page 15: ...MLVH 10A Compressor Plumbing Parts List 17 Dramm Autofog MLVH 10A Manual...
Page 16: ...MLVH 10A Compressor Diagram Dramm Autofog MLVH 10A Manual 18...
Page 17: ...MLVH 10A Compressor Parts List 19 Dramm Autofog MLVH 10A Manual...

