


Your first project
To get a feel for how everything works it’s suggested to fly and process a small project.
It’s assumed Pix4D and the Draganfly Exporter applications have been installed on your
computer.
Develop some good habits
Before heading out on a project it’s a good idea to format your camera memory card so
when it’s time to copy photos to your computer, you’re only copying photos from the
days project and not also photos from last month. Exporter is smart enough to know the
difference but why waste the disk space and waste time trying to figure out what photos
belong to your current project.
Before take off it’s always a good idea to shoot a photo, listen for the shutter click, and
make sure everything is working. When you take your ground shot either photo a dry
erase white board with the name of the project or more commonly, take a photo of one
foot at the start of a flight, and two feet at the end of the flight. It’s a good fast and easy
way to separate batches of photos flown during the same day.
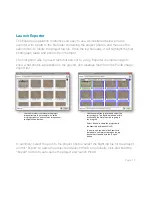
Example project
Let’s assume you flew a grid pattern, camera pointed straight down, with the required
Pix4D image overlap and a second flight in a different area. After the flights you’ll need
to copy both the aircraft flight logs from the handheld controller, and the project camera
photos from both flights to your computer.
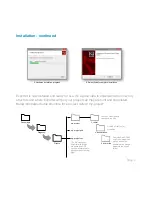
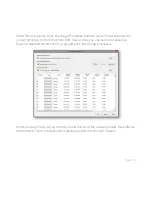
For example:
- create a directory called “pix4d-datasets”. This folder will contain multiple project
photo and flight data log folders.
- in pix4d-datasets, create a directory called “my-project-logs” and copy the log files.
- in pix4d-datasets, create a directory called “my-project-photos” and copy the photos.
Page 11
Summary of Contents for Exporter
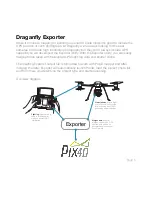
Page 1: ...EXPORTER GUIDE Draganfly Exporter User Guide Version 1 2...
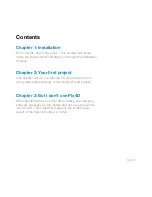
Page 8: ...Chapter 1 Page 7...
Page 11: ...Chapter 2 Page 10...
Page 15: ...Chapter 3 Page 14...


