21
english
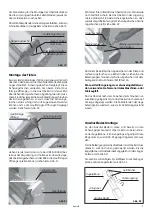
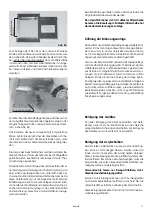
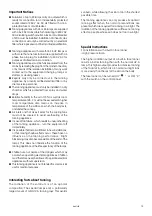
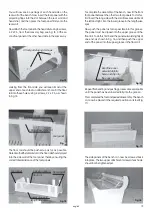
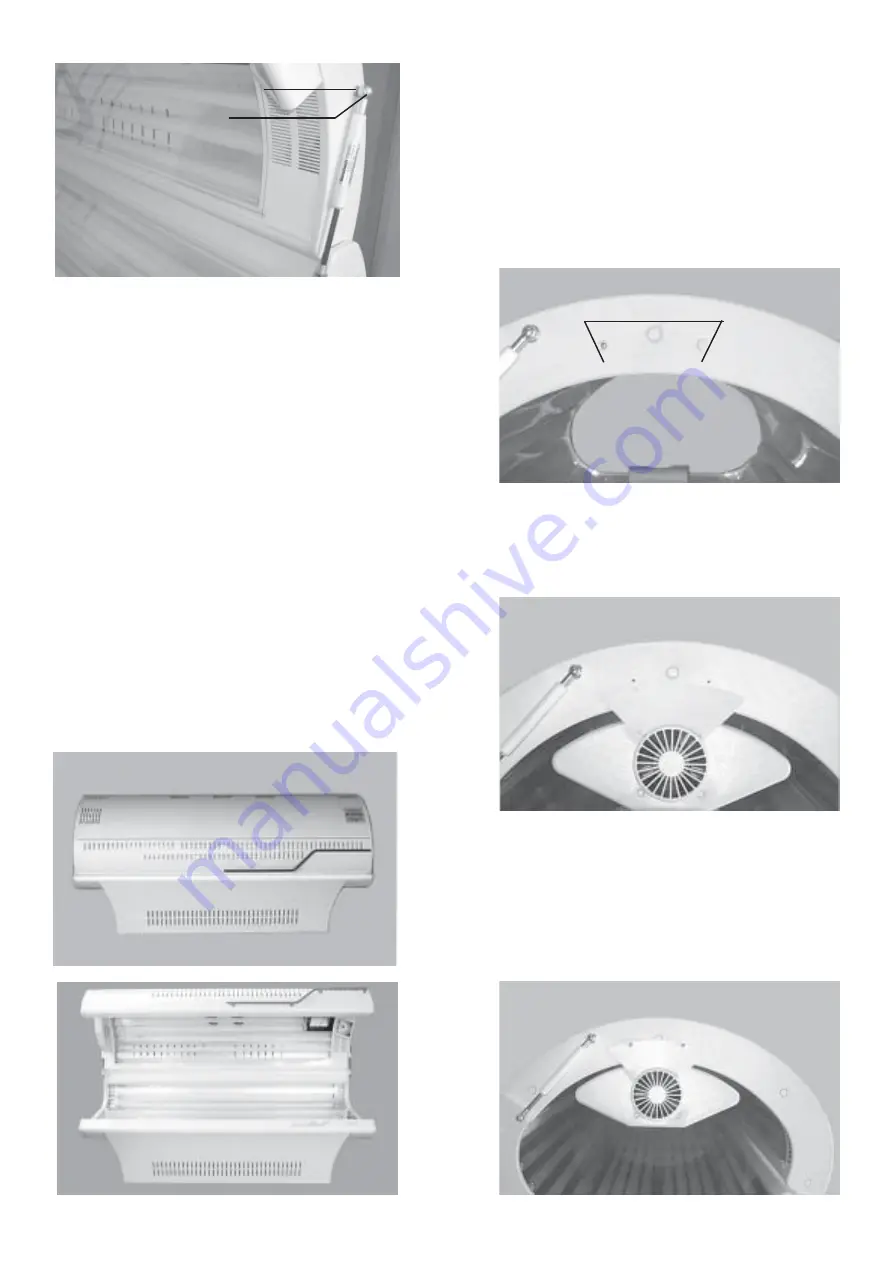
Fig. 24
Ball-joint
connector
Ball-joint
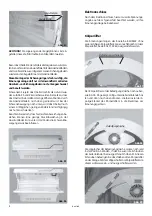
CAUTION! The bearings of the ball-joints are lubricated.
This grease must not be removed.
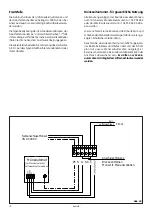
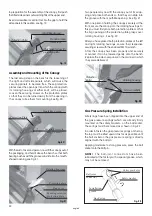
Fig. 25
Fig. 26
Electrical connection
Connect the tanning appliance to the power supply, noting
the correct voltage as specified on the rating plate. The
solarium is now ready for operation.
Body Fans
The excellent BMR Series of Solaria come with one body
fan.
To insure proper securing of the gas springs, the
canopy must be raised high enough so that the upper
ball-joint connector can be snapped onto the ball-joint
on the canopy.
Before depressing the canopy downward, the securing
clips on the ball-joint connectors must be replaced to
hold the ball-joints in place therein.
Replacement of the
securing clips is very important; the canopy may not be
moved without this first having been done.
Move the canopy up and down a few times. You will
notice that when the canopy is completely raised, the
gas springs will move upwards. As the canopy is
moved downward, a lighter resistance will be
noticeable than at lower levels.
Be advised, however, that slight variations in resistance
can occur. A lower or higher force variation in the gas
spring can influence the difficulty or ease with which
the canopy can be moved.
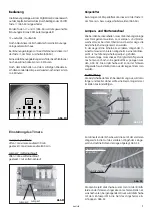
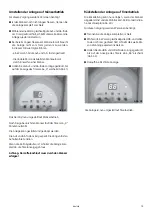
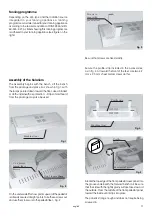
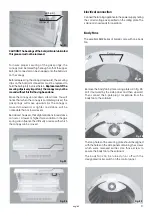
Fig. 27
Screws
Remove the body fan by its securing plate as in fig. 28.
Pull it outward by the side panel and then upward.
Then connect the 3-pole plug / receptacle from the
body fan to the solarium.
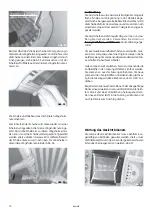
Fig. 28
Securing plate
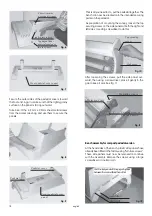
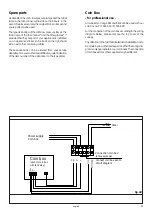
Fig. 29
The long holes of the securing plate should be aligned
with the holes on the side panel containing the screws
which were removed earlier. Use those screw to
secure the body fan to the solarium.
The body fan can be turned on or off with the
designated rocker switch on the control panel.
Summary of Contents for excellent 24/1
Page 28: ...28 Notizen notes...

