


14
SecureCom Smart Z-Wave Thermostat Installation Guide
Z-Wave Installation
Z-Wave controllers from various manufacturers may support the Z-Wave Thermostat General V2
Device class used by the Z-WAVE Thermostat . The following procedure will allow the thermostat
to be added to a DMP panel Z-Wave network .
NOTE:
Before adding the thermostat to a Z-Wave Network, check that it does not already belong
to one by viewing the Node ID (ZNID) located in the Thermostat Info screen . An uninstalled
thermostat should show zeros for the Node ID (000) . Consult your DMP panel user manual for
details on removing a device from the Z-Wave network .
Programming procedure for DMP control panels:
1 . Access the User Menu on the DMP panel keypad .
2 . Press COMMAND until ZWAVE SETUP? displays .
3 . Press any Select key . The keypad displays ADD LIST REMOVE .
4. Select ADD. PROCESSING may briefly display. When PRESS BUTTON ON DEVICE TO ADD
displays on the panel keypad, press the YES button on the Thermostat .
5 . Press SELECT (mode button) to add thermostat to network .
6. The display line should flash WAIT then SUCCESS if the Z-Wave connection is made.
7. If the Thermostat does not connect to controller, WAIT, then FAIL will flash in status display
line .
8 . If thermostat fails to connect, repeat Steps three (3) through (7) to re-try connecting .
9 . When the thermostat information is received by the system, the keypad panel beeps once
and displays DEVICE FOUND .
10 . Once added, the panel keypad displays the type of device and the default device name .
Press COMMAND .
11 . Press any top row Select key on the panel keypad and enter up to a 16 character custom
name for the device .
12 . Press the COMMAND key to store the new name .
Your control panel keypad will indicate the thermostat was successfully added to your network .
You may also check if the thermostat was successfully added to the network by checking the
ZHID (Home ID) and ZNID (Node ID) located in the Thermostat Info screen . Once added, the
Z-Wave thermostat may be assigned to a Favorite .
Inclusion and Exclusion
Inclusion or exclusion is started by putting the controller into add node or remove node state
and performing the General Programming Procedure outlined above . As part of the process, the
thermostat sends a node information frame at normal power . Low power inclusion or low power
exclusion is not possible .
CAUTION:
Do not install batteries and temporarily power the thermostat from 24VAC to include
onto a Z-Wave network . Shortened battery life may occur when 24VAC power is removed .
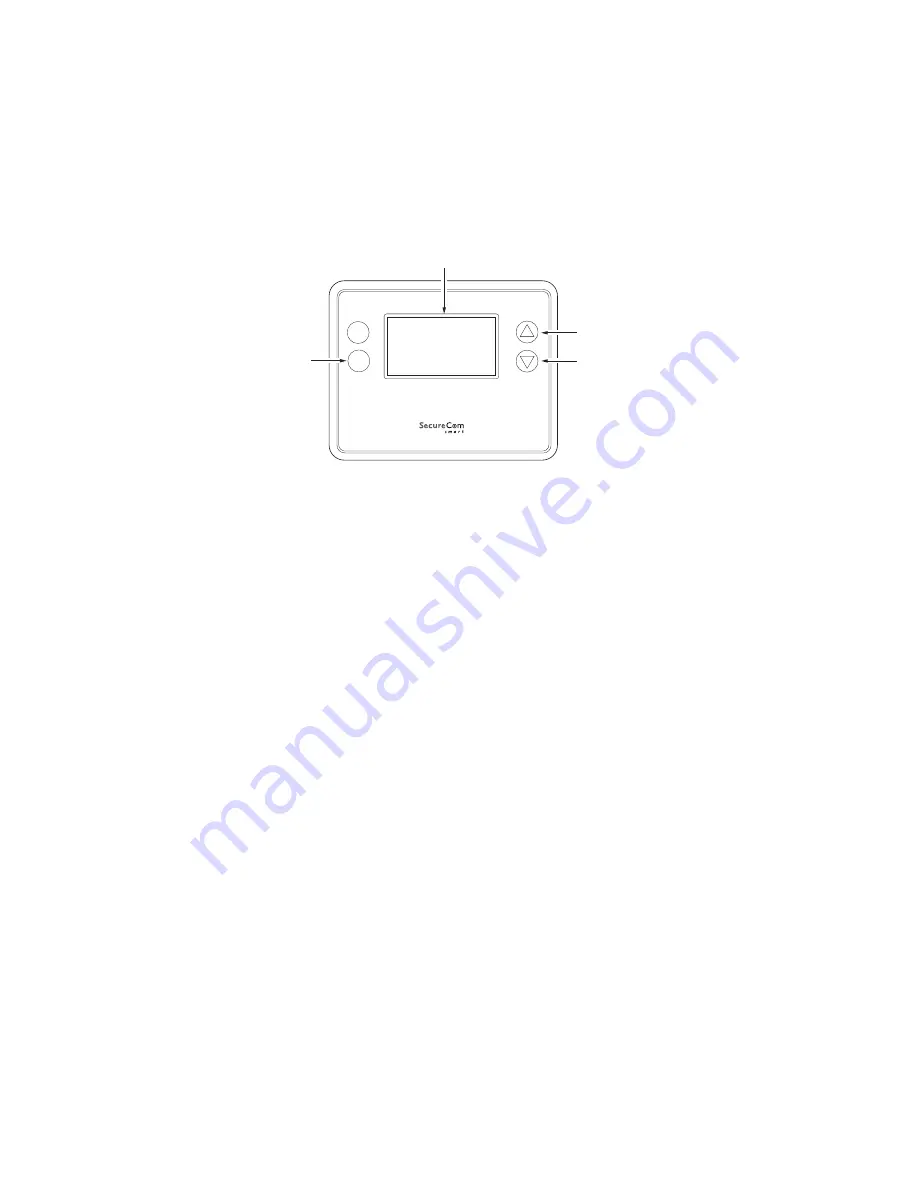
MODE
FAN
Select
Done
Z-WAVE
PRESS AND HOLD
FOR 5 SECONDS
USE THE
BUTTONS TO CHANGE
TO THE DESIRED MENU
ITEM, THEN PRESS
SELECT
MENU CHOICES ARE
DISPLAYED IN THE
STATUS DISPLAY LINE
Figure 16 . Z-Wave Menu Setup


