background image

Bluetooth pairing and connection 

This process is required upon initial. After initial pairing, the CTS-HF will 
automatically reconnect with the paired phone upon entering the vehicle. 

1.


Turn the vehicle ignition to “ON”.


2.


Red LED inside module will begin to flash 

3.


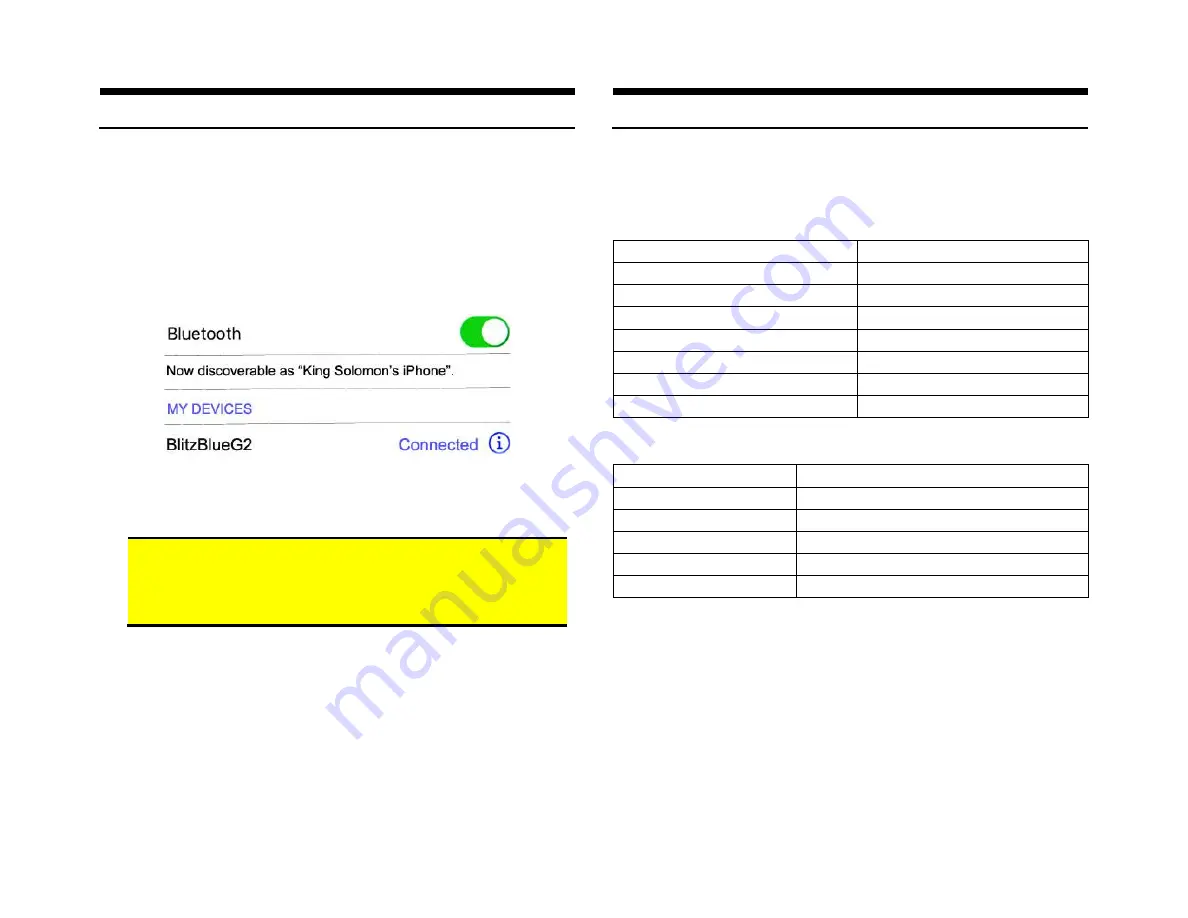
Access your Smartphone Bluetooth menu settings, and search (scan) 
for devices. 

4.


Select the G2 and click 

“Connect” 


Note: Supports multiple phones but connects to only one phone at a time. 


Warning:

 Caller ID and text display are 

not possible in XM mode

Operating Bluetooth device is by pressing the control button and your 
Voice Recognition application. Use the factory radio volume button to 
control playback level


Operation 


1.


Press “BAND” 

button on radio until XM is displayed


2.


Use radio volume control to set playback level


Music Commands 

To 

Proceed this way 

Pause a Song 

Press and release button 

Resume Play 

Press and release button 

Skip to next song  

Press button twice 

Skip to Previous Song 

Press button 3 times 

Activate XM/AUX Playback

Press button 4 times 

Activate Voice Control 

Press/hold button for 2 seconds 

Switch out of XM Mode 

Press and release button 


Phone Commands 

To 

Proceed this way 

Answer call 

Press and release button 

End call 

Press and release button 

Reject incoming call  

Press button twice (send call to Voice Mail) 

Cancel outgoing call 

Press button twice 

Activate Voice Control 

Press/hold button for 2 seconds 


Notes: 

1.


If playback is distorted, adjust volume on Bluetooth device.


2.


To reset Module press and Hold button for 5 seconds


3.


On incoming calls, ring tone will play on car speakers 

4.


Bluetooth range is approximately 30 ft. 

5.


Voice command compatible with Siri, (Google Now, Assistant 

6.


* Push-button does not control XM/Aux functions. Use radio or aux 
device buttons for music selection and XM controls. 


If successful go ahead and Reinstall the Radio 

Summary of Contents for CTS-HF

Page 1: ...Courtesy of DiscountCarStereo com Serving the internet community since 1995 CTS HF QUICKSTARTINSTALLATIONGUIDEFORCADILLACE CTS SRXWITHXMTUNERMODULE ...

Page 2: ...treaming charging and more From push to talk button with built in microphone conveniently installed on the dash users may launch voice recognition application Siri Google Now Assistant etc initiate phone calls launch applications or XM playback if subscribed Thanks to the CTS HF Kit the original radio XM subscription is retained in addition to Bluetooth features only available on newer cars Warnin...

Page 3: ... 5 Fig 5 8 Connect installation harness 8 pin plug black See Fig 6 to radio chamber vacated in step 6 Fig 6 9 XM subscribers Connect installation harness right angle 3 5mm plug See Fig 6 to module pigtail female jack as seen in Fig 7 10 Connect installation harness straight 3 5mm plug See Fig 6 to module 3 5mm input jack labeled XM See Fig 8 Proceed to step 13 11 Non subscribers Connect installati...

Page 4: ...ire Fig 6a must be used to connect module to an alternate location If experimenting this issue please follow alternate instructions below 13 From Fig 6 Disconnect terminal from default wiring Connect terminal to terminal Terminal not used Route and connect other end of accessory wire to ignition harness under steering column inside driver s lower dash kick panel Panel is supported by three screws ...

Page 5: ...optional USB extension cable kit is available Should you decide to purchase install we suggest one of 2 connecting options A Flush to dash panel requires drilling a hole in the dash B Flush with Support bracket use this option to mount USB terminal wherever your installation demands without drilling A Flush to Dash or Panel drilling required 1 Drill a hole in the dash or panel using a step drill b...

Page 6: ...connect to Module USB port See Fig 13 Fig 17 3 Snap USB head to panel until flush with mounting surface See Fig 18 Fig 18 4 Tuck and secure any extra wire away from moving parts and test operation See Bluetooth Pairing and Connection USB port supports charging only Use your own USB charging cable or proceed to next step if charging is not required Warning Radio cavity in most vehicles may lack ext...

Page 7: ...ay Pause a Song Press and release button Resume Play Press and release button Skip to next song Press button twice Skip to Previous Song Press button 3 times Activate XM AUX Playback Press button 4 times Activate Voice Control Press hold button for 2 seconds Switch out of XM Mode Press and release button Phone Commands To Proceed this way Answer call Press and release button End call Press and rel...

Page 8: ...tton 4 times These steps also apply to play Auxiliary device non subscribers only 7 Where is the best place to install the control button mic We found that having the control button mic mounted higher on the dash worked best but users can experiment with different location and decide which works best for them 8 Will the radio mute when I receive or make a phone call This system will not mute audio...

Reviews: