13
a.
Prepare devices
In using the Prepare mode for replicating the iDevices, one thing to consider is if it is just
a fresh updated state without data or with data. Without data, you can create a profile
which will get the latest system update along with the types of apps and setting that is
needed. For creating a profile with the specific data required, it is necessary to first create
a iDevice with the wanted contents, save that into a profile with “Create Backup” in the
Restore selection. Then when preparing other iDevices, select the profile with the backup
and select the backup name in the Restore selection.
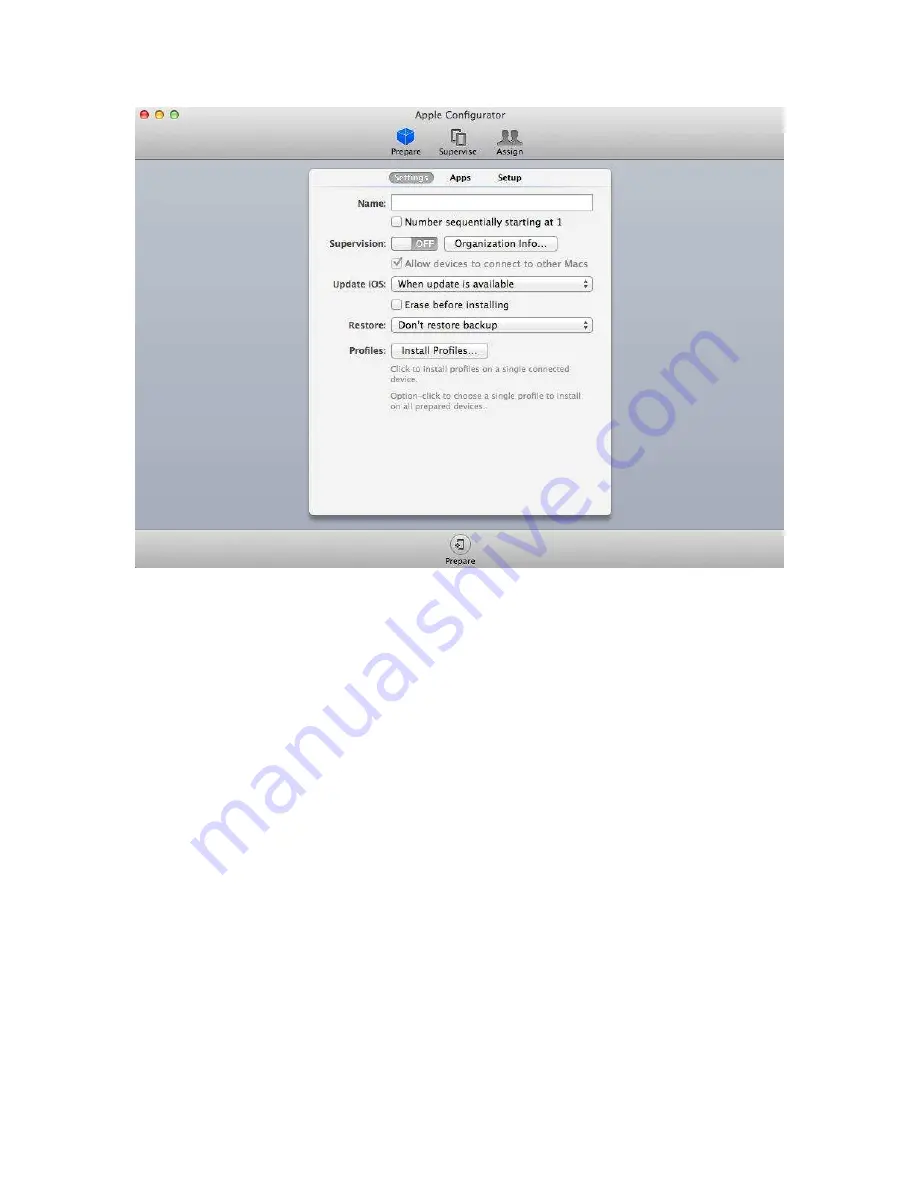
Press the Prepare icon o
n the Apple’s Configurator
Create a device name and enter the Name.
Select the setting need in all three tab sections: Settings, Aps, and Setup
Click the Install Profiles and connect the iDevices to be configured.
Click Next then select previous profile name or add a New profile or Import one with the
restriction/ payload requirement; then press Next