4
42
2
© 2005 Directed Electronics—all rights reserved
❍
View Photo or Picture
1.
Connect the PMP3520 to the computer and upload the files from the com-
puter to the PMP3520.
2.
Disconnect the PMP3520 from the computer after the files are transferred.
3.
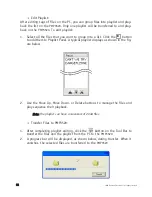
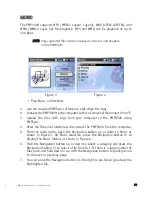
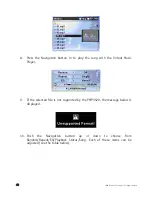
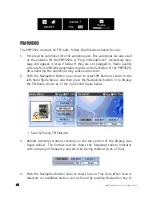
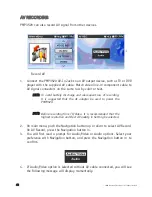
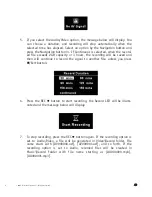
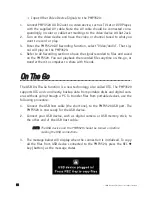
From the main menu, push the Navigation button up or down to select
Photo as shown on the above left-hand figure. When Photo is selected,
press the Navigation button in to enter the Photo menu as shown in the
above right-hand figure.
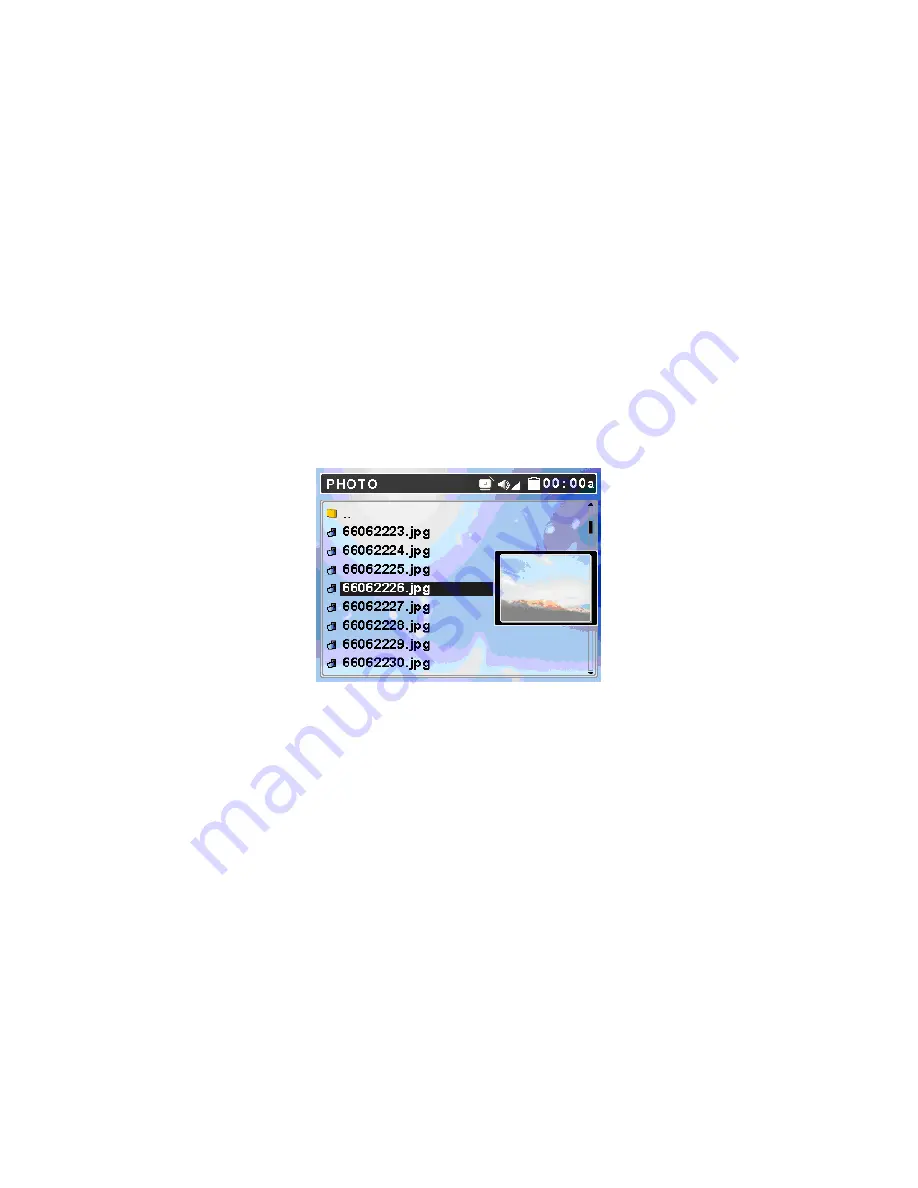
4.
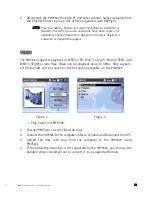
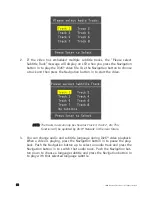
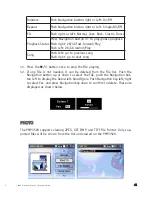
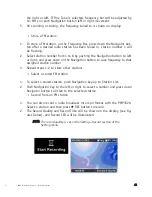
Push the Navigation button up or down to select a category and press the
Navigation button in to enter. Push the Navigation button up or down to
select a file from list. You can preview selected file by pushing Navigation
button to the right (see figure below). Press the Navigation button in, to
view the file in full screen.
5.
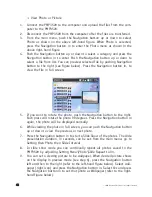
If you want to rotate the photo, push the Navigation button to the right.
Each press will rotate the photo 90 degrees. Press the Navigation button in
again, the photo will be displayed normally.
6.
While viewing the photo in full screen, you can push the Navigation button
up or down to view the previous or next photo.
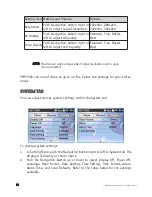
7.
Press the Navigation button in to start a Slide Show of the photos. The slide
presentation duration, in seconds, can be set from the main menu; go to
Setting then Photo then Slide Interval.
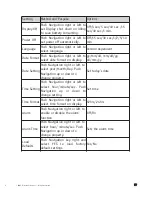
8.
In slide show mode you can continually repeat all photos saved to the
PMP3520 by adjusting Setting Menu\Photo\Slide Repeat to On.
9.
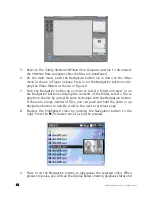
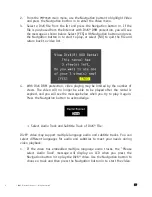
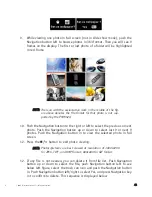
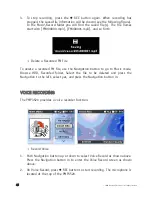
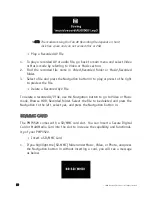
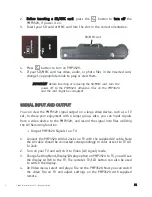
You can set a viewing picture to be wallpaper. When desired picture shows
on the display in preview mode (see step 6), press the Navigation button
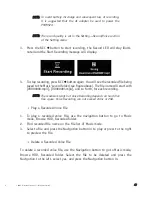
left and then to the right (refer to the left-hand figure below). Select wall-
paper (right icon) and press the Navigation button in. Select Yes and press
the Navigation button in to set that photo as Wallpaper (refer to the right-
hand figure below).

