


Quick Operation Guide of Network Video Recorder DINOX NVR-4004 and NVR-4008
8
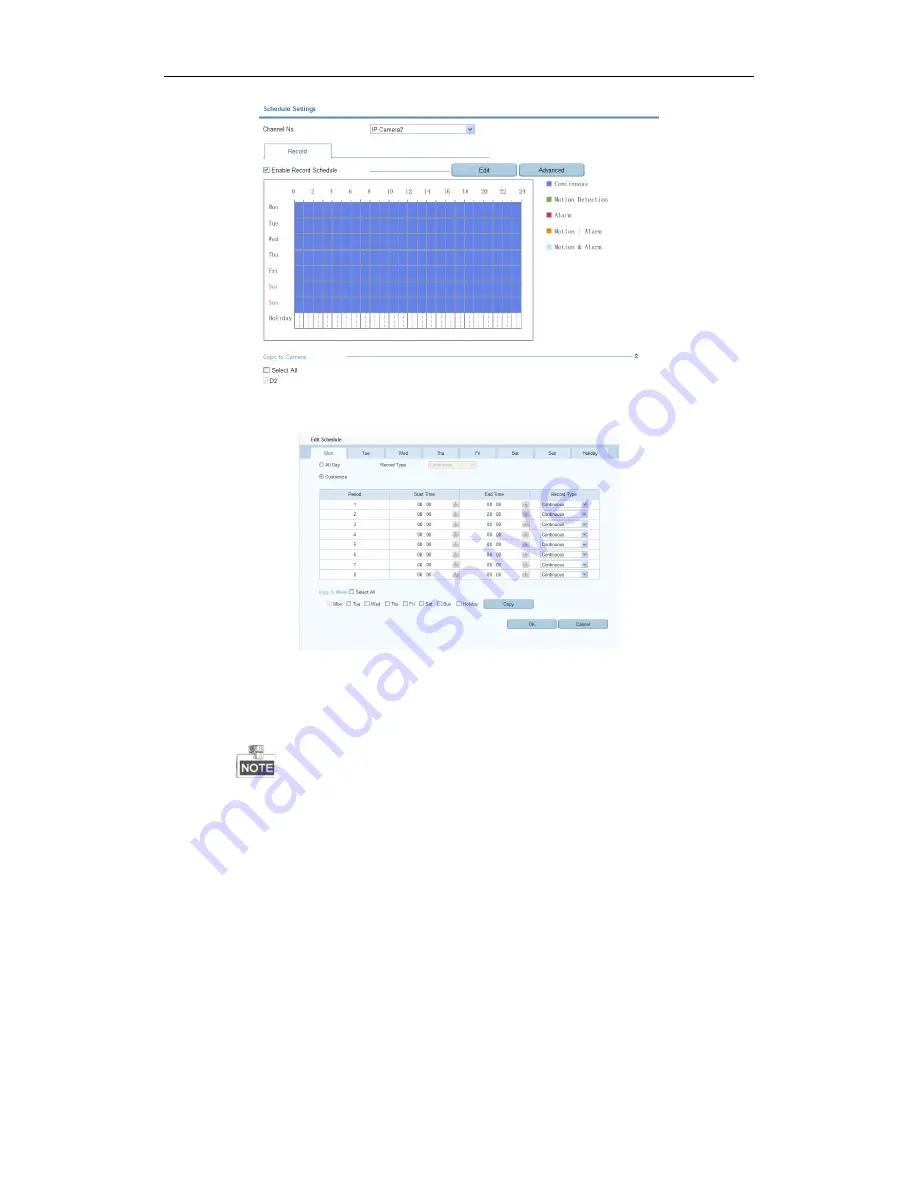
4.
Choose the day in a week to configure scheduled recording.
5.
Click
Edit
to edit record schedule
.
1)
Configure All Day or Customize record:
!
If you want to configure the all-day recording, please check the
All Day
checkbox.
!
If you want to record in different time sections, check the
Customize
checkbox. Set the
Start Time
and
End Time.
The time of each segment cannot be overlapped. Up to 8 segments can be configured.
2)
Select a
Record Type
. The record type can be Normal, Motion, Alarm, Motion & Alarm, and Motion |
Alarm.
3)
Check the checkbox of
Select All
and click
Cop
y to copy settings of this day to the whole week. You
can also check any of the checkboxes before the date and click
Copy
.
4)
Click
OK
to save the settings and exit the
Edit Schedule
interface.
6.
Click
Advanced
to configure advanced record parameters
.
7.
Click
Save
to validate the above settings.


