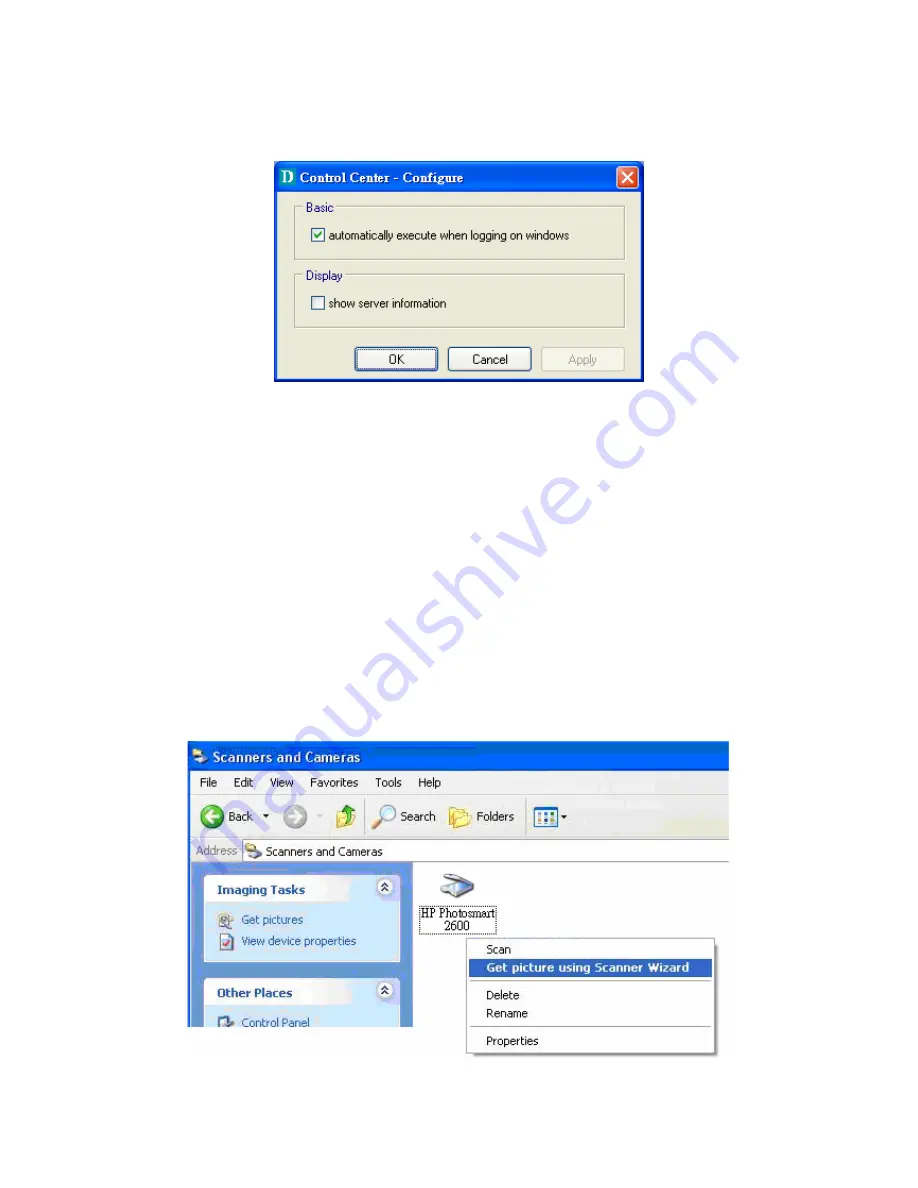
following window will appear. Click on the check box and then on the “OK” button.
This feature is enabled by default.
I.
If you would like to break the association between the Windows printer and the
physical printer, just click on the association and click the “Delete” button in the
“Auto-Connected Printer List”.
7.3.3 NetUSB
Scanning
After the driver is installed as described in 7.3.1, you can see a newly created scanner
in the Control Panel’s “Scanners and Cameras”. Follow the steps below to do a NetUSB
scanning.
A.
In the Control Center, click the MFP server that has the desired scanner (or MFP)
attached.
B.
Click the desired scanner (or MFP).
C.
Click the “Connect” button to manually connect the scanner (or MFP).
D.
Right-click the scanner icon in the Control Panel’s “Scanners and Cameras”, and
choose “Get picture using Scanner Wizard”, as the following figure.
E.
Then the “Scanner Wizard” will run. Set the options as your need. Then submit the
scan job.
59
Summary of Contents for DN-13007
Page 4: ...CHAPTER14 UPGRADE FIRMWARE 84 CHAPTER15 THE INIT BUTTON 87 4...
Page 11: ...8 If the wireless network is secured by WPA PSK TKIP the shared key must be set correctly 11...
Page 15: ...15 7 If the wireless network is secured by WPA PSK TKIP the shared key must be set correctly...
Page 27: ...9 Click Finish 27...
Page 44: ...8 Click Finish button 44...


