

000B0JXXZ103_Ver1.4
Camera Login
The camera is default set as DHCP mode to obtain IP address from the DHCP server. Under DHCP mode, the
camera can be found via UPnP search or please use the search tool from the CD. However if no DHCP server is
detected, then the camera would switch automatically to fixed IP address under
192.168.0.250
. Therefore, to access
the camera under fixed IP address, please set the IP address of the PC as: 192.168.0.XXX; for example:
IP Address: 192.168.0.100
Subnet Mask: 255.255.255.0
Login ID and Password
Key in the camera’s IP address in the URL bar of the web browser window and hit on “Enter”.
Enter the default username (
admin
) and password (
admin
) in the prompt request dialogue. Note that username is
case sensitive.
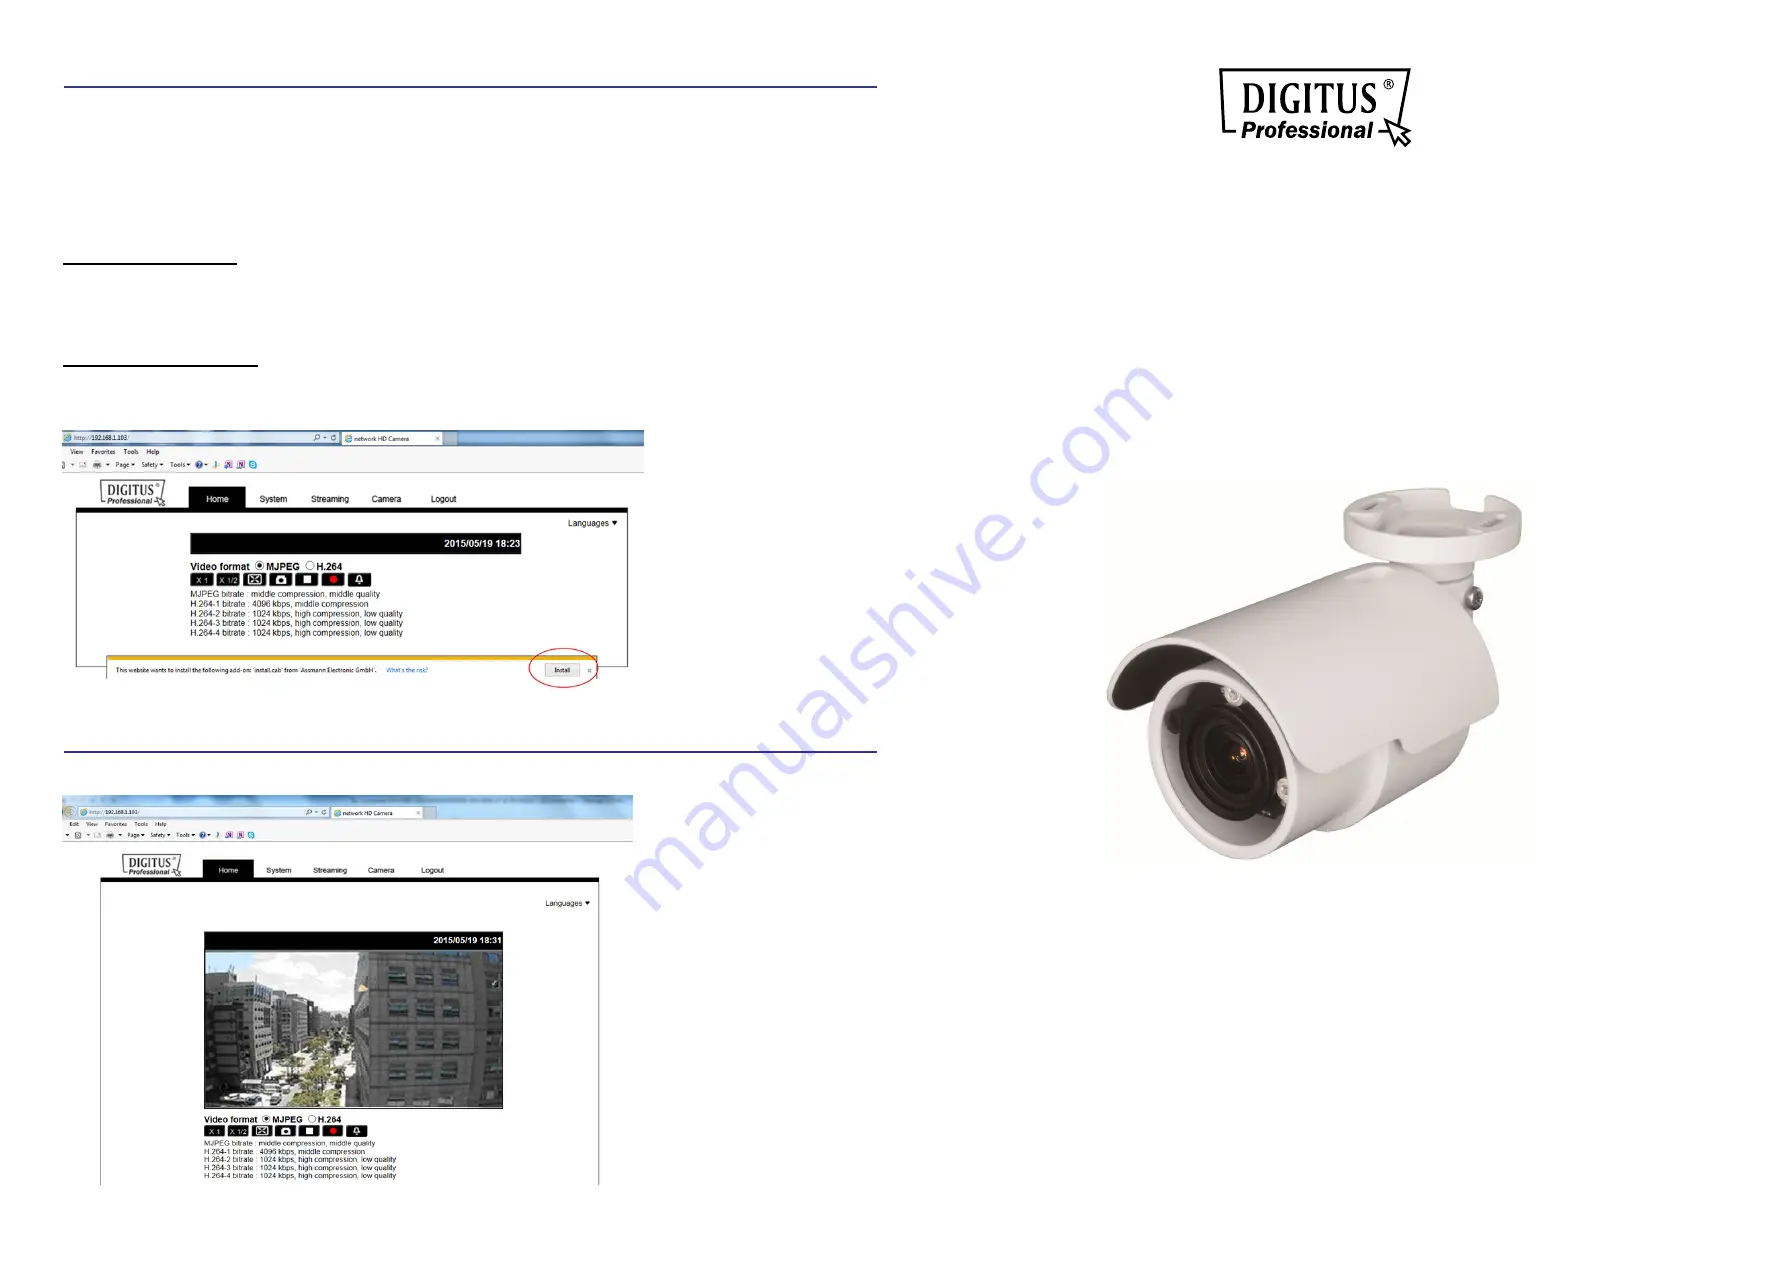
Install the ActiveX Control
After connecting to the camera, the request for installing the ActiveX control will appear just below the URL bar.
Right click on the information bar, and then click on <Install ActiveX Control…> to permit ActiveX control
installation.
In the pop-up security warning window, click on <Install> to start downloading Viewer software on the PC.
Click on <Finish> after Viewer installation is completed.
Browser-based Viewer
The main page of the IP camera user interface is shown as the figure below. Please note that function buttons will
vary depending on the camera model.
FULL HD MULTI-STREAMS
ULTRA-WDR MICRO BULLET
IP CAMERA
Quick Installation Guide
DN-16083-1


