


Digital Projection
M-Vision Cine 320 Series
OPERATING THE PROJECTOR
Installation and Quick-Start Guide
10
Rev D July 2014
Adjusting the lens
Zoom
Turn the smooth ring on the lens, closest to the case, to adjust the zoom so that
the image fills the screen.
Focus
Turn the knurled ring at the outer end of the lens, to adjust the focus until the
image is sharp.
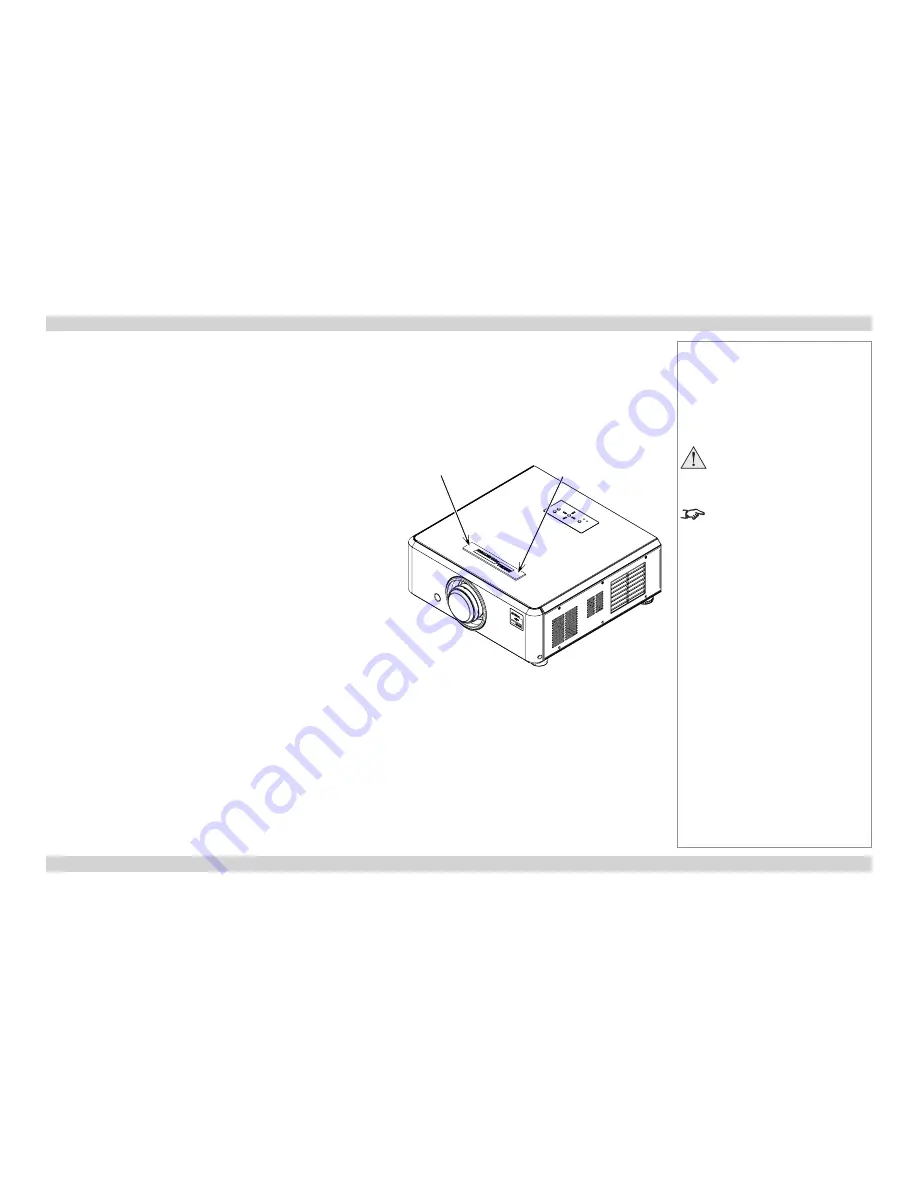
Shift
1. To reveal the adjustment access holes
(Fig. 1)
, rotate the Digital Projection
badge on top of the projector.
2. Use the 5mm Allen wrench to adjust the horizontal and vertical position of
the image..
Notes
Do NOT prise off the badge using
a tool.
Lens shift controls are not available
on projectors fitted with the fixed
0.73:1 lens.
Horizontal shift
Vertical shift
Fig. 1 Location of adjustment access holes
(under the badge)


