25
(to the next page)
Operation
Turning on the power
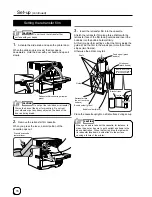
1.
Before turning on the power, check the following:
Make sure that the printer door is completely
closed.
Make sure that the card tray is completely closed.
Make sure that the host computer is correctly
connected.
Make sure that any peripheral equipment is
correctly connected.
Make sure that the power supply outlet is correctly
connected.
(Power on the laminator first, if connected.)
Only switch the unit on after checking the above
points.
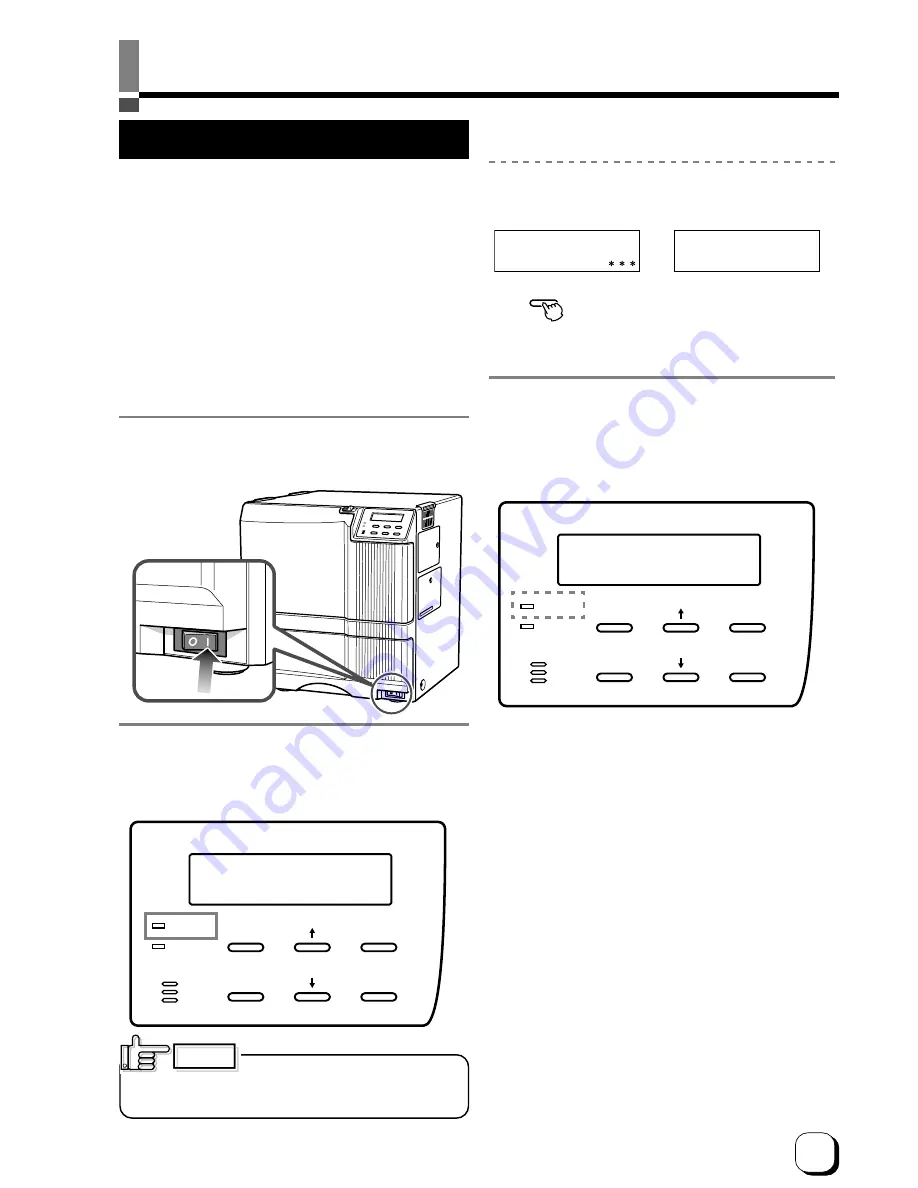
2.
Turn the power ON.
(I represents ON and O represents OFF.)
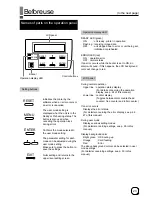
RESET
EXIT
MENU
ENTER
READY
ERROR
OR
R e a d y
P r e h e a t i n g . .
CAUTION
RESET
EXIT
MENU
ENTER
READY
ERROR
3.
The unit will be in the ready status approximately 4
minutes after turning on the power.
The operation display LED (READY LED) will light up.
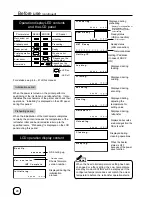
Making settings in the user modes
When the LCD panel displays Ready or Preheating,
press
MENU
button.
For details concerning each user mode setting, see p.
28 of this manual.
4.
Enter the control command from the host
computer to print cards.
The operation display LED (READY LED) will flash
while the unit is receiving image data from the host
computer.
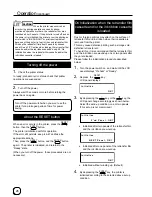
Do not turn the power off while the
LCD panel displays ‘Boot up’ to ‘Initializing’, as this
may cause malfunctions.
Be sure NOT to do any of the following during printing
operations and initialization process :
•
Do not open the printer door.
•
Do not open the card tray.
(while the LCD panel displays ‘Loading’)
•
Do not turn off the power supply.
•
Do not unplug the unit.
•
Do not pull out the connection cable.
Failure to observe the above points will cause printing
to be aborted and may result in a malfunction of the
unit.


