Chapter 3: Setup and Operation
11
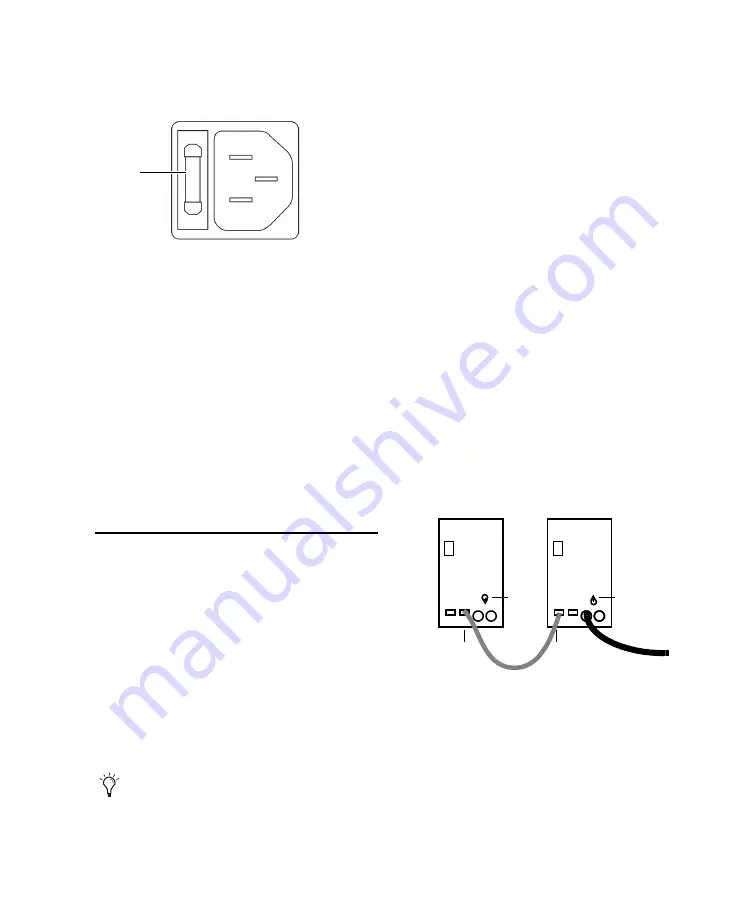
Do not use fuses of any other rating except the
ones indicated on the back panel of the unit.
Connecting AC
To connect power to the monitors:
1
Make sure you have set the Voltage Selector
and installed the proper fuse before proceeding.
(See “Setting the Voltage” on page 10 for de-
tails.)
2
Connect the included AC power cord to the
AC connector on the back panel of each moni-
tor (one cable is included in each box).
3
Connect the other end to your power source.
Connecting Audio
This section explains how to make analog and
digital audio connections to the RM1 and RM2
monitors.
Connecting Analog Input
To connect an analog source:
1
Connect a balanced XLR cable to the
Analog In connector on the back panel of the
monitor.
2
Connect the other end to the analog audio
source (for example, an analog output from a
Digidesign 192 I/O audio interface).
3
Repeat steps 1 and 2 for other RM monitors.
Connecting Digital Input
The Digidesign RMS monitors accept AES input
from the AES 3 Digital Input (XLR connector)
and the IN port (RJ45). RMS monitors clock to
the digital source.
About Digital Thru
AES 3 and RJ45 digital protocols carry two chan-
nels of audio (left and right). When using a dig-
ital source, that source device connects to a dig-
ital input on a single RMS monitor. It does not
matter which of the two you use as the primary
monitor.
The THRU port on this primary monitor is then
connected to the IN port on the other “slave”
monitor (using the included RJ45 cable) to sup-
ply it with its digital audio input.
You then use the Channel Assign switch to as-
sign the Left or Right channel of the AES signal
to the speaker.
Power switch, fuse cover and AC connector
If you need to connect an unbalanced ana-
log source, see “Analog” on page 6.
Fuse
In and Thru connections for digital input (AES source
shown)
AES
THRU
IN
(from source)
RJ45
(Left)
Channel
(Right)
Assign
Channel
Assign
Summary of Contents for RM1
Page 1: ...Digidesign RM1 and RM2 Professional Reference Monitors ...
Page 6: ...Digidesign RM1 and RM2 Guide vi ...
Page 10: ...Digidesign RM1 and RM2 Guide 4 ...
Page 30: ...Digidesign RM1 and RM2 Guide 24 ...
Page 31: ......


