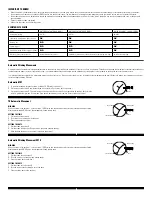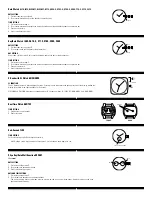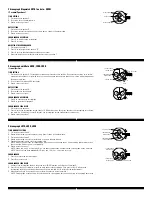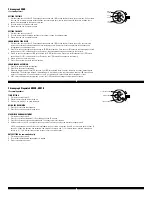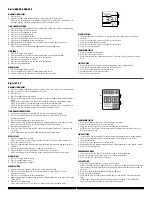
Digital FL075AB
DISPLAY MODES
The digital portion of the module has (3) three display views which are selected by pressing (A).
1. While in TIME view, whether in 12 or 24 hour display is irrelevant, press (A) once and the DATE view will appear.
2. To have alternating views between TIME and DATE press (A) a second time and each view will display for 1 second.
3. To return to TIME only view press (A) for a third time.
SETTING TIME/DATE
1. Press (C) to enter SET mode. The YEAR will begin flashing, press (A) to change the year. This module features an auto
calendar from 2000 to 2050.
2. Press (C) to advance to the MONTH setting. The month will begin flashing, press (A) to change the month.
3. Press (C) to advance to the DATE setting. The day will begin flashing, press (A) to change the date.
4. Press (C) to advance to the 12hr/24hr setting. The 12h characters will begin flashing, press (A) to change to 24h.
5. Press (C) to advance to the HOUR setting. The hour will begin flashing, press (A) to change the hour.
6. Press (C) to advance to the MINUTE setting. The minute will begin flashing, press (A) to change the minute.
7. Press (C) to advance to the SECONDS reset. The seconds will begin flashing, press (A) to reset to 00.
8. Press (C) to exit SET mode.
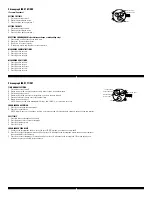
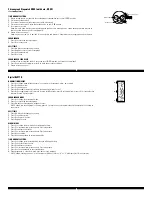
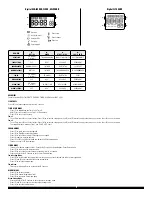
AM
SECOND
HOUR
MINUTE
TIME DISPLAY MODE
SHOWING DATE
DAY
MONTH
DATE
Digital MLG367D, FL610AB
NORMAL TIME DISPLAY
1. Press A to change mode. Mode sequence is normal time, alarm, time zone 2, timer,
and chronograph.
2. Press B for EL.
NOTE: At any point in any setting mode, press D to exit setting mode.
NOTE: In any setting mode, if no pusher is operated for 2 minutes, all changes will be
saved and the setting will automatically return to display mode.
TIME AND CALENDAR SETTING
1. In normal time display, press D; seconds will begin flashing.
2. Press C to set seconds to zero.
3. Press A to advance to hour.
4. Press C to advance digit, press and hold C for fast advance.
5. Press A to set and advance to next setting value.
6. Setting sequence is: seconds, hour, minute, year, month, and date.
7. Press D to exit setting mode.
NOTE: Weekday is automatically updated upon exiting setting mode.
NOTE: At any point in setting mode, press B to toggle 12/24 hour format.
ALARM MODE
1. Press A to change to alarm mode.
2. Press B to toggle alarm/chime on/off.
3. Alarm will sound at preset time for 20 seconds; press any pusher to silence alarm.
ALARM SETTING
1. Press A to change to alarm mode.
2. Press D to enter setting mode; hour will begin flashing.
3. Press C to advance digit; press and hold C for fast advance.
4. Press A to set and advance to next setting value.
5. Setting sequence is: hour, minutes, month, date. For daily alarm, leave month and date set
at “----“
6. Press D to exit setting mode.
TIME ZONE 2
1. Press A to change to time zone 2.
NOTE: In time zone 2 display, normal time is shown in the upper portion of the display.
2. Press D to enter setting mode; hour will begin flashing.
3. Press C to advance digit, press and hold C for fast advance.
4. Press A to set and advance to minutes.
5. Press C to advance digit, press and hold C for fast advance.
6. Press D to exit setting mode.
NOTE: At any point in setting mode, press B to toggle 12/24 hour format.
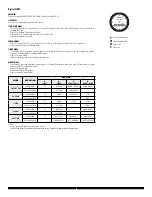
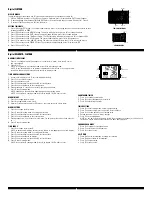
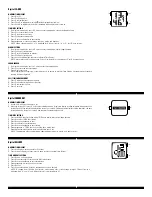
(B)
(D)
(A)
(C)
START/STOP
LIGHT
LAP/RESET
MODE
COUNTDOWN TIMER
1. Press A to change to timer mode.
2. Press B to clear countdown and reset timer.
3. Press C to start/stop the timer.
TIMER SETTING
1. Press D to enter setting mode; hour will begin flashing.
2. Press C to advance digit; press and hold C for fast advance.
3. Press A to set and advance to next setting value.
4. Setting sequence is: hour, minutes, seconds.
5. Press D to exit setting mode.
NOTE: At any point in setting mode, press B to toggle auto reset on/off. When auto
reset is on, timer will automatically re-start upon reaching zero.
CHRONOGRAPH MODE
1. Press A to change to chronograph mode.
2. Press C to start/stop the chronograph.
3. Press B to reset to zero.
SPLIT TIME
1. Press B while the chronograph is running for split time.
2. Press B again to return to chronograph.
3. Press C to finalize timing.
4. Press B to reset to zero.


