background image

8

Using the Conne

x Software

Enable Polling

1 Right-click the Connex taskbar icon.
2 Select 

Enable Polling

. Verify that the check 

mark (

) appears.

3 Verify that the Connex taskbar icon changes status, indicated by a

standard Connex taskbar icon.

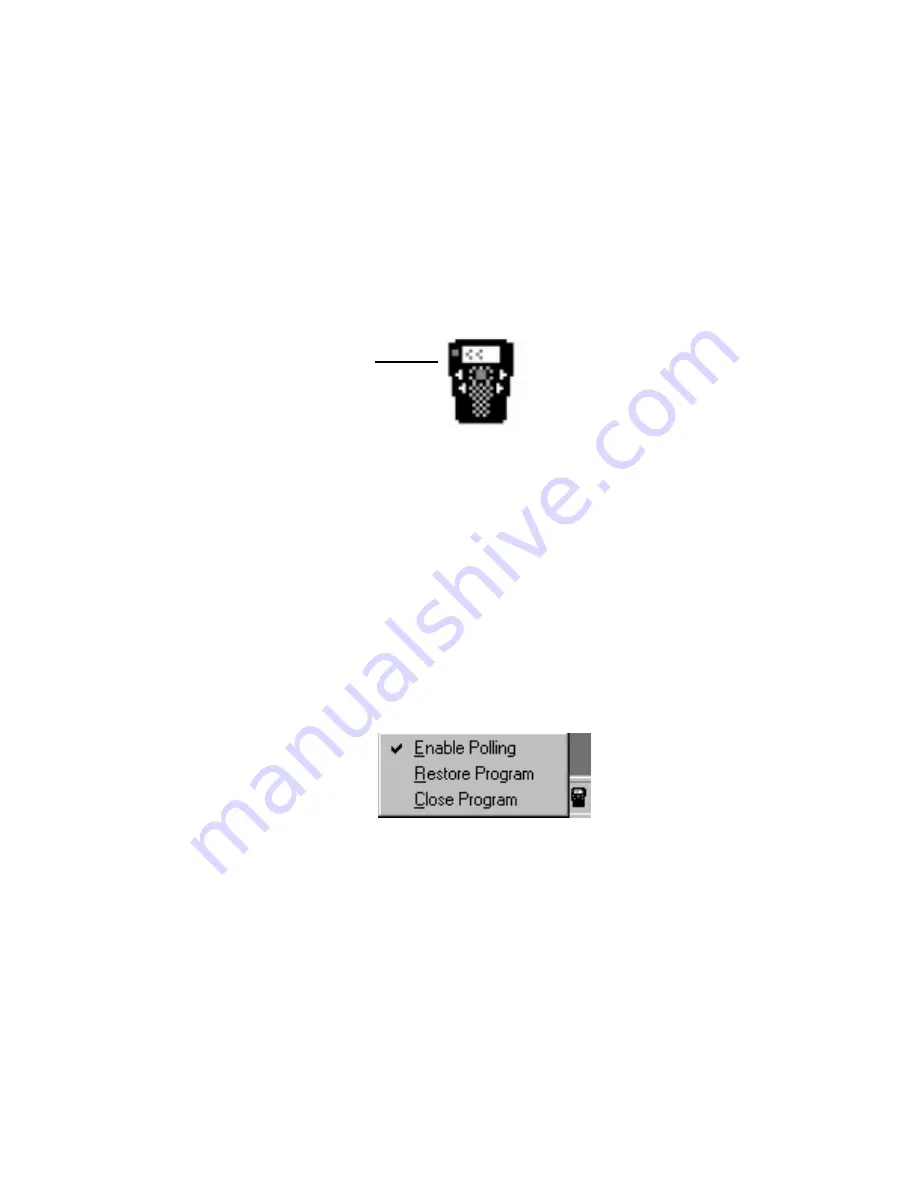
Figure 9: Connex Taskbar Icon Enabled 

Connex taskbar icon
when polling is enabled

Figure 10: Connex Taskbar Icon Menu

Using the Connex Taskbar Icon

In addition to indicating the operational status of the Connex software,
the Connex taskbar icon allows you to interact with the Connex
software. Right-click the Connex taskbar icon to view the following
menu items:

• Enable/Disable Polling

When polling is enabled, a check mark (

)

precedes the Enable command. When polling is disabled, there is no
check mark.

• Restore Program

Open the setup window and view or specify

upload settings.

• Close Program

Close the Connex software, remove its icon from

the taskbar, and exit the application.

Summary of Contents for Walkabout TOUR

Page 1: ...Operating Instructions Connex Software and Charging Station Docking Station...

Page 2: ......

Page 3: ...oration disclaims all liability for any direct indirect incidental consequential special or exemplary damages resulting from the use of the information in this document Mention of any product not manu...

Page 4: ...ort 7 Using the Connex Taskbar Icon 8 Changing or Removing Upload Sound 9 Uploading Voice Files 10 How Files are Uploaded 10 Uploading Voice Files 10 Problems Uploading Voice Files 11 Using the Portab...

Page 5: ...about TOUR Docking Station and Connex software you need the following hardware and software Required 133 MHz Pentium or higher personal computer Microsoft Windows 95 Windows 98 or Windows NT 4 0 Works...

Page 6: ...bout TOUR Stand AC power adapter Upload cable with printer adapter Connex software 3 AAA rechargeable nickel metal hydride NiMH batteries for optional use Figure 1 Docking Station Components Rechargea...

Page 7: ...eo style connector at the other end of upload cable into the bottom of the Stand see Figure 3 on page 4 5 Plug the AC Power Adapter s connector into the bottom of the Stand and the other end into an e...

Page 8: ...4 Docking Station Hardware Configuration Top View Plug upload cable s connector into bottom of Stand Plug AC power adapter s connector into bottom of Stand Printer cable optional Parallel port Printe...

Page 9: ...Click Start then Settings and then Control Panel 3 Double click Add Remove Programs 4 Click the Install Uninstall tab 5 Click Install and follow the on screen instructions The Connex setup program ad...

Page 10: ...sing the Walkabout TOUR Setup Window After installation Connex is active and ready to be used with the default installation settings However you can change any of the defaults at any time Open the Set...

Page 11: ...able Polling You may wish to disable polling when you Do not need to upload voice files for a period of time Want to print from your PC When polling is disabled voice files cannot be transferred from...

Page 12: ...Using the Connex Taskbar Icon In addition to indicating the operational status of the Connex software the Connex taskbar icon allows you to interact with the Connex software Right click the Connex ta...

Page 13: ...nex software completes uploading files Change Upload Sound 1 Click Start select Settings then select Control Panel 2 Double click Sounds 3 In the Events list scroll to Walkabout TOUR Connex then selec...

Page 14: ...re information about how files are named refer to the Appendix on page 17 Uploading Voice Files 1 Record Voice Files on the portable For detailed instructions on using the portable refer to the Walkab...

Page 15: ...ating with the parallel port A printer is attached to the computer s parallel port whose mode is set to bidirectional During routine use if uploading takes longer than usual e g is unable to start or...

Page 16: ...rtable s light turns off and the battery charge progress indicator shows a full charge A fully charged portable operates for up to six hours The rechargeable batteries supplied with the Docking Statio...

Page 17: ...are discharged Recharge batteries bAt MISSING Batteries incorrectly installed Reinstall batteries observing correct polarity bAttS dIFF Incorrect batteries installed Use three AAA NiMH batteries or t...

Page 18: ...hare a parallel port however you must disable polling when you want to print Once printing in finished you can re enable polling again Disabling Polling to Print NOTE You cannot disable polling while...

Page 19: ...elow under the following conditions The portable is not inserted correctly The parallel port is set to bidirectional Refer to Verifying Changing Parallel Port Mode Setting below A portable containing...

Page 20: ...r s parallel port and the parallel port s mode setting is Bidirectional then the Docking Station may not be able to upload voice files To remedy this condition change the parallel port mode to another...

Page 21: ...r The file naming convention is as follows ppppppppmmddhhmmLxxxx wav where pppppppp 8 character unique portable ID may be used to identify dictator mmdd 4 character voice file month and day creation d...

Page 22: ...e uploaded you first must Write Protect the Voicedata card in your portable before the portable is placed in the Docking Station For instructions refer to the Walkabout TOUR Portable Operating Instruc...

Page 23: ......

Page 24: ...s a registered trademark of Creative Technology Ltd 1999 Dictaphone Corporation All rights reserved L 2429 3 99 World Headquarters 3191 Broadbridge Avenue Stratford CT USA 06614 2559 1 800 447 7749 In...

Reviews: