9
USB PScanner Microphone
Installing the USB PScanner
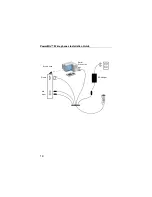
To install and connect the USB PScanner
microphone to your PC:
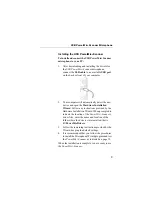
1. After downloading and installing the drivers for
the
USB PScanner
microphone,
connect the
USB cable
to an available
USB port
on the back or front of your computer.
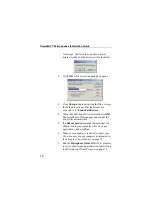
2. Your computer will automatically detect the new
device and open the
Hardware Installation
Wizard
. Follow any instructions provided by the
Hardware Installation Wizard. When prompted to
indicate the location of the
PScanner’s
driver files, enter the name and location of the
folder where the drivers were installed, that is,
C:\PowerMicDrivers
.
3. Follow the remaining instructions provided by the
Wizard, keeping the default settings.
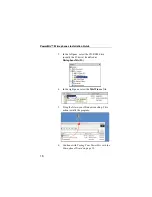
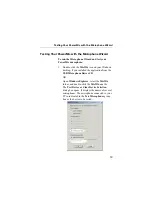
4. It is recommended that you follow the procedures
to install the Microphone Wizard program and test
the
PScanner
as indicated on page 15.
When the installation is complete, you are ready to use
the
PScanner
.


