background image

12 


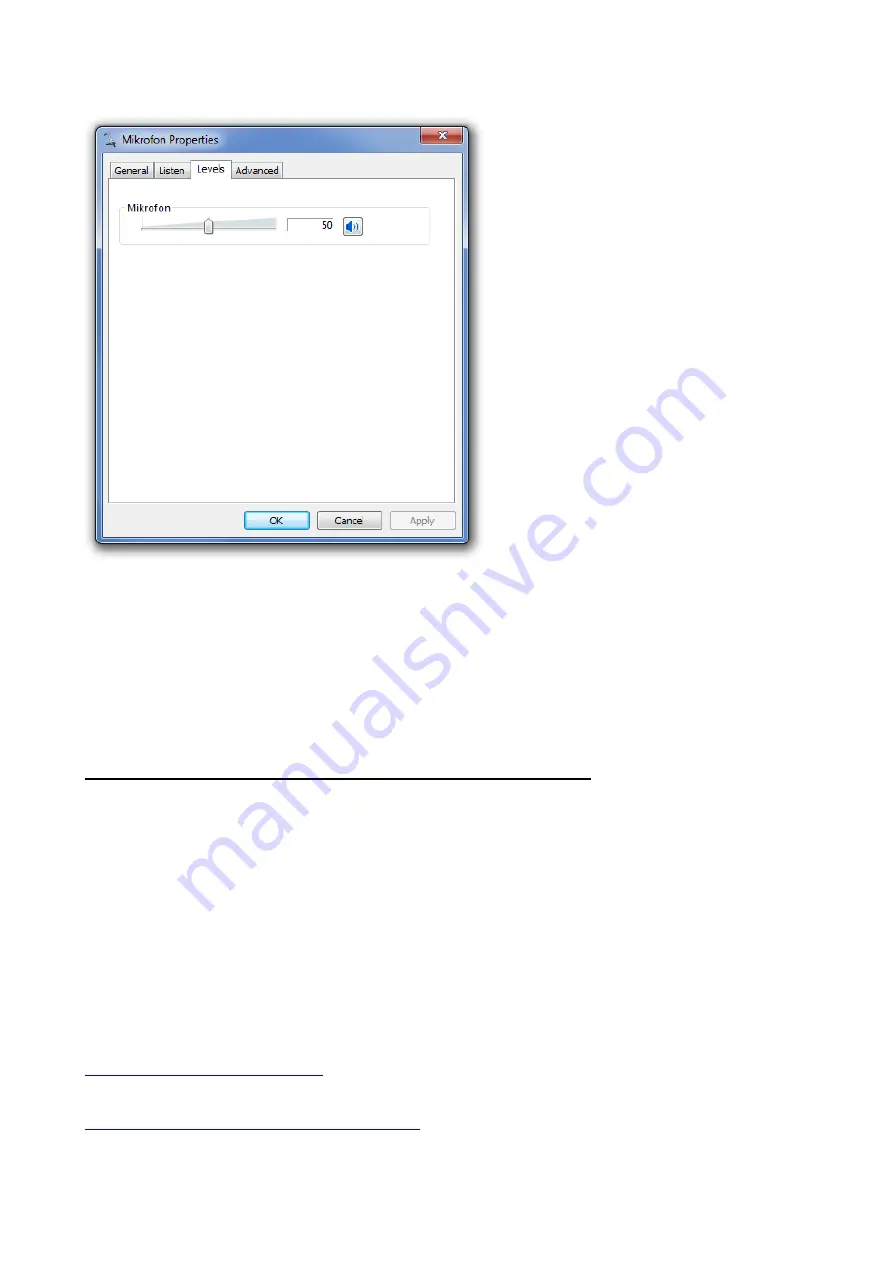
In this window you have the option to choose the Mic-Volume level. After that just click on 
„Apply“ to save these settings. The installation and setup of the 7.1 USB Sound Card is 

now finished and the card is ready for use. 


Please note: The use of the soundcard is only possible after step 2, without this, there is no 

output on the 7.1 USB Sound Card. 


Step 2. The control panel installation from the software CD. 

We now get to the final step, the installation of the control panel: 


For full functionality, please install the control panel, which you find in the start-up of the 

included software CD. If that does not launch automatically, please run the 
„autorun.exe“ from the software CD. 


After the successful installation of the control panel you have to restart your system. 

Please follow the instructions of the installation routine. 


On-Line Diamond Multimedia Support: 

http://tickets.diamondmm.com/


On-Line Diamond Multimedia Knowledge base: 

http://tickets.diamondmm.com/kb/index.php


Summary of Contents for XS71U

Page 1: ...1 Xtreme Sound USB External Sound Card Digital HD 7 1 XS71U Quick Installation Guide Configuration Guide for Windows XP Configuration Guide for Windows Vista Windows 7 8 8 1...

Page 2: ...Card with your PC 3 Now install the drivers and the control panel A message may appear that the publisher of the driver software could not be verified You can ignore this message safely and continue...

Page 3: ...Step 2 The control panel installation from the software CD Step 1 The automatic installation of a generic USB driver 1 As soon as you connect the Diamond XS71U 7 1 USB Sound Card with your PC Windows...

Page 4: ...nnected Speakers you have to make a few more settings as shown below The Diamond 7 1 USB Sound Card has to be set as Default device If this is done click on Advanced at the Volume Tab to enable the 7...

Page 5: ...d Menu In order to use the Diamond 7 1 USB Sound Card as your default record device you have to follow the next steps shown below This applies to both microphone inputs Here you have to set the Diamon...

Page 6: ...from the software CD We now get to the final step the installation of the control panel For full functionality please install the control panel which you find in the start up of the included software...

Page 7: ...o steps necessary Step 1 The automatic installation of a generic USB driver Step 2 The control panel installation from the software CD Step 1 The automatic installation of a generic USB driver As soon...

Page 8: ...oundcard and installed it under Sound Video and Game Controllers as 7 1 USB Sound Card In order to use all connected Speakers you have to make a few more settings as shown below The Diamond 7 1 1 has...

Page 9: ...on 7 1 Surround and on Next Here you have to activate the Center Sub woofer Side pair and Rear pair Proceed by clicking on Next Here you can activate deactivate both options as needed Click on Next to...

Page 10: ...10 Click on Finish and the installation is done You will get back to the Sound Menu...

Page 11: ...th microphone inputs Here you have to set the 7 1 USB Sound Card 1 as default device 2 for recording If you want to use the Line Input as recording device you have to mark the Line input as default re...

Page 12: ...on from the software CD We now get to the final step the installation of the control panel For full functionality please install the control panel which you find in the start up of the included softwa...

Reviews: