background image

BANCA MULTIFUNCȚIONALĂ DHS6309 

MANUAL DE UTILIZARE 


IMPORTANT! 

Ci

tiți cu atenție toate instrucțiunile înainte de a utiliza acest produs. Păstrați acest manual 

pentru consultări ulterioare. 

Specificațiile  acestui  produs  pot  varia  ușor  față  de  ilustrații  și  pot  fi  modificate  fără 
notificare. 

Summary of Contents for DHS 6309

Page 1: ...UTILIZARE IMPORTANT Citi i cu aten ie toate instruc iunile nainte de a utiliza acest produs P stra i acest manual pentru consult ri ulterioare Specifica iile acestui produs pot varia u or fa de ilustr...

Page 2: ...greutate pe fiecare cap t 08 C nd folosi i accesoriul pentru picioare pune i o bar cu greut i egal cu greutatea pe care o folosi i la picioare 09 C nd face i flutur ri asigura i v c pe ambele p r i gr...

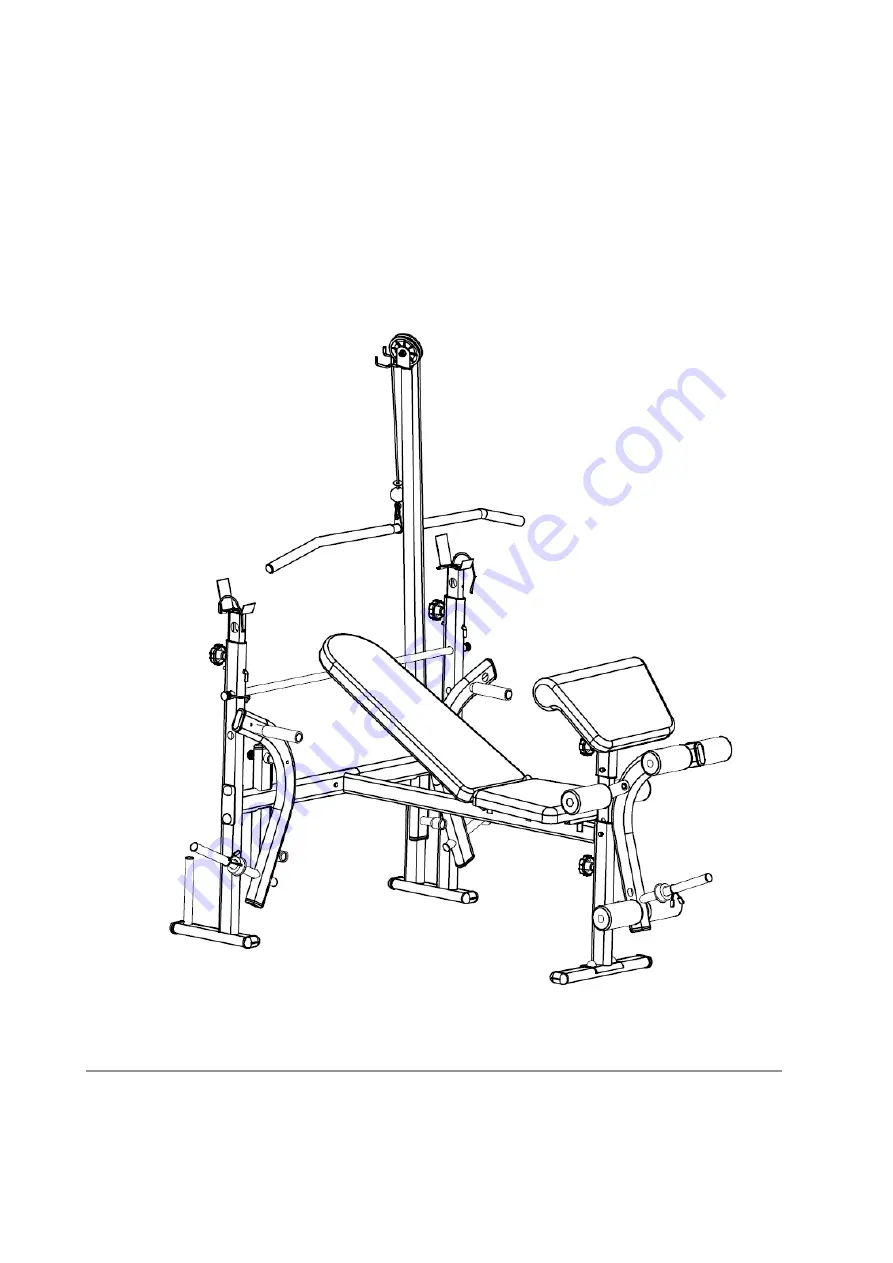
Page 3: ...2 DIAGRAM...

Page 4: ...zut inferior 1 42 Suport banc Scott 1 12 Suport bar greut i 2 43 Capac 1 13L R Bol de siguran R L 1 1 44 Capac 6 14 Picior accesoriu r mat 1 45 Capac 10 15 Bar greut i r mat 1 46 Capac S13 4 16 Bar r...

Page 5: ...ru sp tar 8 n st lpii principali 1R L Dup ajustarea pe n l ime a b rii suport pentru sp tar 8 acesta se asigur cu Bol urile L 19 i se str ng uruburile cu m ner 20 ca n figur PASUL 2 Prinde i cadrul tr...

Page 6: ...ce i bol ul pop pin 8 37 49 i blocati cu urubul cu m ner 20 ca n figur C Ata a i suportul pentru picioare 5 n suportul acestuia 6 cu urubul M10x55 28 aiba 29 i piuli a 30 apoi pune i capacele S16 31 n...

Page 7: ...6 PASUL 4 Prinde i sp tarul 17 i ezutul 18 de suportul pentru sp tar 7 i suportul pentru ezut 4 respectiv cu uruburile M6x40 M6x35 25 23 aibe grover 38 i aibe normale 24 ca n figur...

Page 8: ...suportul 14 n tubul vertical din partea st nga 1L Trage i cablul peste scripete 35 asigura i scripetele 35 pe piciorul accesoriului pentru r mat 14 cu urubul M1x45 36 aiba 29 i piuli a M10 30 ca n fi...

Page 9: ...i g urile i fixa i cu urubul cu m ner 20 Securiza i cu urubul M8x50 60 aiba plat 32 suportul de metal 61 i piuli a 62 Pune i capacele S13 46 ca n figur Trage i cablul peste scripete 35 asigura i scrip...

Page 10: ...p n la 20 de repet ri posibil f r discomfort efort Se face o pauz timp de 1 minut dup fiecare set Lucra i mu chii mai mult prin completarea mai multor seturi dec t prin utilizarea unor cantit i mari d...

Page 11: ...e corecte ale corpului Antrenamentul ntr un mod haotic v va face s v sim i i extenua i Repeti iile din fiecare set trebuie efectuate f r probleme i f r ntreruperi Stadiul de efort al fiec rei repet ri...

Page 12: ...UAL IMPORTANT Please read all instructions carefully before using this product Retain this manual for future reference The specifications of this product may vary slightly from the illustrations and a...

Page 13: ...e using the leg lever place a barbell with the same amount of weight on the weight rests to balance the bench 23 When you are using the butterfly place be sure there is an equal amount of weight on ea...

Page 14: ...13 EXPLODED VIEW...

Page 15: ...12 Barbell support 2 43 Arc end cap 1 13L R Safe pin R L 1 1 44 Arc end cap 6 14 Lat tower 1 45 Arc end cap 10 15 Weight leveler 1 46 Cap S13 4 16 Lat tower bar 1 47 Cushion 5 17 Backrest 1 48 Pop pin...

Page 16: ...he Top cross brace 8 into the Vertical tube 1R L After adjusting the Top cross brace 8 at a proper position fix the L pin 19 and Tighten it with the Knob 20 as shown STEP 2 Fix the Seat support 4 to t...

Page 17: ...49 and lock them with the Knob 20 as shown C Attach the Leg developer 5 onto the Front reinforce support 6 with the Hex Bolt 28 Washer 29 and the Nylon nut 30 then put on the Caps 31 Insert the Foam...

Page 18: ...17 STETP 4 Fix the Backrest 17 and the Seat 18 onto the Backrest support 7 and the Seat support 4 respectively with the Hex Bolts 25 23 Spring Washers 38 and Flat Washers 24 as shown...

Page 19: ...the Lat tower 14 to the left Vertical tube 1L Fit the Cable over the Pulley 35 secured the Pulley 35 onto the Lat tower 14 with the Hex Bolt 36 Washer 29 and the Nylon nut 30 as shown Then attach the...

Page 20: ...holes then fix with the Knob 20 Secured it with the Hex bolt 60 Flat washer 32 Metal piece 61 and Nylon nut 62 Put on the Caps 46 as shown Fit the Cable over the Pulley 35 secured the Pulley 35 onto...

Page 21: ...as possible without discomfort Rest for 1 minute after each set Work your muscles by completing more sets rather than by using high amounts of weight Weight Loss To lose weight use a low amount of we...

Page 22: ...y and without pausing The exertion stage of each repetition should last about half as long as the return stage Proper breathing is important Exhale during the exertion stage of each repetition and inh...

Reviews: