7
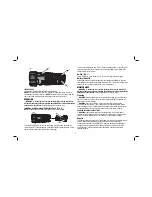
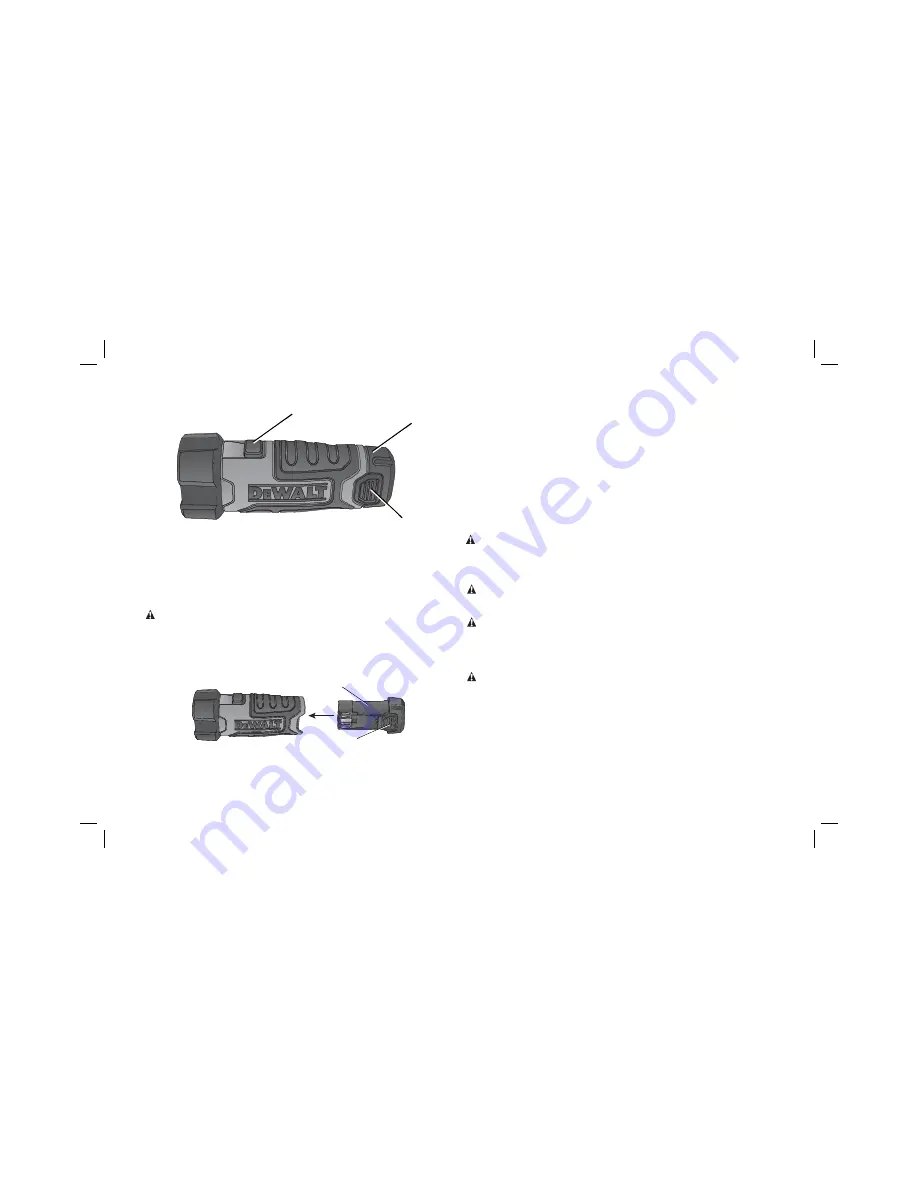
FIG 2.
A
B
C
INTENDED USE
This flashlight is designed for professional applications.
DO NOT
use under wet conditions or in presence of flammable liquids or gases.
This flashlight is a professional tool.
DO NOT
let children come into contact with the
tool. Supervision is required when inexperienced operators use this tool.
OPERATION
WARNING: To reduce the risk of serious personal injury, turn the tool off and
disconnect the battery pack before making any adjustments or removing/installing
attachments or accessories.
An accidental start-up can cause injury.
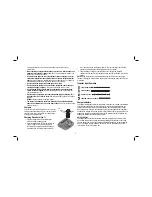
Installing and Removing the Battery Pack (Fig. 3)
NOTE:
For best results, make sure your battery pack is fully charged.
FIG. 3
B
C
To install the battery pack (B) into the tool handle, align the battery pack with the
rails inside the tool’s handle and slide it into the handle until the battery pack is firmly
seated in the tool and ensure that it does not disengage.
To remove the battery pack from the tool, press the release button (C) and firmly pull
the battery pack out of the tool handle. Insert it into the charger as described in the
charger section of this manual.
Switch (Fig. 1)
To turn the light on, press the switch (A). To turn it off, press the switch again.
Battery Indicator
As the battery nears a fully discharged state, the flashlight will blink twice and then
the brightness of the light will drop below the normal level. This cycle will repeat for a
period of up to 15 minutes until the battery is fully discharged.
MAINTENANCE
WARNING: To reduce the risk of serious personal injury, turn the tool off and
disconnect the battery pack before making any adjustments or removing/installing
attachments or accessories.
An accidental start-up can cause injury.
Cleaning
WARNING:
Blow dirt and dust out of all air vents with clean, dry air at least once
a week. To minimize the risk of eye injury, always wear AS/NZS1337 approved eye
protection when performing this.
WARNING:
Never use solvents or other harsh chemicals for cleaning the
non-metallic parts of the tool. These chemicals may weaken the plastic materials
used in these parts. Use a cloth dampened only with water and mild soap. Never let
any liquid get inside the tool; never immerse any part of the tool into a liquid.
CHARGER CLEANING INSTRUCTIONS
WARNING:
Shock hazard. Disconnect the charger from the AC outlet before
cleaning. Dirt and grease may be removed from the exterior of the charger using a
cloth or soft non-metallic brush. Do not use water or any cleaning solutions.
Repairs
This charger and battery pack are not serviceable. Servicing at an authorized service
centre is required to avoid damage to static sensitive internal components.
To assure product SAFETY and RELIABILITY, repairs, maintenance and adjustment
(including brush inspection and replacement) should be performed by certified
service centers or other qualified service organizations, always using identical
replacement parts.
Summary of Contents for XR LI-ION DCL023-XE
Page 1: ...DCL023 XE 7 2 V CORDLESS LED FLASHLIGHT INSTRUCTION MANUAL ...
Page 2: ......
Page 11: ......

