26.8.11
UNIGATE Fieldbus Gateway CANopen® - ProfibusDP V. 2.3
35
Deutschmann Automation GmbH & Co. KG
Commissioning guide
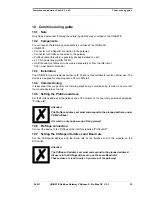
10 Commissioning guide
10.1 Note
Only trained personnel following the safety regulations may commission the UNIGATE.
10.2 Components
You will require the following components to commission the UNIGATE:
•
UNIGATE
•
Connector for CANopen® connection to the gateway
•
Connector for Profibus connection to the gateway
•
Profibus cable (this cable is generally already installed on site!)
•
24 V DC power supply (DIN 19240)
•
GSD file and User Manual (to be ordered separately or from the Internet at
http:// www.deutschmann.de).
10.3 Installation
The UNIGATE module features enclosure IP 20 and is thus suitable for switch cabinet use. The
device is designed for snapping onto a 35 mm DIN-rail.
10.4 Commissioning
It is essential that you perform the following steps during commissioning in order to ensure that
the module operates correctly:
10.5 Setting the Profibus address
Set the Profibus address at the fieldbus end of the module on the two rotary switches designated
"Profibus-ID".
Attention:
The Profibus address set must correspond to the planned address under
COM Profibus !
It is read in only on power-up of the gateway!
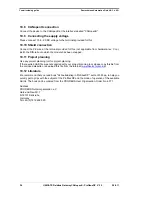
10.6 Profibus connection
Connect the device to the Profibus at the interface labelled "ProfibusDP".
10.7 Setting the CANopen® address and Baud rate
Set the CANopen® address and the Baud rate at the fieldbus end of the module on the
DIP-switch.
Attention:
The CANopen® address set must correspond to the planned address!
All users in the CANopen® have to use the same Baud rate!
These values are read in only on power-up of the gateway!

