7
ENGLISH
CONTENTS
z
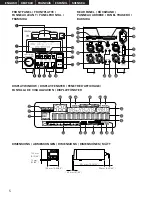
PART NAMES AND FUNCTIONS ……………………………8 ~ 11
(1)
Front Panel ……………………………………………………8, 9
(2)
Rear Panel……………………………………………………9, 10
(3)
Display Window……………………………………………10, 11
x
REMOTE CONTROL CONNECTIONS
………………………11, 12
c
ABOUT MINIDISCS …………………………………………………12
v
PRESET FUNCTIONS AND OPERATIONS …………………13 ~ 17
(1)
List of Preset Functions ………………………………………13
(2)
Presetting Procedure …………………………………………14
(3)
Detailed Description of Preset Functions ……………15 ~ 17
b
BASIC OPERATION
…………………………………………18 ~ 22
(1)
Starting Playback
……………………………………………18
(2)
End Monitor ……………………………………………………18
(3)
PLAY/PAUSE and STANDBY/CUE Operations ……………19
(4)
Before Starting to Record ……………………………………19
(5)
Method of Recording on Discs ………………………………19
(6)
Starting to Record
……………………………………………20
(7)
Stopping Recording ……………………………………………20
(8)
Starting Recording Automatically by
Detecting the Input Level ……………………………………21
(9)
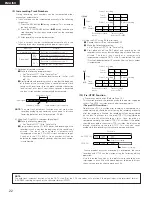
Incrementing Track Numbers…………………………………22
(10) Pre-UTOC Function ……………………………………………22
n
HANDY OPERATIONS ………………………………………23 ~ 25
(1)
Setting Cue Points ……………………………………………23
(2)
Direct Search for Cue Points …………………………………24
(3)
Instantaneous play (Hot Start) ………………………………25
m
PROGRAMMED PLAYBACK …………………………………26 ~ 28
(1)
Inputting Programs ……………………………………………26
(2)
Changing Programs ………………………………………26, 27
(3)
Playing Programs ………………………………………………27
(4)
Presetting Programs …………………………………………28
,
EDITING FUNCTIONS…………………………………………29 ~ 35
(1)
Editing Functions ………………………………………………29
(2)
Editing Function Select ………………………………………30
(3)
Erasing Cue Signals ‹Cue erase function›
…………………30
(4)
Erasing Tracks ‹Track erase function› ………………………31
(5)
Erasing All the Tracks on the Disc ‹All erase function› ……31
(6)
Dividing Tracks into Two Parts ‹Divide function›……………32
(7)
Combining Two Tracks ‹Combine function›…………………32
(8)
Moving Tracks ‹Move function› ………………………………33
(9)
Pitch on the disc (Disc’s pitch function) ……………………33
(10) Inputting (Changing) Names ‹Title function›
………………34
(11) Exit the Edit Mode or Undoing Editing ‹Undo functions› …35
.
CONNECTING AND OPERATING A KEYBOARD ……………36, 37
(1)
Connecting the Keyboard ……………………………………36
(2)
Keyboard Operations
……………………………………36, 37
⁄0
RESETTING THE MICROPROCESSOR
…………………………38
⁄1
HANDLING CARTRIDGES …………………………………………38
(1)
Cautions on Handling …………………………………………38
(2)
Cautions on Storing ……………………………………………38
⁄2
MESSAGES …………………………………………………………39
⁄3
SYSTEM LIMITATIONS ……………………………………………40
(1)
Track Number Limits …………………………………………40
(2)
Recording Time Limits
………………………………………40
(3)
Editing Function Limits ………………………………………40
(4)
Title Function Limits
…………………………………………40
(5)
Other Limits ……………………………………………………40
⁄4
SPECIFICATIONS ……………………………………………………41
Checking the Contents
Check that the carton contains the following items:
3P power supply cord ……………………………………………1 pc.
Operating instructions (this booklet) ……………………………1 pc.
Installing the Units
Up to three units can be installed in a 19” EIA rack or console. Install shelves on the rack.
NOTES:
•
DECLARATION OF CONFORMITY
We declare under our sole responsibility that this product, to which this declaration relates, is in
conformity with the following standards:
EN60065, EN55013, EN55020, EN61000-3-2 and EN61000-3-3.
Following the provisions of 73/23/EEC, 89/336/EEC and 93/68/EEC Directive.
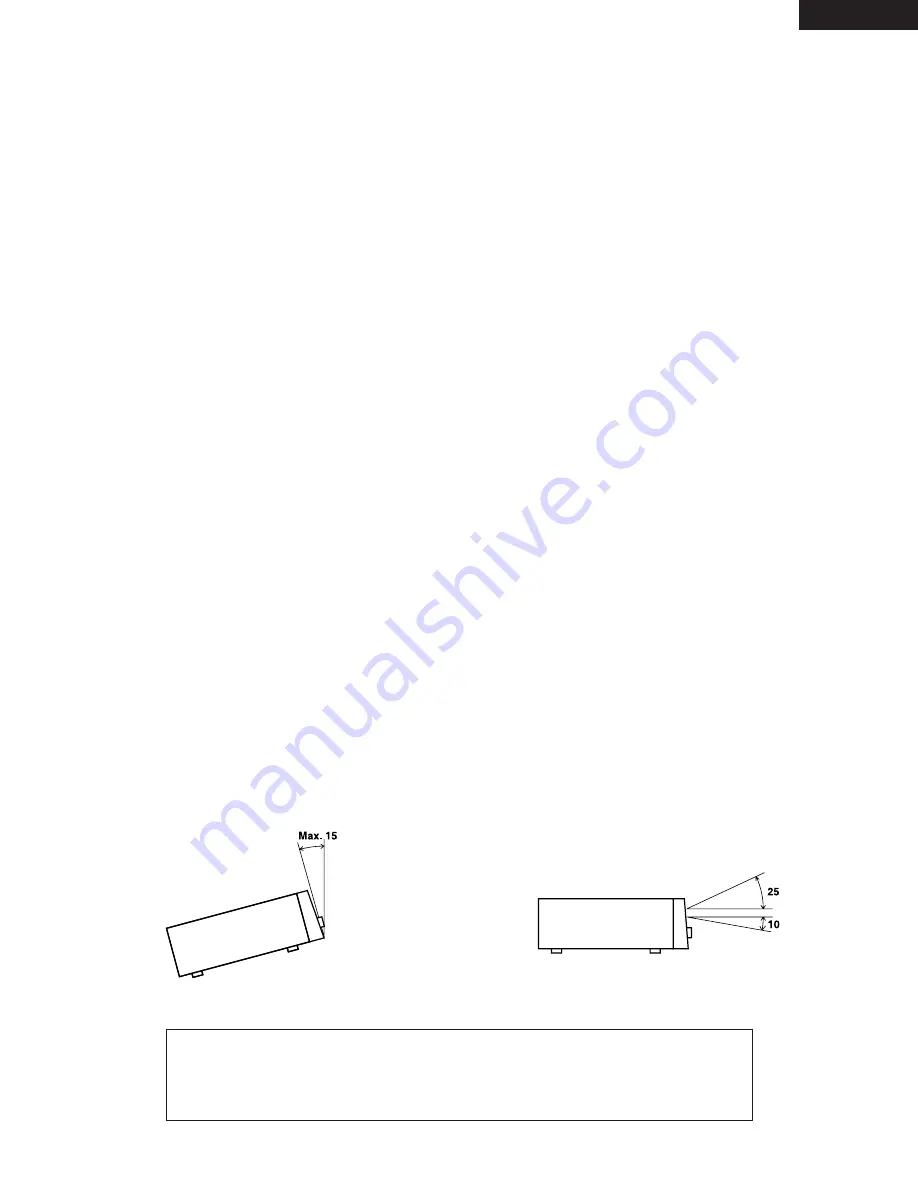
• To be ensure proper operation of the DN-M991R unit, set it so that
the slant of its front panel is within 15° of the perpendicular.
• The display window (fluorescent tube) is designed so that all
indications can be seen from within the angles shown below. Install
the units so that the visual angle is within this range.


