22
ENGLISH
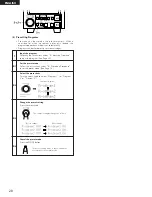
(9) Incrementing Track Numbers
During recording, track numbers can be incremented either
manually or automatically.
• Track numbers can be incremented manually in the following
three ways:
1) Press the REC button (
4
) during recording. This increments
the track number.
2) Press the PLAY/PAUSE button (
13
) during recording to
stop recording for that track number and set the recording
pause mode.
3) After recording, use the divide function.
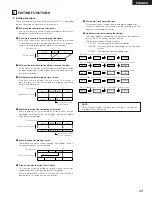
• Track numbers can be incremented automatically in the
following three ways, according to the type of input signal:
Input type
Method
Analog/digital input
Detection of soundless section 1)
Digital input
CDs
and
MDs
Detection of soundless section 1)
Using the CD’s or MD’s subcodes 2)
Detection of soundless section 1)
Using the DAT’s start IDs 3)
DATs
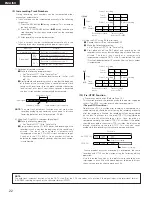
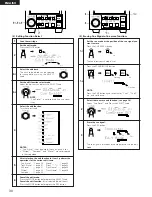
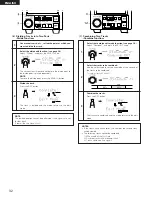
1) Detection of soundless section
q
Make the following two presettings:
• Set “AutoInc OFF” 14) to “AutoInc Det.”
• Set the soundless detection level setting to “IncDet. (–60)
dB” 13).
w
Start playback and recording in such a way that the beginning
of the sound is not missed. When a soundless section (or a
section with level lower than the preset soundless detection
level setting) of at least 2 continuous seconds is detected,
the disc’s track number is automatically incremented.
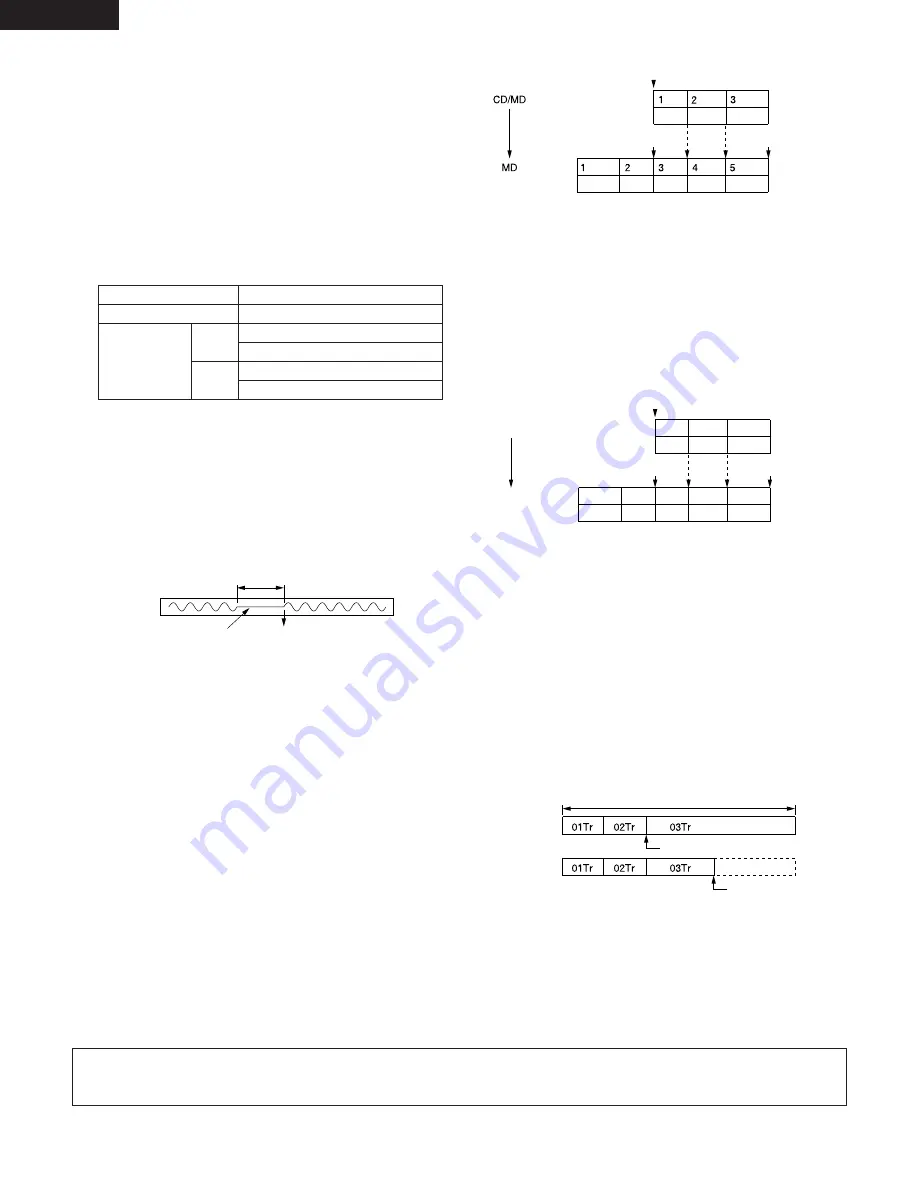
2 seconds or more
Track number is incremented
Soundless section
NOTE:
The auto track increment function may not work when
recording analog signals containing much noise. In this case
lower the detection level to for example –54 dB.
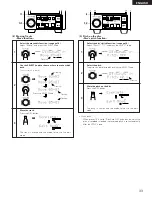
2) Using the CD’s or MD’s subcodes (digital input)
q
Make the following presetting:
• Set “AutoInc OFF” 14) to “AutoInc Dig.”
w
Start playback on the CD (MD) player and recording on the
recorder in such a way that the beginning of the sound is not
missed. The disc’s track number is automatically
incremented when the CD’s (MD’s) track number changes.
Changes in the CD’s (MD’s) track number will not be
detected for approximately 4 seconds after the track number
is incremented.
NOTE:
The auto track increment function using the DAT’s start ID or the CD’s sub codes will not work if the digital input is in professional format
(AES/EBU). Input digital signals of the consumer format (SPDIF).
Copy
Track
number
Track A
Track B Track X
Track Y
Track Z
Previously recorded
tracks
Tracks recorded
from the CD (MD)
Start of recording
Start of recording
End of recording
Track X
Track Y
Track Z
Track
number
Track
number
Track
number
DAT
MD
1
2
3
1
2
3
4
5
Copy
Track A
Track B Track X
Track Y
Track Z
Previously recorded
tracks
Tracks recorded
from the DAT
Start of recording
Start of recording
End of recording
Track X
Track Y
Track Z
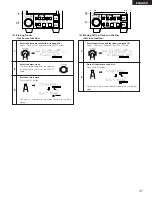
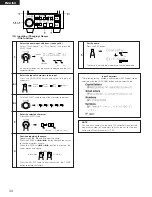
3) Using the DAT’s start IDs (digital input)
q
Record the start ID on the recorded DAT.
w
Make the following presetting:
• Set “AutoInc OFF” 14) to “AutoInc Dig.”
e
Start playback on the DAT player and recording on the
recorder in such a way that the beginning of the sound is not
missed. The disc’s track number is automatically
incremented when the DAT’s start ID is detected. The start
ID will not be detected for 15 seconds after the track number
is incremented.
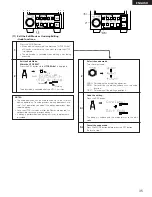
(10) Pre-UTOC Function
• Presettings must be set. (Refer to Page 15.)
This function protects the recording should the power supply be
cut off. The UTOC is written directly after recording starts.
(The pre-UTOC is written.)
Normally the UTOC is written after recording is completed, so if
the power supply should be cut off during the recording or directly
after the recording is finished, the recording will not be registered
on the disc. To prevent this, the pre-UTOC (*1) is registered on
the disc directly after recording starts. Once recording is
completed normally, the actual UTOC (*2) is written. If the power
should be cut before the actual UTOC is written, the disc can be
played according to the pre-UTOC. This way you never
accidentally lose recordings that cannot be made over again.
Pre-UTOC (*1)
Entire disc
Start of recording
End of recording
UTOC (*2)
If some problem occurs and recording is interrupted, the same
recording and UTOC can be written using the following editing
operation:
Use the divide function at the point where recording was
interrupted in track 03 on the above diagram to divide the track,
then use the erase function to erase track 04.
Input signal

