16
Setting the general [General]
Upgrade
Display a notification message on this unit’s menu screen when
downloadable firmware is released with “Add New Feature”.
Connect to broadband Internet (
) when using this
function.
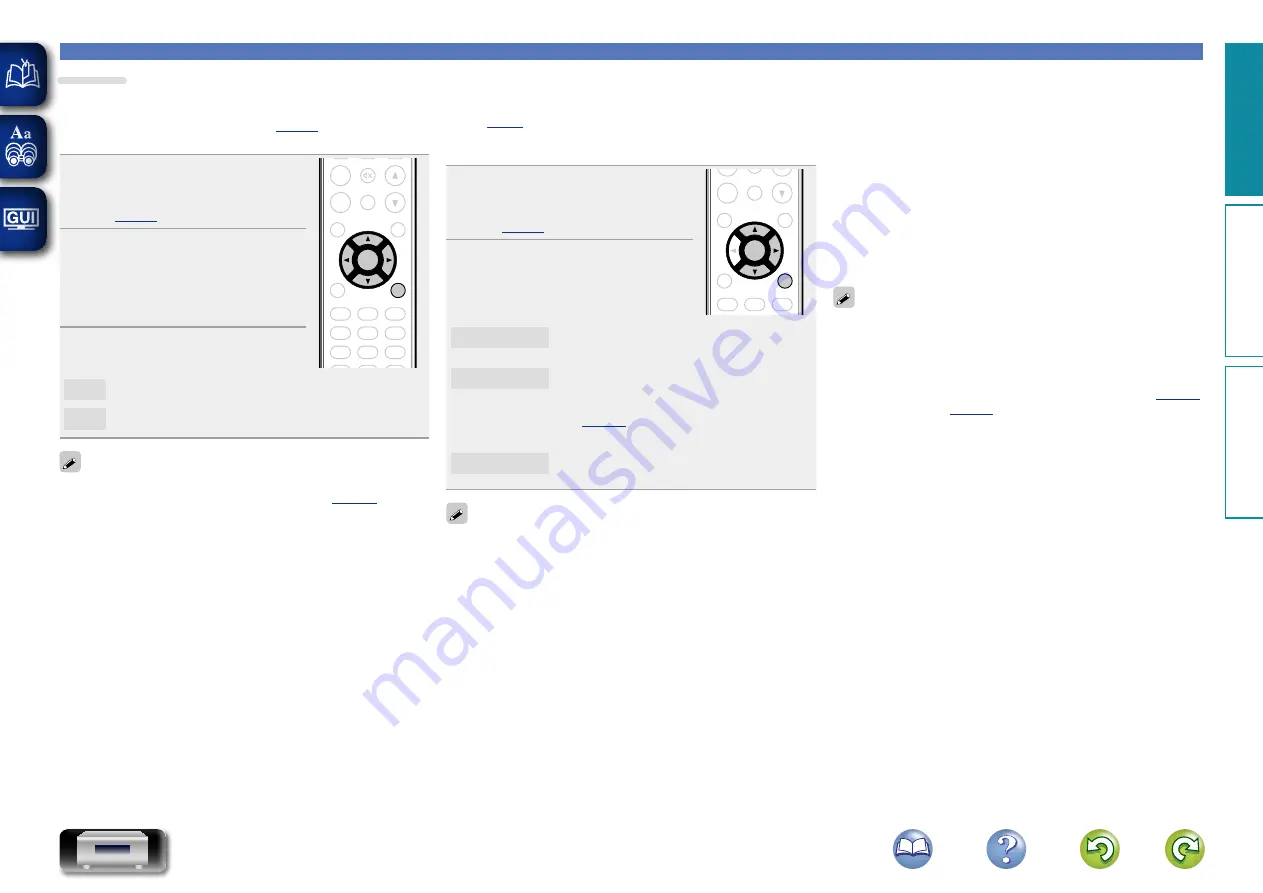
1
Press
SETUP
.
Turns on the Menu settings mode
and the Menu appears on the display
(
ADD
CALL
FAVORITE
SEARCH
. /
ABC
a/A
DEF
GHI
JKL
MNO
PQRS
TUV
WXYZ
*
1
2
3
4
5
6
7
8
9
+10
0
RC-1174
CH -
+
CH
TUNE +
TUNE -
ANALOG IN
TUNER
DIGITAL IN
POWER
CLOCK
DIMMER
SLEEP
MUSIC
SERVER
INTERNET
RADIO
ONLINE
MUSIC
VOLUME
SDB
TONE
MUTE
TOP MENU
INFO
MODE
CLEAR
USB
iPod
CD
RANDOM REPEAT PROGRAM
ENTER
SETUP
2
Use
ui
and
ENTER
to select
“General” – “Firmware” –
“Notification” – “Upgrade”,
then press
ENTER
or
p
.
“Upgrade Notification” menu appears.
3
Use
ui
to select “On”, then
press
ENTER
or
p
.
On
Display upgrade message.
Off
Do not display upgrade message.
•
When you press
ENTER
during display of the notification message,
the “Add New Feature” is displayed. (Refer to
page 16
information on “Add New Feature”.)
•
Press
o
to erase the notification message.
n
Add New Feature
•
In order to add new functions, the environment and settings
required for connecting to broadband internet are needed
(
•
Perform the add new feature operation after at least 2 minutes has
elapsed since turning this unit’s power on.
1
Press
SETUP
.
Turns on the Menu settings mode
and the Menu appears on the display
(
ADD
CALL
FAVORITE
SEARCH
. /
ABC
a/A
DEF
GHI
JKL
MNO
PQRS
TUV
WXYZ
*
1
2
3
4
5
6
7
8
9
+10
0
RC-1174
CH -
+
CH
TUNE +
TUNE -
ANALOG IN
TUNER
DIGITAL IN
POWER
CLOCK
DIMMER
SLEEP
MUSIC
SERVER
INTERNET
RADIO
ONLINE
MUSIC
VOLUME
SDB
TONE
MUTE
TOP MENU
INFO
MODE
CLEAR
USB
iPod
CD
RANDOM REPEAT PROGRAM
ENTER
SETUP
2
Use
ui
to select “General”
– “Firmware” – “Add New
Feature”, then press
ENTER
or
p
.
Upgrade Status
Display a list of the additional functions provided
by the upgrade.
Upgrade Start
Execute the upgrade process.
•
If the upgrade is not successful, an error message identical to
those in “Update”(
) will appear on the display. Check
the settings and network environment, then update again.
Upgrade ID
The ID number shown on this screen is needed
when carrying out the procedure.
See the DENON website for details about updates.
When the procedure is complete, “Registered” is displayed and
updates can be carried out. If the procedure has not been carried out,
“Not Registered” is displayed.
[Notes concerning use of “Update” and
“Add New Feature”]
•
Do not turn off the power until updating or upgrading is completed.
•
Even with a broadband connection to the Internet, approximately
20 minutes is required for the updating/upgrading procedure to be
completed.
•
Once updating/upgrade starts, normal operations on this unit cannot
be performed until updating/upgrading is completed.
•
Furthermore, updating/upgrading the firmware may reset the backup
data for the parameters, etc. set for this unit.
•
If the update or upgrade fails, remove and re-insert the power cord.
“Update Retry” appears on the display and update restarts from
the point at which update failed. If the error continues despite this,
check the network environment.
•
Information regarding the “Update” function and “Add New
Feature” will be announced on the DENON web site each time
related plans are defined.
•
When usable new firmware is released with “Update” or “Add New
Feature”, a notification message is displayed on the menu screen.
When you do not want to be notified, set “Update” (
and “Upgrade” (
Pr
epar
ations
Oper
ations
Inf
or
mation
Pr
epar
ations


