50
Get
ting Star
ted
Connections
Set
up
Pla
ybac
k
Remot
e Contr
ol
Multi-Zone
Inf
or
mation
Tr
oubleshooting
HD Radio™ technology manufactured under license from iBiquity
Digital Corporation. iBiquity Digital, the HD Radio logo, and the
HD logo are registered trademarks of iBiquity Digital Corporation.
HD Radio™ is a trademark of iBiquity Digital Corporation. U.S. and
Foreign Patents.
Using the HD Radio™ Receiver
HD Radio technology provides higher quality sound than conventional
broadcasts and allows reception of data services.
• FM sounds as sensational as CDs
• AM sounds as rich as analog FM stereo
• A variety of “data services”, including text-based information, song
title, artist name, album name, genre, etc. can be received.
Furthermore, in addition to conventional broadcasts, with HD
Radio broadcasting it is possible to choose from up to 8 multicast
programs.
For detailed information on HD Radio technology, please go to “www.
ibiquity.com”.
Listening to HD Radio Stations
HD radio stations offer higher sound quality than
conventional FM/AM broadcasts. It is also possible to
receive data services and select broadcasts from among up
to eight multicast programs.
1
Either turn
<SOURCE SELECT>
or press
[DTU]
(AMP
mode) to select “HD Radio”.
:
“Source Select”
(
v
page 37, 38)
2
To operate using the main remote control unit, set
the remote control unit to the NET/DTU (DEVICE2)
mode.
(
v
page 61 “Remote Control Unit Operations”)
3
Press
[BAND]
to select “FM” or “AM”.
4
Tune in the desired broadcast station.
q
To tune in automatically (Auto Tuning)
Press
[MODE]
to select “HD Auto” or “Auto”, then use
[
df
]
to
select the station you want to hear.
• The “
” indicator lights on the display when an HD Radio
station is tuned in.
• When “HD Auto” (tuning mode) is selected, only HD Radio
stations are tuned in.
• If “Auto” (tuning mode) is selected, both HD Radio and analog
stations are tuned in.
w
To tune in manually (Manual Tuning)
Press
[MODE]
to select “Manual”, then use
[
df
]
.
Basic Operation
Searching Categories
1
Press
o
p
.
2
Use
o
p
to select the category, then use
ui
to select
the desired station.
Accessing XM Radio Stations Directly
1
Press
[SEARCH]
.
2
Press
[NUMBER]
then input the station’s channel.
Example:
Accessing station “XM123”:
[1]
→
[2]
→
[3]
b
If no button is pressed within several seconds, the station
automatically switches to the one whose number has been input.
3
Press
[ENTER]
to set that station.
Reception switches to the selected station.
• “LOADING” is displayed while stations or data are being received.
• “UPDATING” is displayed while the encoding code is being
updated.
• “XM - - -” is displayed if the selected channel cannot be used.
Channel category
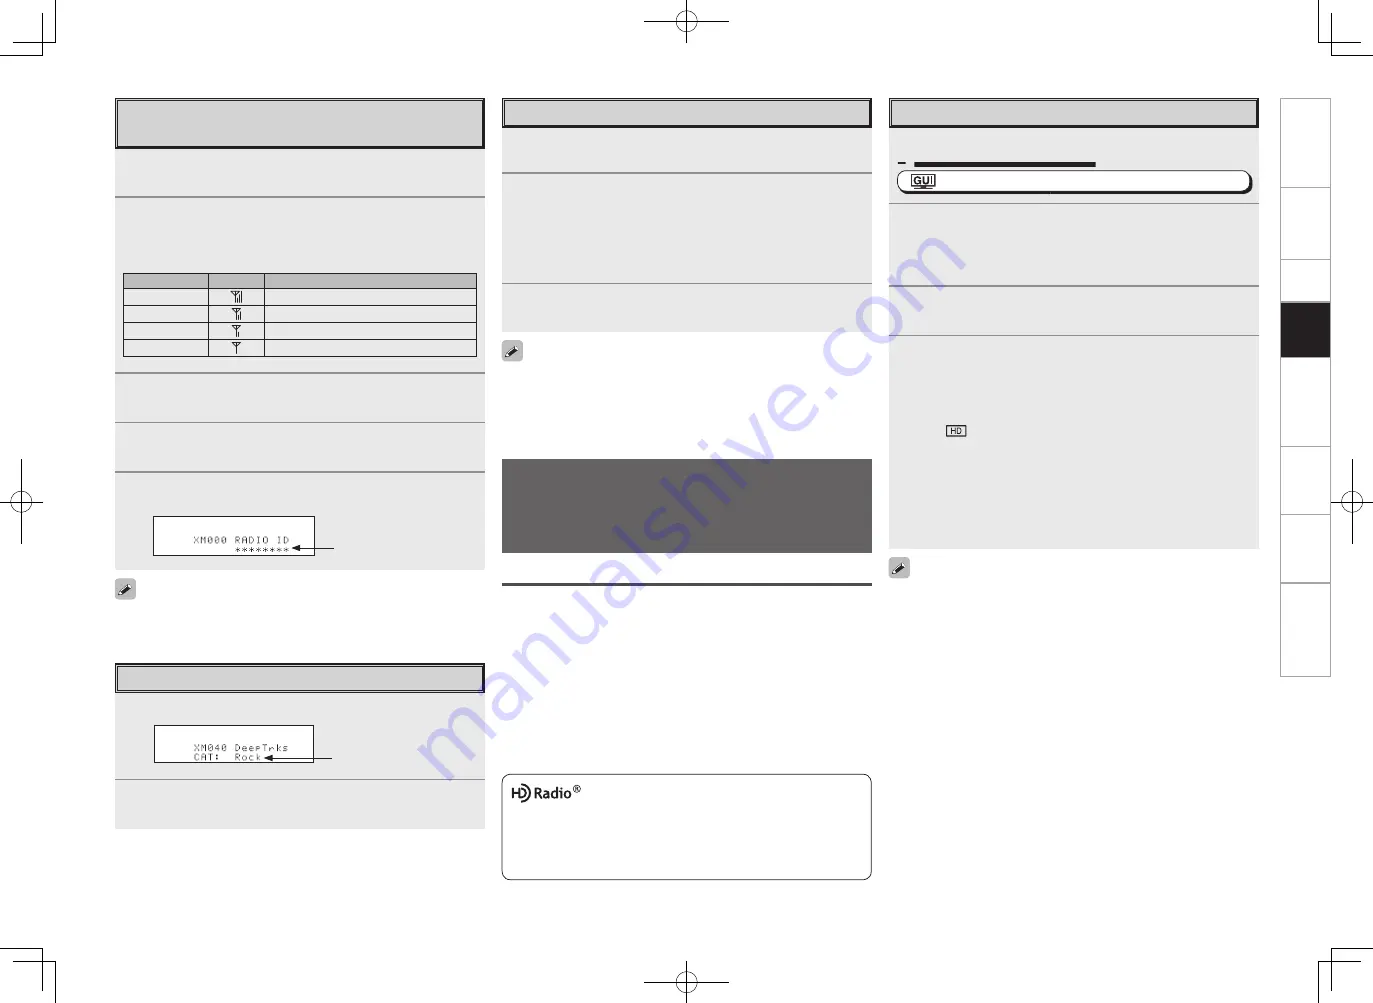
Checking the XM Signal Strength and
Radio ID
1
Either turn
<SOURCE SELECT>
or press
[SAT TU]
(AMP mode) to select “XM”.
2
Press
<STATUS>
until “SIGNAL” appears on the
display.
The display will switch as shown below, depending on the
reception conditions.
Display
GUI
Status
GOOD
Signal strength is good
MARGINAL
Signal strength is marginal
WEAK
Signal strength is weak
NO
No signal
3
Adjust the position of the antenna until “SIGNAL:
GOOD” is shown on the display.
4
Press
<STATUS>
until the station you want to check
(example: “XM001”) is displayed.
5
Press
[
f
]
and select channel 0 (XM000).
The radio ID is shown on the display.
The strength of both the XM satellite and terrestrial signals can be
checked at GUI menu “Source Select” – “XM” – “Antenna Aiming”
(
v
page 41).
Radio ID
•
It is also possible to switch to “FM” or “AM” at step 1 by pressing
[DTU]
.
• If the desired station cannot be tuned in with auto tuning, tune it in
manually.
• When tuning in stations manually, press and hold
[
df
]
to change
frequencies continuously.
• HD Radio stations can be preset using the same procedure as for
FM/AM stations (
v
page 48 “Presetting Radio Stations (Preset
Memory)” and “Listening to Preset Stations”). In addition, with HD
Radio, multicasts can also be preset.
• The time for which the GUI menu is displayed can be set at GUI menu
“Manual Setup
”
– “Option Setup
”
– “GUI
”
– “Tuner
”
(
v
page 35).
3.AVR4308_P47~69.indd 4
2007/05/11 16:03:49


