Getting Started
Connections
Setup
Information
Troubleshooting
ENGLISH
Specifications
Other Operations
Make a test recording before starting the actual recording.
NOTE
• Recordings you make are for your personal enjoyment and should
not be used for other purposes without permission of the copyright
holder.
• Digital signals are not output from the REC OUT (CD-R/TAPE and
VCR) connector.
• Audio and video signals input from the VCR IN connector are not
output from the VCR OUT connector. Audio signal input from the
CD-R/TAPE IN connector are not output from the CD-R/TAPE OUT
connector.
Convenient Functions
Other Operations and Functions
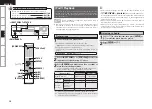
1
Press
<INPUT SELECT>
to choose the input source to
be recorded.
2
Set the recorder to the recording mode.
b
For instructions on operating, see the operating instructions of
the connected component.
3
Start playback on the player.
b
For instructions on operating, see the operating instructions of
the connected component.
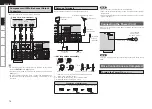
Recording on an External Device
First connect the device from which you want to record to the
AVR-390.
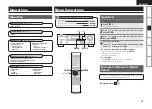
Button located on both the main unit and the remote
control unit
BUTTON
Button only on the main unit
<BUTTON>
Button only on the remote control unit
[BUTTON]
Symbols used to indicate buttons in this manual
1
Press
[TEST]
.
b
The test tone mode is displayed and will be heard from the
speaker of each channel for 2 seconds as follows:
FR
C
FL
SL
SW
SR
b
When the speaker setting is “N”, the test tone of the corresponding
channel is not available.
2
Press
o
p
when the speaker for which you want to
adjust the volume is displayed.
[Variable range]
Other level :
–15dB ~ 0dB ~ +15dB
b
If there is no operation for approximately 2 seconds, the display
shows the next speaker.
3
When you have finished setting, press
[TEST]
once
again.
b
The set channel level overwrites “REFERENCE1” in memory.
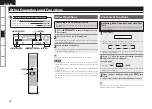
Adjusting Each Channel Level with Test
Tone
The volume level of each channel can be adjusted easily with the
test tone function.
When you want to memorize “REFERENCE2”, see “Memorizing the
Adjusted Channel Levels” (
v
page 18).
<INPUT SELECT>
<SETUP>
o p
<ON/STANDBY> <MEMORY/ENTER> <NIGHT>
d
f
o p
[TEST]
Playback

