28
7
Graphical user interface (GUI) for PC
The GUI is primarily a means to demonstrate the charger system's CAN bus capabilities as all data
transmitted and received by the GUI is done via CAN bus. It allows evaluation of the wireless charger
system before the CAN bus protocol is incorporated into the AGV system controller.
CAN bus mode
Control
Set target voltage and maximum currrent
Enable or disable the charging process
CAN bus baud rate
Assinging CAN bus node ID
Selecting the charging
mode
Monitoring the charger
system
Status including graphing of the output voltage
and current
Faults
Data logging for export to Excel
7.1
Requirements
●
PC with a USB port, and Windows 10 operating system.
●
Peak-System PCAN-USB adapter
●
2-pin Molex to DB9 cable (Delta can make available on request)
●
GUI software for PC (Delta can make available on request)
7.2
Installing PCAN-USB drivers
The GUI requires that the drivers for the PCAN-USB are installed. The drivers can be downloaded from
support section of the the Peak-System website.
7.3
Connecting the WSU to the PC
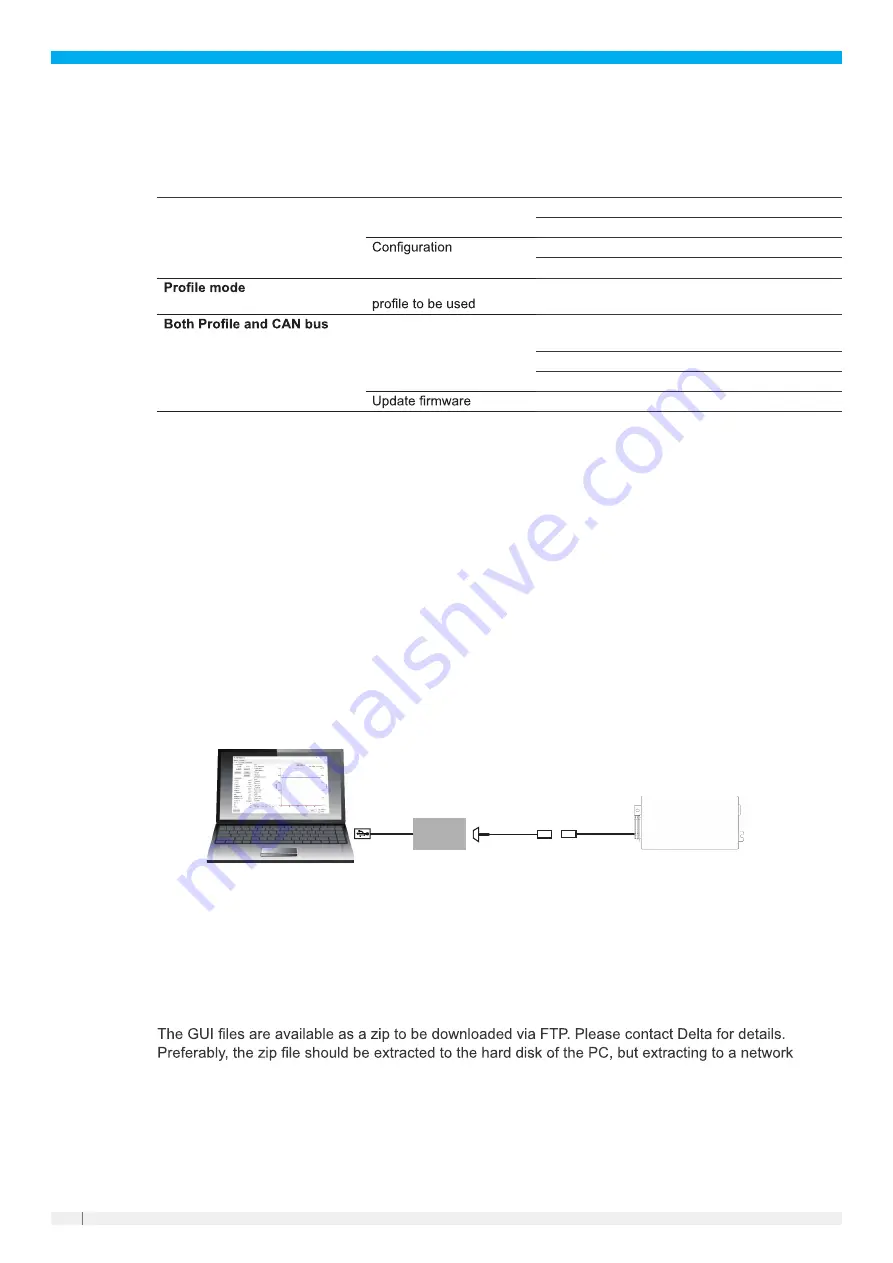
The WSU CAN bus cable is connected to the PC using a PCAN-USB and an adapter cable as follows.
PCAN-USB
Windows PC
with GUI
PCAN-USB
adaptor
2-pin Molex
to DB9 cable
Secondary
box
Additionally, the WSU DC output terminals must be connected to a voltage source of between 12 V and
30 V (24 V model) / 60 V (48 V model) to be able to communicate via CAN bus.
7.4
Installing the GUI
location is also possible. The following shows the contents of the GUI folder when the zip is extracted
to the desktop. Double click “CanMonitor.exe” to run the GUI.


