


Back to Contents Page
System Setup Screens
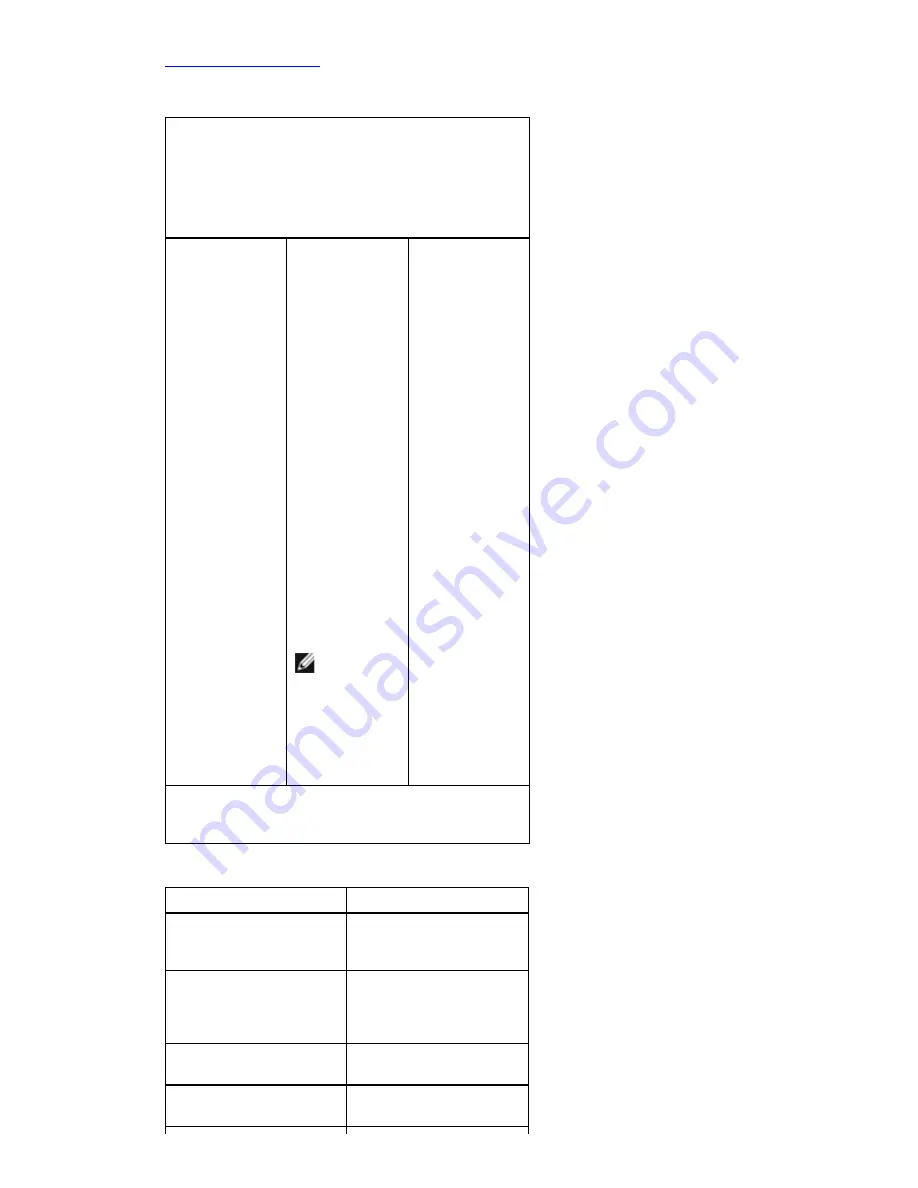
Use the following keys to navigate through the System Setup screens:
Keystroke
Action
Menu
— Appears on top of the System Setup
window. This field provides a menu to access the
System Setup options. Press < Left Arrow > and <
Right Arrow > keys to navigate. As a
Menu
option
is highlighted, the
Options List
lists the options
that define the hardware installed on your
computer.
Options List
—
Appears on the
left side of the
System Setup
window. The
field lists
features that
define the
configuration of
your computer,
including
installed
hardware,
power
conservation,
and security
features. Scroll
up and down
the list with the
up- and down-
arrow keys. As
an option is
highlighted, the
Options
Field
displays
the option's
current and
available
settings.
Options Field
— Appears on
the right side of
Options List
and contains
information
about each
option listed in
the
Options
List
. In this
field you can
view
information
about your
computer and
make changes
to your current
settings. Press
< Enter> to
make changes
to your current
settings. Press
<ESC> to
return to the
Options List
.
NOTE:
Not
all settings
listed in
the Options
Field are
changeable
.
Help
—
Appears on the
right side of the
System Setup
window and
contains help
information
about the
option selected
in
Options
List
.
Key Functions
— Appears below the
Options
Field
and lists keys and their functions within the
active system setup field.
< F2 >
Displays information on
any selected item in the
System Setup.
< Esc >
Exit from current view or
switch the current view
to the
Exit
page in the
System Setup.
< Up Arrow > or <
Down Arrow >
Select an item to
display.
< Left Arrow > or <
Right Arrow >
Select a menu to
display.
Summary of Contents for Vostro 460
Page 4: ...Back to Contents Page Covers Removing The Computer Cover Installing The Computer Cover ...
Page 5: ...Back to Contents Page Front Bezel Removing The Front Bezel Installing Front Bezel ...
Page 6: ...Back to Contents Page Chassis Fan Removing The Chassis Fan Installing The Chassis Fan ...
Page 7: ...Back to Contents Page Hard Drive Removing The Hard Drive Installing The Hard Drive ...
Page 10: ...Back to Contents Page Power Supply Removing The Power Supply Installing Power Supply ...
Page 11: ...Back to Contents Page Video Card Removing The Video Card Installing Video Card ...
Page 12: ...Back to Contents Page Memory Removing The Memory Installing The Memory ...
Page 13: ...Back to Contents Page Cards Removing The Expansion Card Installing The Expansion Card ...
Page 14: ...Back to Contents Page Optical Drive Removing The Optical Drive Installing Optical Drive ...
Page 17: ...Back to Contents Page I O Panel Removing Front I O Panel Installing Front I O Panel ...
Page 19: ...Back to Contents Page System Board Removing The System Board Installing The System Board ...
Page 22: ...Back to Contents Page Contacting Dell Contacting Dell ...
Page 28: ...4 Lift the computer cover away from the computer Related tasks Installing Computer Cover ...
Page 31: ...Related tasks Installing Front Bezel ...
Page 38: ...Related tasks Installing Hard Drive ...
Page 43: ...Related tasks Installing Processor ...
Page 46: ...Related tasks Installing Video Card Holder ...
Page 50: ...9 Lift the power supply out of the computer Related tasks Installing Power Supply ...
Page 54: ...Related tasks Installing Video Card ...
Page 57: ...Related tasks Installing Memory ...
Page 60: ...Related tasks Installing Expansion Card ...
Page 70: ...Related tasks Installing Power Button And Hard Drive Activity LED ...
Page 76: ...Related tasks Installing Coin Cell Battery ...