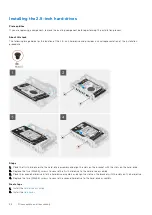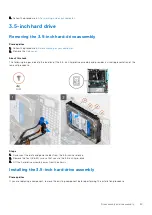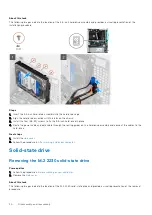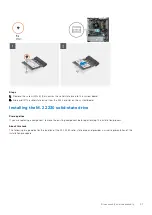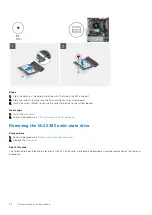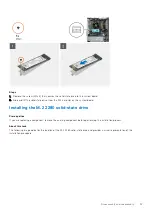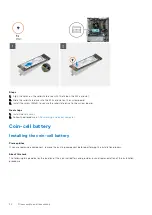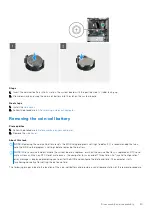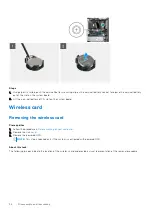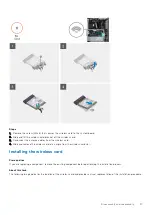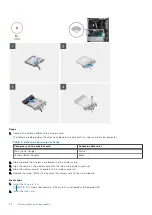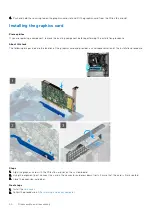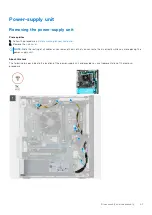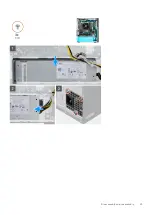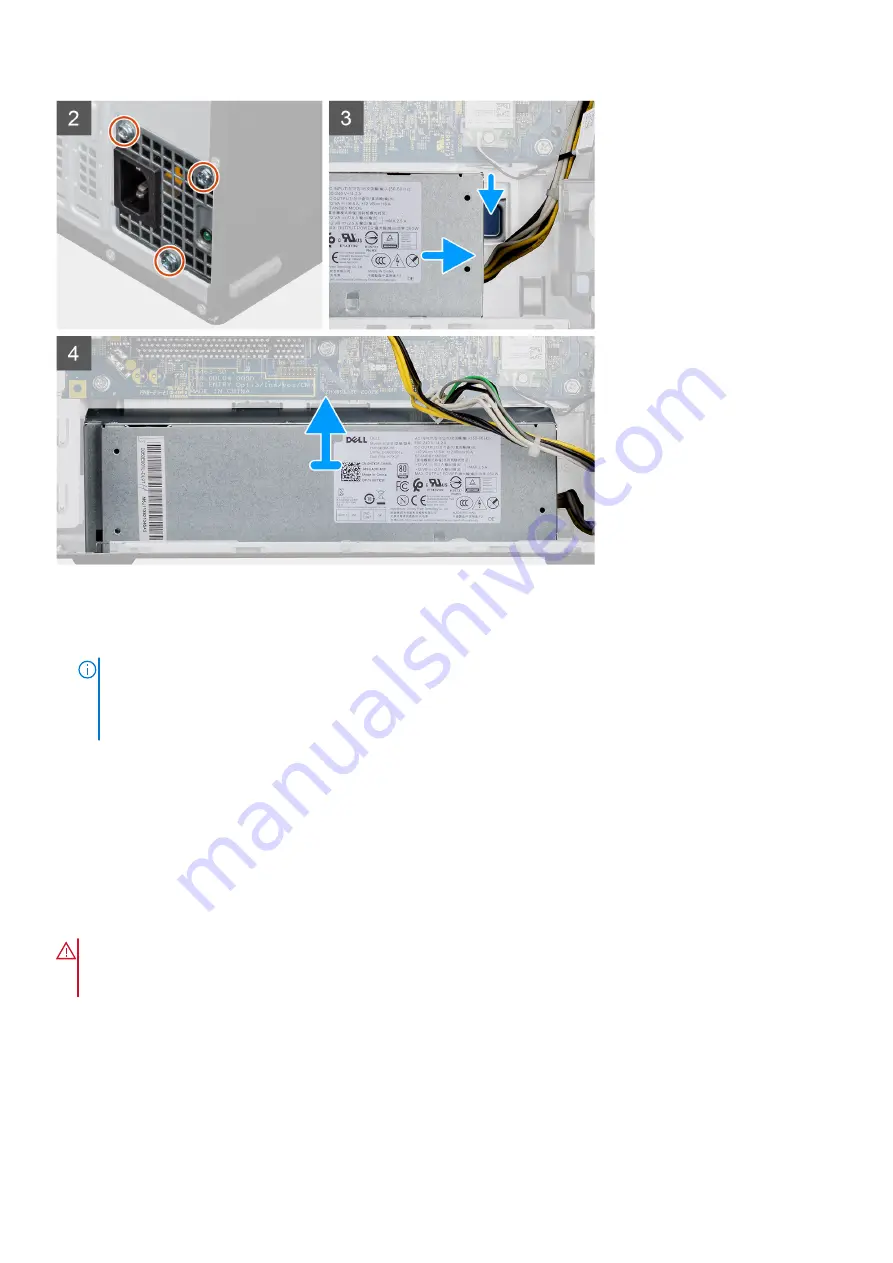
Steps
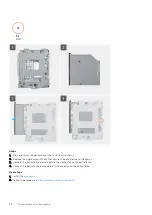
1. Lay the computer with its right side facing down.
2. Disconnect the power cables from the system board and unroute them from the routing guides on the chassis.
NOTE:
The power-supply cable is connected to the system board at two locations and supply power to the following
components at the two location:
●
Processor - ATX CPU connector
●
System board - ATX SYS connector
3. Remove the three (#6-32) screws that secure the power-supply to the chassis.
4. Press down on the securing clip to release the power supply from the chassis.
5. Slide and lift the power supply from its slot on the chassis.
Installing the power-supply unit
Prerequisites
If you are replacing a component, remove the existing component before performing the installation procedure.
WARNING:
The cables and ports on the back of the power-supply unit are color-coded to indicate the different
power wattage. Ensure that you plug in the cable to the correct port. Failure to do so may result in damaging the
power-supply unit and/or system components.
About this task
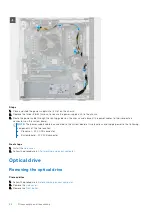
The following images indicate the location of the power-supply unit and provides a visual representation of the installation
procedure.
42
Disassembly and reassembly
Summary of Contents for Vostro 3881
Page 1: ...Vostro 3881 Service Manual Regulatory Model D29M Regulatory Type D29M002 August 2021 Rev A01 ...
Page 3: ...1 Major components of your system 3 ...
Page 4: ...Major components of your system 4 Major components of your system ...
Page 43: ...Disassembly and reassembly 43 ...
Page 60: ...60 Disassembly and reassembly ...
Page 63: ...Disassembly and reassembly 63 ...

