NOTE:
If you have already installed the wireless printer adapter using the Wireless Printer Adapter
Setup Wizard, the Set IP Address Utility is already installed, and you should skip to
step 5
.
Launch the
Setup CD
.
1.
Click
Agree
on the
Terms and Conditions
screen.
2.
Click
Install
.
3.
After the software is installed, click
Cancel
to exit the Wizard.
4.
Click
Start
Programs
Dell
Dell Wireless Printer Adapter
Set IP Address Utility
.
5.
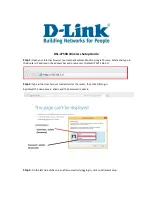
A device discovery is performed. A list of printer adapters with printers appears.
Select your printer from the list.
6.
Click
Launch Web Page
.
7.
Printing a network setup page (laser printers only)
Once the wireless printer adapter and printer are connected, for most laser printers, pressing the test button
on the back of the wireless printer adapter will print a network setup page. For more information on printing
a network setup page, refer to the documentation that came with your printer.
In order for the IP address to be reported and listed on this page, you must successfully complete the
installation of this product on the wireless network.
Accessing the embedded web page
Enter the IP address of the wireless printer adapter in a browser window. The embedded Web page for
the wireless printer adapter opens.
1.
Select the settings you want to change, such as IP address.
2.
Enter the changes, and then click
Submit
.
3.


