4
Setting Up Your Studio XPS Laptop
This section provides information about setting
up your Studio XPS 1640 and connecting
peripherals
Before Setting Up Your Computer
When positioning your computer, ensure that
you allow easy access to a power source,
adequate ventilation, and a level surface to
place your computer
Restricting airflow around your Studio XPS
computer may cause it to overheat To prevent
overheating ensure that you leave at least
102 cm (4 in) at the back of the computer and a
minimum of 51 cm (2 in) on all other sides You
should never put your computer in an enclosed
space, such as a cabinet or drawer when it is
powered on
NOTICE:
Placing or stacking heavy or sharp
objects on the computer may result in
permanent damage to the computer
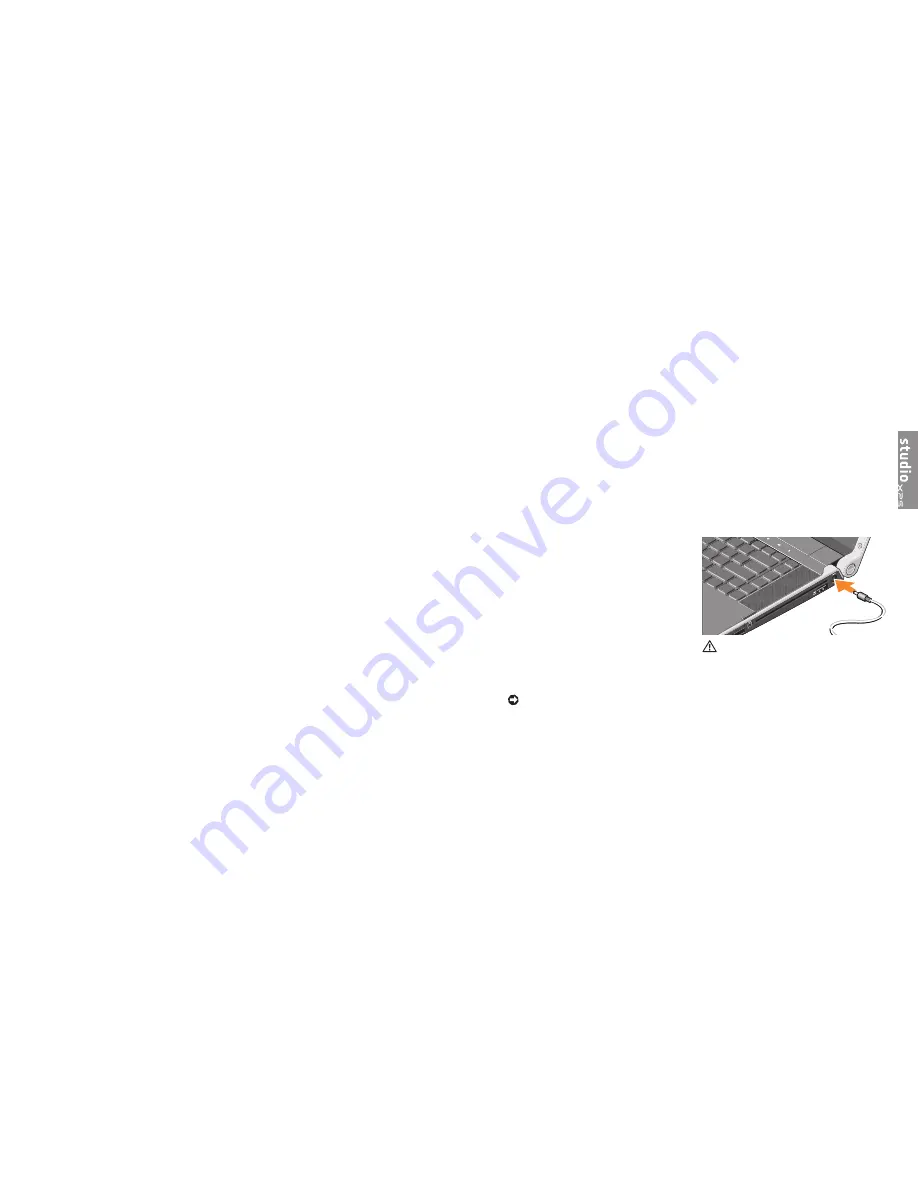
Connect the AC Adapter
Connect the AC adapter to the computer and
then plug it into a wall outlet or surge protector
CAUTION: The AC adapter works with
electrical outlets worldwide� However,
power connectors and power strips vary
among countries� Using an incompatible
cable or improperly connecting the cable
to a power strip or electrical outlet may
cause fire or equipment damage�
Dell Factory Image Restore 31
Operating System Reinstallation 33
Getting Help � � � � � � � � � � � � � � � � � � � � � � � � �35
Technical Support and Customer Service 36
DellConnect
™
36
Online Services 36
AutoTech Service 37
Product Information 38
Returning Items for Repair Under Warranty
or for Credit 38
Before You Call 39
Contacting Dell 40
Finding More Information
and Resources � � � � � � � � � � � � � � � � � � � � � � �41
Basic Specifications � � � � � � � � � � � � � � � � � �43
Index � � � � � � � � � � � � � � � � � � � � � � � � � � � � � � �52
Summary of Contents for Studio XPS PP35L
Page 1: ...SETUP GUIDE ...
Page 2: ...SETUP GUIDE Model PP35L ...
Page 30: ...56 Index ...
Page 31: ...Printed in the U S A 0XXXXXA00 www dell com support dell com ...


