


MEBx Settings Overview
The Intel Management Engine BIOS Extension (MEBx) provides platform-level configuration options for you to configure the
behavior of Management Engine (ME) platform. Options include enabling and disabling individual features and setting power
configurations.
This section provides details about MEBx configuration options and constraints if any.
Access MEBx Configuration User Interface
The MEBx configuration user interface can be accessed on a computer through the following steps:
1. Turn on (or restart) your computer.
2. When the DELL™ logo appears, press <F12> immediately and select MEBx.
NOTE:
If you wait too long and the operating system logo appears, continue to wait until you see the Microsoft
Windows desktop. Then shut down your computer and try again.
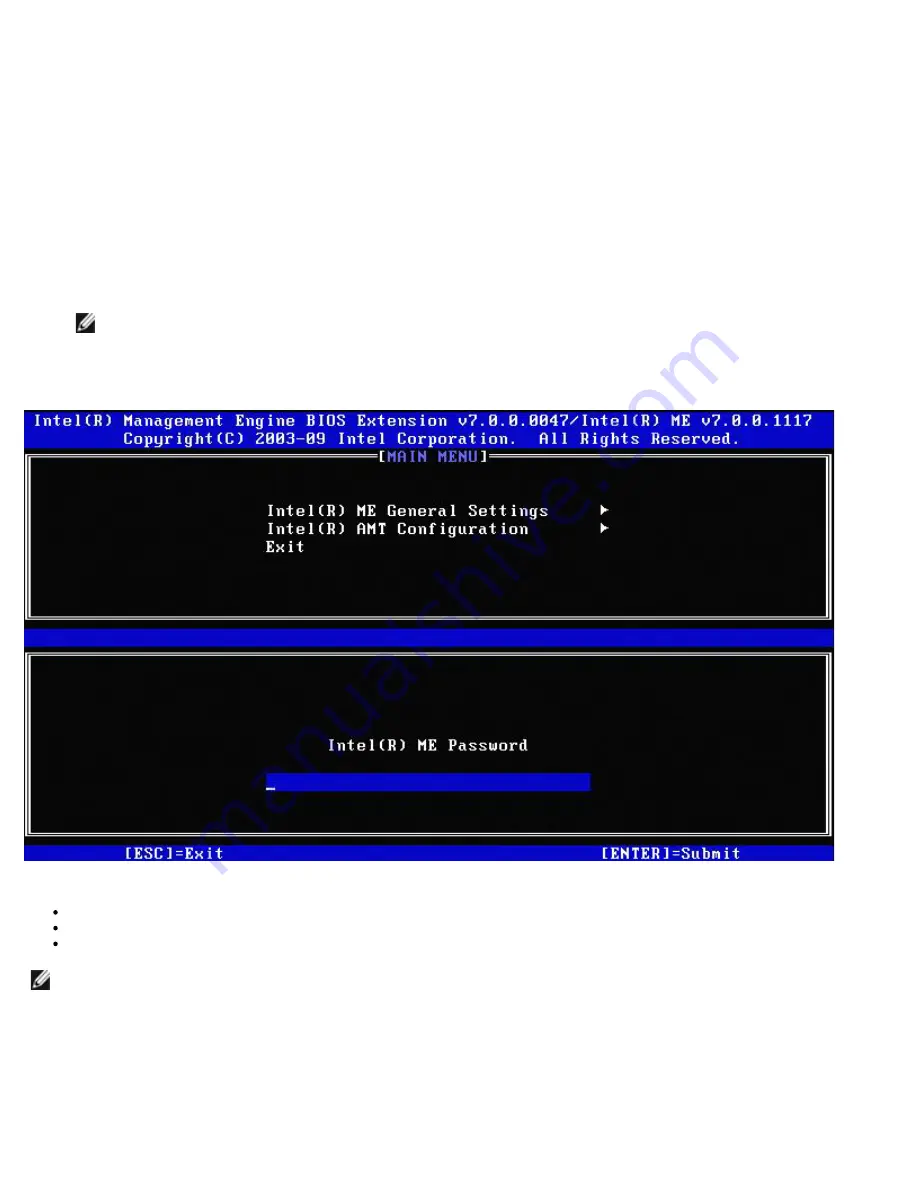
3. Type the ME password. Press <Enter>. The default password is 'admin' and it can be altered by the user.
The MEBx screen appears as shown below.
The main menu presents three function selections:
Intel ME General Settings
Intel AMT Configuration
Exit
NOTE:
Intel MEBx will display only detected options. If one or more of these options does not appear, verify that the
system supports the relevant missing feature.
Changing the Intel ME Password
The default password is
admin
and is the same on all newly deployed platforms. You must change the default password before
changing any feature configuration options.
Summary of Contents for Precision M4500
Page 69: ...4 Click the to expand the Intel AMT Getting Started section ...
Page 70: ...5 Click the to expand the Section 1 Provisioning section ...
Page 71: ...6 Click the to expand the Basic Provisioning without TLS section ...
Page 74: ...10 The IP address for the ProvisionServer and Intel SCS are now visible ...
Page 75: ...11 Select Step 2 Discovery Capabilities ...
Page 77: ...13 Select Step 3 View Intel AMT Capable Computers ...
Page 78: ...14 Any Intel AMT capable computers on the network are visible in this list ...
Page 79: ...15 Select Step 4 Create Profile ...
Page 80: ...16 Click the plus symbol to add a new profile ...
Page 84: ...22 Select Step 5 Generate Security Keys ...
Page 85: ...23 Select the icon with the arrow pointing out to Export Security Keys to USB Key ...
Page 86: ...24 Select the Generate keys before export radio button ...
Page 94: ...37 Select Step 7 Monitor Provisioning Process ...
Page 96: ...39 Select Step 8 Monitor Profile Assignments ...
Page 99: ......
Page 105: ......


