CAUTION
When a replacement hot swappable hard drive is installed and the system is
powered on, the hard drive automatically begins to rebuild. Ensure that the
replacement hard drive is blank or contains data that you wish to overwrite. Any
data on the replacement hard drive is immediately lost after the hard drive is
installed.
1. Follow all safety guidelines.
2. If applicable, remove the hard drive blank.
Procedure
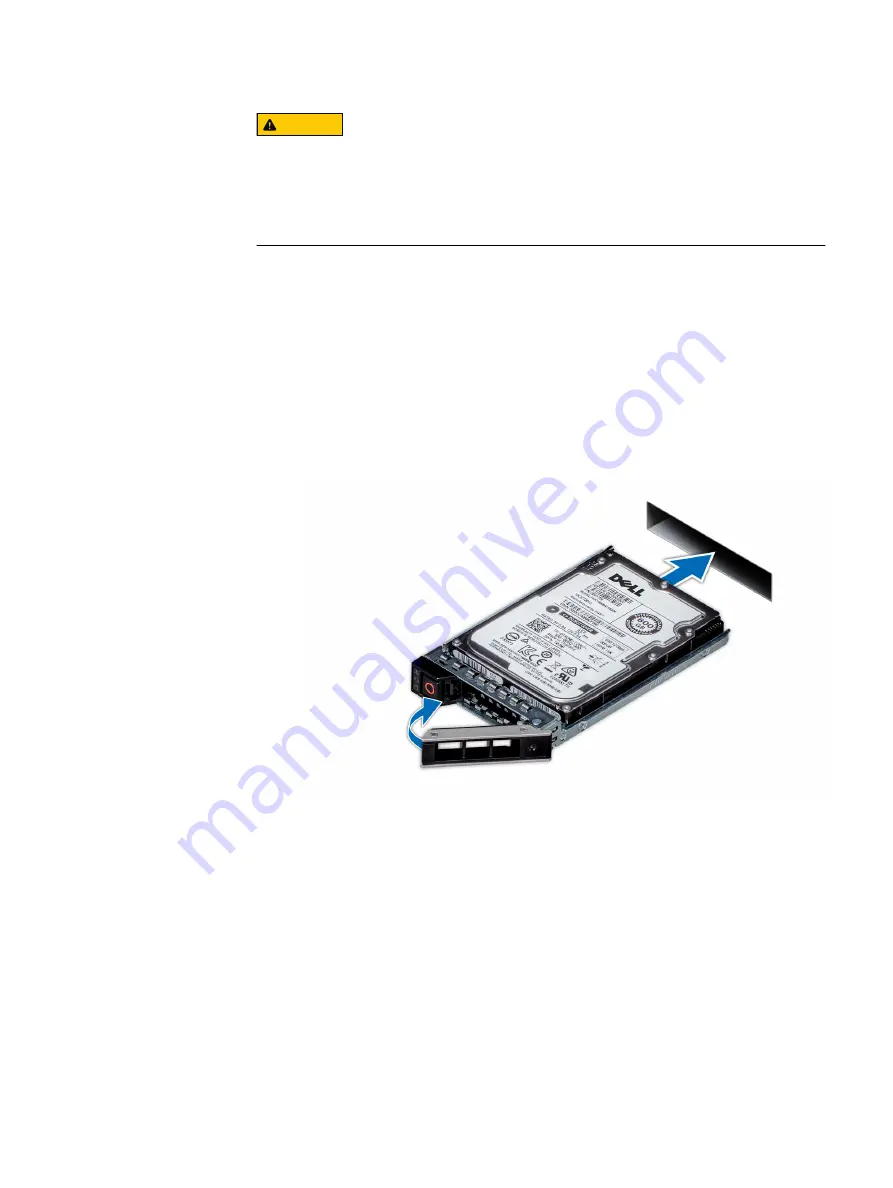
1. Press the release button on the front of the hard drive to open the release
handle.
2. Insert the hard drive into the hard drive slot and slide until the hard drive
connects with the backplane.
3. Close the hard drive release handle to lock the hard drive in place.
Figure 9 Installing a hard drive
When the system is powered on, the hard drive automatically begins to rebuild.
This process can take up to 8 hours to complete.
Install the front bezel
The procedure to install the front bezel with the LCD panel and the front bezel
without the LCD panel is the same.
Procedure
1. Align and insert the right end of the bezel onto the system.
2. Press the release button and fit the left end of the bezel onto the system.
3. Lock the bezel by using the key.
Remove and replace assemblies
Install the front bezel
23


