


Alignment and Troubleshooting
4-7
Service Manual
4.1.3.2 Tips for avoiding paper jams
• Ensure that the adjustable guides are positioned correctly.
• Do not overload the tray. Ensure that the paper level is below the paper capacity mark on the inside of the
tray.
• Do not remove paper from the tray while your machine is printing.
• Flex, fan, and straighten paper before loading.
• Do not use creased, damp, or highly curled paper.
• Do not mix paper types in a tray.
• Use only recommended print media.
• Ensure that the recommended side of the print media is facing down in the tray, or facing up in the manual
tray.
4.1.3.3 Clearing paper jams
When a paper jam occurs, a warning message appears on the display. To resume printing after clearing
paper jams, you must open and close the front door.
In tray 1
1. Open and close the front door. The jammed
paper is automatically ejected from the machine.
If the paper does not exit, go to the next step.
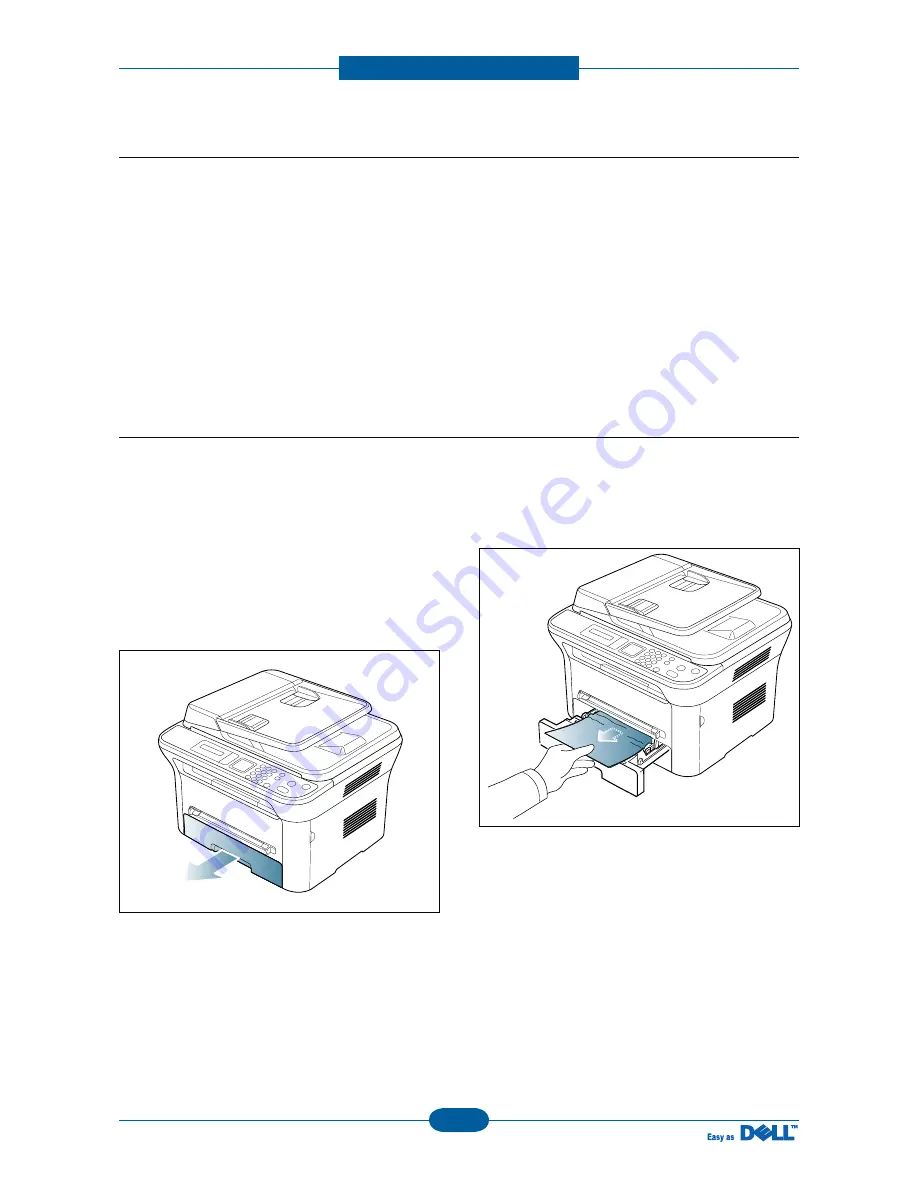
2. Pull out tray 1.
3. Inspect tray and clear any damaged sheets.
If the paper does not move when you pull, or if you
do not see the paper in this area, check the fuser
area around the toner cartridge.
4.Insert tray 1 back into the machine until it snaps
into place. Printing automatically resumes.
Summary of Contents for 1135N
Page 1: ...Dell 1133 1135n Service Manual 07 Apr 2010 ...
Page 90: ...Alignment and Troubleshooting 4 17 Service Manual ...
Page 153: ...Alignment and Troubleshooting 4 80 Service Manual 4 2 9 Fuser Problems and solutions 1 Jam 2 ...
Page 154: ...Alignment and Troubleshooting 4 81 Service Manual 2 Abnormal Noise 4 10 ...
Page 155: ...Alignment and Troubleshooting 4 82 Service Manual 3 Image Defect 77 8 77 8 ...
Page 169: ......


