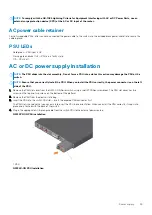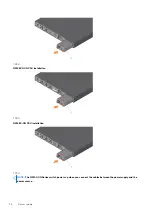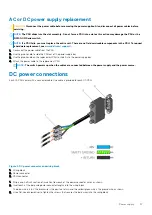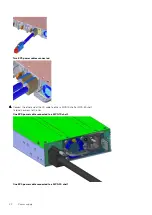
4. Secure the DC power source wires to the other side of the wiring block, see steps 1 and 3.
NOTE:
Do not cross the wires.
5. Insert the DC power connector into the power socket of the DC PSU. Ensure that the connector pins firmly seat and you hear the
click of the left and right levered power connector clamps lock into place.
NOTE:
Never try to force the power connector into or out of the DC PSU power socket.
6. Secure the DC power cable to the DC power connector using the attached thumbscrews.
NOTE:
To uninstall the power connector from a DC PSU, unscrew the thumbscrews, unplug the DC power cable, and
pull the DC power connector from the DC PSU socket.
Connect the EPS shelf
NOTE:
For more information about the external power supply (EPS), see
External Power Supply (EPS) Installation for
the Dell EMC PowerSwitch N2200-ON and N3200-ON Series Switches
NOTE:
The EPS power cable supports a maximum of 2400 W. If you require more power than 2400 W, you must connect
two EPS power cables.
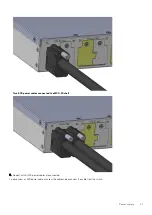
To connect the EPS shelf to the switch, use the EPS power cable.
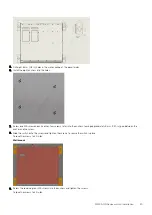
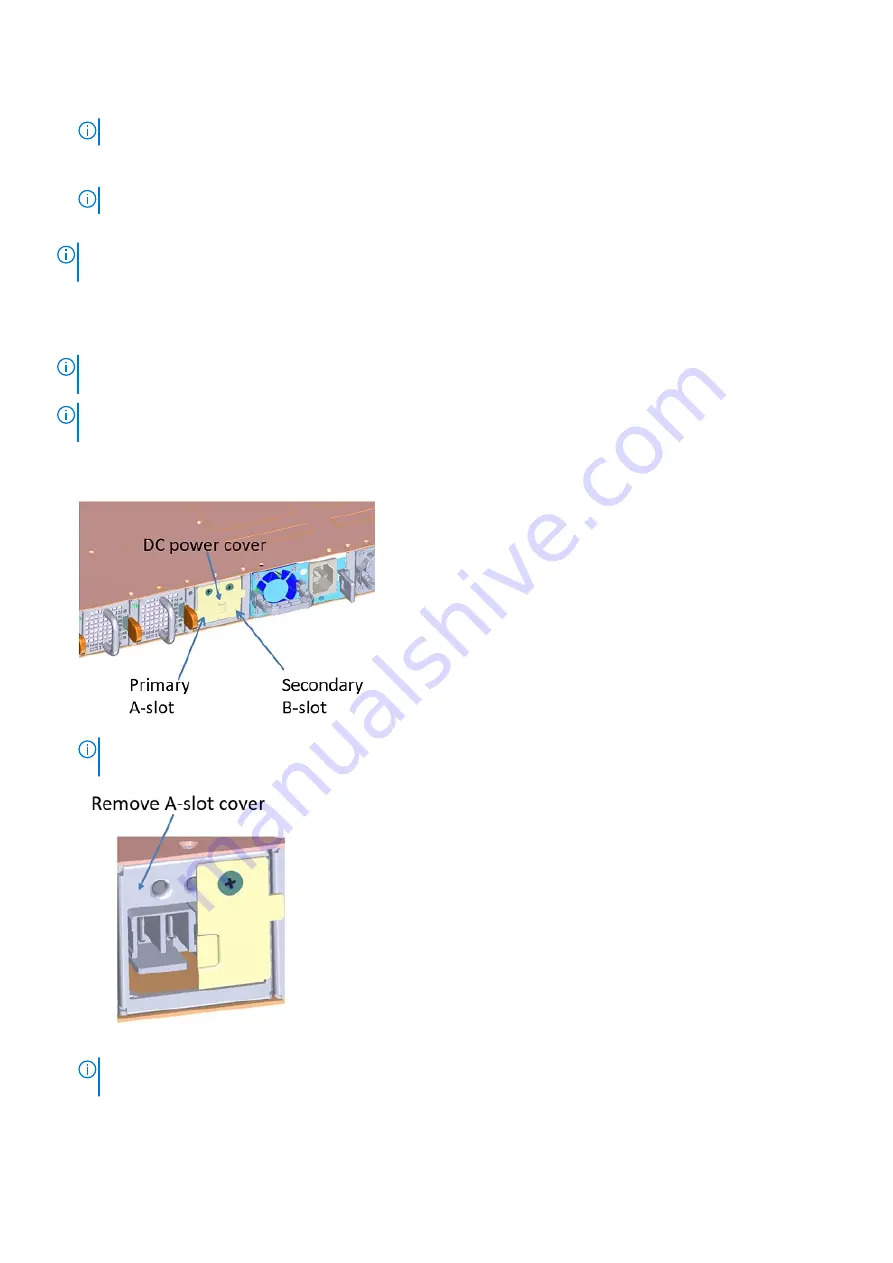
1. Unscrew the DC power cover from the rear of the switch.
NOTE:
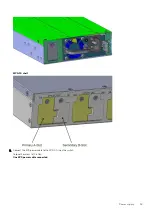
If you are connecting a single EPS power cable to your switch, always use primary A-slot. Leave the
secondary B-slot DC power cover in place, as shown:
2. Unscrew the DC-power-OUT cover from the rear of the EPS shelf.
NOTE:
If you are connecting a single EPS power cable to your MPS-3S shelf, always use primary A-slot. Leave the
secondary B-slot DC power cover in place.
MPS-1S shelf
38
Power supply


