CAUTION:
Do not apply pressure at the center of the memory module; apply pressure at both ends of the memory
module evenly.
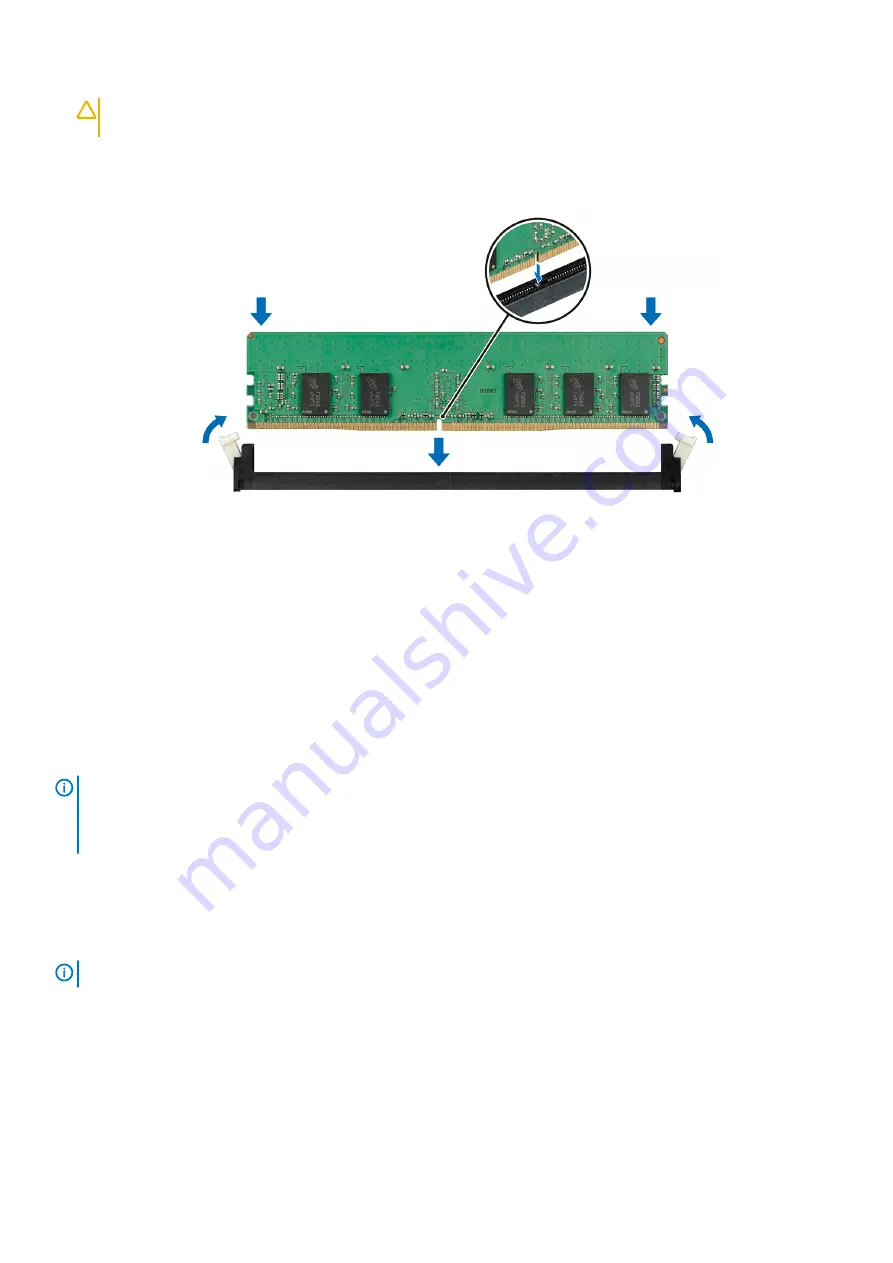
4. Press the memory module with your thumbs until the ejectors firmly click into place.
When the memory module is properly seated in the socket, the levers on the memory module socket align with the levers on the other
sockets that have memory modules installed.
Figure 35. Installing a memory module
Next steps
1.
.
2. Follow the procedure listed in
After working inside your system
3. Press F2 to enter System Setup, and check the
System Memory
setting.
The
System Memory Size
indicates the installed memory.
4. If the
System Memory Size
is incorrect, one or more of the memory modules may not be installed properly. Ensure that the memory
modules are firmly seated in their sockets.
5. Run the system memory test in the system diagnostics.
Expansion cards and expansion card risers
NOTE:
A System Event Log (SEL) event is logged if an expansion card riser is not supported or missing. It does not
prevent your system from turning on. However, if a F1/F2 pause occurs with an error message, see
Troubleshooting
expansion cards
section in the
Dell EMC PowerEdge Servers Troubleshooting Guide
Expansion card installation guidelines
Your system supports PCIe Express Generation 3 cards. The PowerEdge R340 expansion card riser includes a low profile (LP) slot and full
height (FH) slot. The following table provides riser configurations for the PowerEdge R340 system:
NOTE:
The expansion card riser is not hot-swappable.
58
PowerEdge R340 installing and removing system components


