1
2
3
4
5
6
SETUP
COMPLETE
7
8
9
?
STEP 1
A
B
C
D
E
F
G
G
G
H
1
2
3
4
5
6
SETUP
COMPLETE
7
8
9
?
STEP 1
A
B
C
D
E
F
G
G
G
H
QUICK START GUIDE
www.defender-usa.com
18
FINALIZING THE SET-UP
Now you must associate your DVR with the DynDNS account you
just created. This will ensure that when your external IP address
changes, your domain name (address in the Internet Explorer Bar)
will remain associated with your new IP address. This will ensure
that you will only need to type in your domain name in order to ac
-
cess your DVR, whether you are inside or outside of your network:
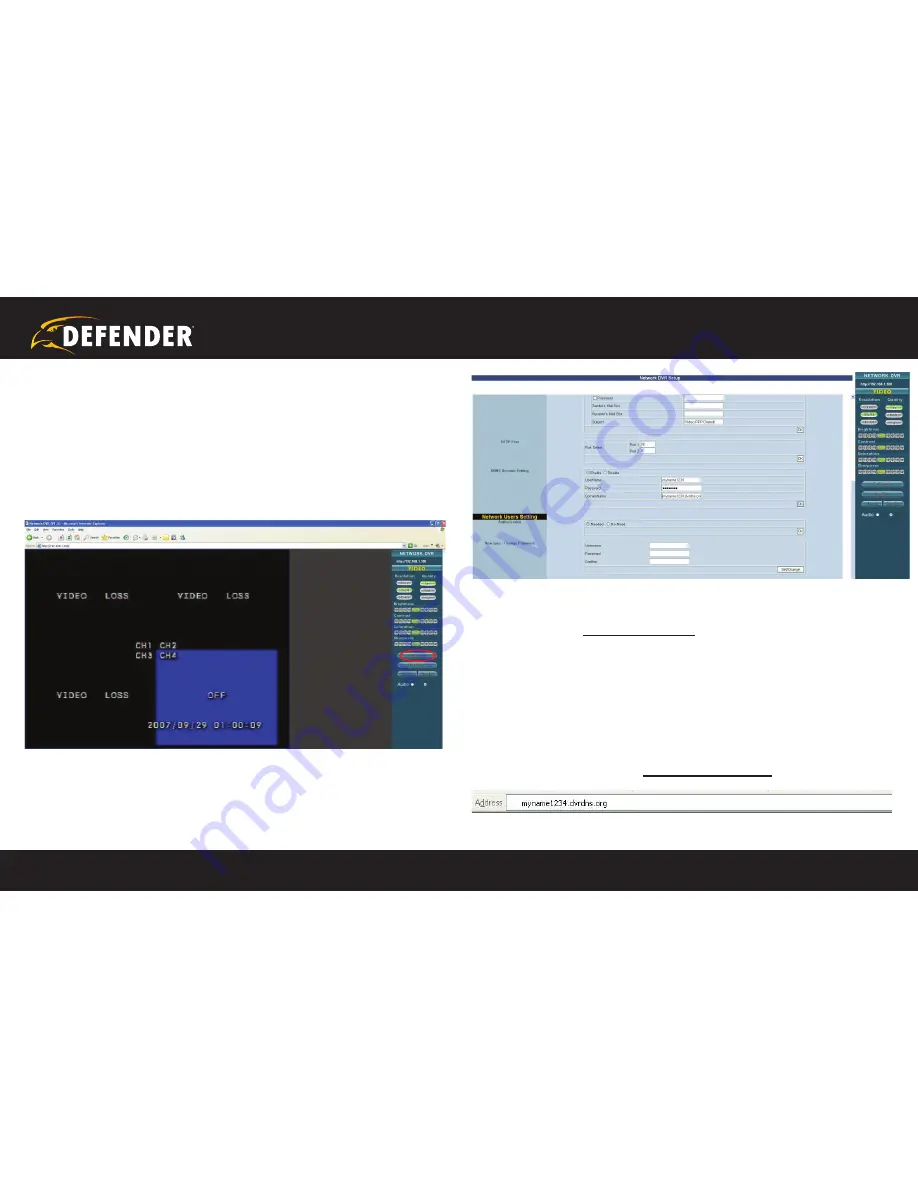
1. Log-on to your DVR through your computer by using either the
internal or external IP address.
2. Click the
CONFIGURATION
button.
3. Under the “Network DVR Setup” window, scroll down to
DDNS Account Setting.”
4. Make sure the
ENABLE
button is selected.
5. Enter the username, password, and full domain name you
configured at
www.dyndns.com
. Example:
UserName: myname
Password: mypassword
DomainName: myname.dvrdns.org
6. Click the OK button located in this section to save your
configuration. Reboot the DVR by powering it off and then on
again to confirm the changes. You must reboot the DVR any time
a change is made in the configuration menu.
7. You should now be able to access your DVR simply by typing in
your domain name (i.e.
myname.dvrdns.org
)
STEP 4: DVR NETWoRKING GUIDE
continued


