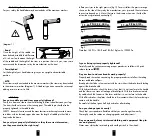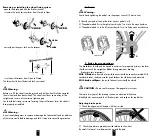
For disc brakes (see the manufacturer’s manual)
1/ Assembling the brake cable
Loosen in the cable clip on the brake caliper
Remove the old cable from its housing
Slide the new cable into the housing, pass it through the hole in the brake caliper
housing block then put the cable into the cable clip.
Press the brake cam half down and close the cable clip.
Cut the excess cable
Adjust the setting using the brake lever setting key
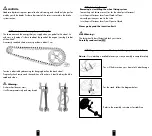
2/Changing the friction pads
Loosen the brake cable
Remove the supporting screws from the caliper on the fork
Remove the screws that fix the friction pads or lift and pull the plate directly
depending on the model.
Remove the pads and replace them in the same way
Loosen the cam check nut, adjust the stroke using an Allen wrench then tighten the
nut.
Warning :
To maintain efficient breaking and limit wear in the rims, replace the pads as soon
as wear becomes too noticeable. A worn pad is one where the fluting or the not-
ches can no longer be seen...
The sides that run against the pads should also be watched As soon as signs of
the side opening or loss of parallelism, change your rim.
Disc brakes become hot and may cause burning, after breaking weight about 30
minutes before touching the rotor.
4/
Derailleur
You will find two types of the changer on Decathlon bicycles
- a conventional gear changer (most bicycles)
- speeds in the hub
21
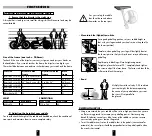
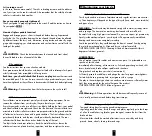
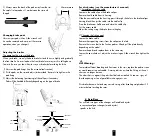
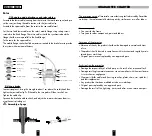
3/ Always move the back of the pad away from the rim
Be careful to leave about 1 mm between the rim and
the pad.
Changing brake pads
Unscrew your pad with an Allen wrench until
he can be removed and carry out the reverse
operation when you change it.
Adjusting the brakes
The operation/ how to use the brake
When you brake, use only the back brake first and then use slightly and gradually
the front brake. An over load on the front brake lever may result in falling down
forward. Be sure you know how to use your brakes before riding the bike.
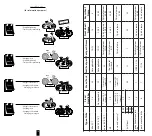
I/ Unscrew the pad fixings (see the essential tools section)
2/ Put the pads on the rim and adjust as described Be careful to tighten in the
pad fixing
3/ Adjust the balancing (positioning) of the callipers if necessary
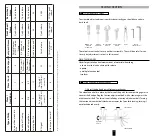
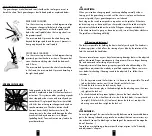
Pads will be handled differently depending on the type of brake:
35 mm or more
Less tension
screwdriver
More tension
screwdriver
Tension spring
+ adjustment screw
Aluminium tube
Side pull
CABLE
NUT
PULL THE CABLE
ADJUSTMENT
CABLE
TRIANGLE NU
TRIANGLE
SAFETY HOOK
POSITION
CANTIVELER
PULL THE CABLE
RIM
20


