background image

 Chapter 2: Installation        

5

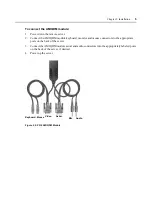
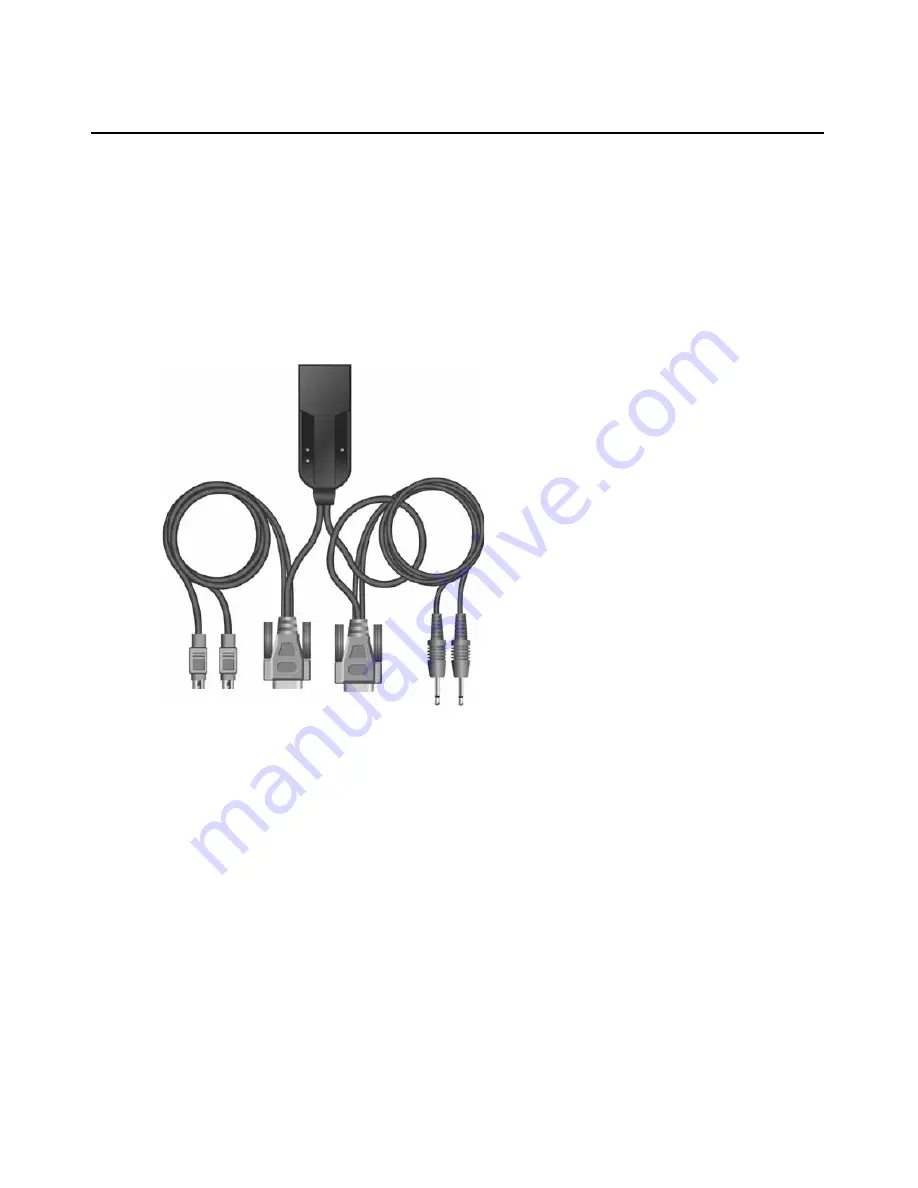
To connect the AMIQDM module:

1.

Power down the remote server.

2.

Connect the AMIQDM module keyboard, monitor and mouse connectors to the appropriate 
ports on the back of the server.

3.

Connect the AMIQDM module serial and audio connectors into the appropriately labeled ports 
on the back of the server, if desired.

4.

Power up the server.


Figure 2.2: PS/2 AMIQDM Module

Keyboard, Mouse

Serial

Video

Mic

Audio 

Summary of Contents for LONGVIEW 1000

Page 1: ...Installer User Guide LongView 1000...

Page 2: ......

Page 3: ...t the Avocent logo The Power of Being There and LongView are registered trademarks of Avocent Corporation or its affiliates All other marks are the property of their respective owners 2005 Avocent Cor...

Page 4: ...ons Operation of this equipment is a residential area is likely to cause harmful interference in which case the user will be required to correct the interference at his her own expense Canadian Notifi...

Page 5: ...Configuring keyboard layout and emulation for the receiver via the OSD 8 Configuring keyboard layout and emulation for the transmitter via the OSD 8 Configuring your OSD hotkey sequence 9 Activating...

Page 6: ...iv LongView 1000 Installer User Guide...

Page 7: ...tible with virtually any PC display technology and operating system Installation requires no new drivers or software Figure 1 1 LongView 1000R Receiver Compatibility with Peripherals The LongView 1000...

Page 8: ...rver and monitor are on the same phase For best results they should be on the same circuit To avoid potentially fatal shock hazard and possible damage to equipment please observe the following precaut...

Page 9: ...000R receiver features the following mounting options allowing you to easily adapt to most work environments Under desk mounting via the horizontal mounting bracket Monitor mounting via the mounting p...

Page 10: ...e back of the LongView 1000R receiver 3 Insert one end of a UTP cable into the LINK port on the rear of the LongView 1000R receiver 4 Route the UTP cable to the AMIQDM module at the remote server up t...

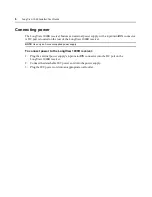
Page 11: ...e keyboard monitor and mouse connectors to the appropriate ports on the back of the server 3 Connect the AMIQDM module serial and audio connectors into the appropriately labeled ports on the back of t...

Page 12: ...d on the rear of the LongView 1000R receiver NOTE Use only an Avocent supplied power supply To connect power to the LongView 1000R receiver 1 Plug the external power supply s 4 pin miniDIN connector i...

Page 13: ...our extender system Internal settings such as keyboard layout emulation and hotkey sequences can be configured via the On Screen Display OSD while Flash upgrades are available via the bootloader funct...

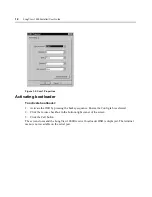
Page 14: ...d Chyron Duet and Pinnacle FAK keyboard emulation 5 Click Apply to save settings or click Close to exit without saving changes Configuring keyboard layout and emulation for the transmitter via the OSD...

Page 15: ...an be configured to log out users after 15 minutes of inactivity To activate OSD Timeout 1 Activate the OSD by pressing the hotkey sequence Ensure the Config tab is selected 2 Click the OSD Timeout ch...

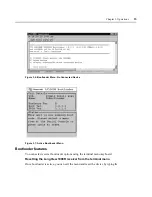
Page 16: ...10 LongView 1000 Installer User Guide Figure 3 2 Local System Information Figure 3 3 Remote System Information...

Page 17: ...l terminal commands are accessed through a terminal or PC running HyperTerminal emulation software or equivalent To access the Terminal Applications menu Connect a terminal or PC running terminal emul...

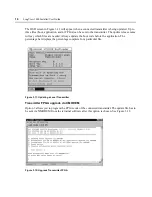
Page 18: ...1 Activate the OSD by pressing the hotkey sequence Ensure the Config tab is selected 2 Click the Invoke checkbox in the bottom right corner of the screen 3 Click the Call button The screen closes and...

Page 19: ...Figure 3 7 Active Bootloader Menu Bootloader features You can select several bootloader options using the terminal menu keyboard Resetting the LongView 1000R receiver from the terminal menu Once bootl...

Page 20: ...it has received the first six XMODEM blocks If a wrong file is sent the update is cancelled During the transfer the terminal will provide a progress display After the transfer the flashed data is che...

Page 21: ...be updated separately using the XMODEM The percentage complete shows the amount for the file being transferred Transmitter boot and application upgrade via XMODEM Option 2 allows you to program the b...

Page 22: ...files are needed Always update the boot code before the application The percentage bar displays the percentage complete for a particular file Figure 3 11 Updating a Local Transmitter Transmitter FPGA...

Page 23: ...Chapter 3 Operations 17 Displaying information about connected devices Type to display the System Information of the connected transmitter Figure 3 13 Transmitter Information Screen...

Page 24: ...18 LongView 1000 Installer User Guide...

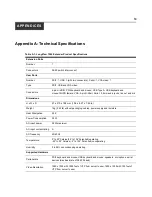
Page 25: ...10 x 188 mm 1 06 x 8 27 x 7 40 in Weight 1Kg 2 20 lb without packaging cables power supply and literature Heat Dissipation 90 K Power Consumption 25 W AC input power 25 W maximum AC input current rati...

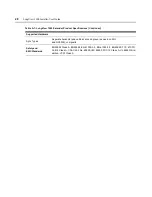
Page 26: ...ync on green as used on SGI and HP9000 composite Safety and EMC Standards EN55022 Class A EN55024 EN 61000 3 2 EN 61000 3 3 EN60950 FCC 47CFR Part15 Class A CSA C22 2 No 60950 IEC 60950 FCC 15 Class A...

Page 27: ...ssue should develop follow the steps below for the fastest possible service To resolve an issue 1 Check the pertinent section of this manual to see if the issue can be resolved by following the proced...

Page 28: ...erver is generating active video If this is functioning check that the display settings for your server are set no higher than a resolution of 1024 x 768 at 60 Hz refresh rate If the monitor does not...

Page 29: ...the speakers by connecting them directly to the server If they do not function correctly replace them Ensure speakers are powered Poor video quality on monitor attached to LongView 1000R receiver Ensu...

Page 30: ...24 LongView 1000 Installer User Guide...

Page 31: ......

Page 32: ......

Reviews: