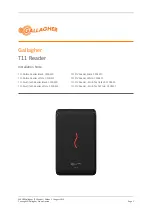
Selector Switch on cable
Quick Start Guide for the ROV MS2200
The configuration instructions included with the ROV are for reference purposes, all ROV
MS2200 laser scanners supplied by Dataman Barcode Systems have already been tested
and set up to work with the supplied USB cable, the ROV DOES NOT require any further
initial programming and can be used immediately.
The extra RS232 serial cable supplied with the ROV must be retained and could be required
at a later time, especially if the additional “Time Stamp” feature of the ROV is to be exploited.
The sheet of command bar codes supplied with the instructions should be studied and may
be required during the operation of the ROV MS2200, we recommend that a copy be made
and laminated to provide greater durability, the original copy should be filed for reference.
Batteries do need to be fitted as per the configuration instructions (see below). The switch on
the USB cable has already been set to the correct Kbd/HID mode.
Before using the ROV, the scanner must be powered up. If you have not already done so,
please undertake the procedures described as follows.
Use alkaline
AAA
batteries or NiMH rechargeable
AAA
batteries in your scanner.
Please remove the batteries when you store your scanner for more than 30 days
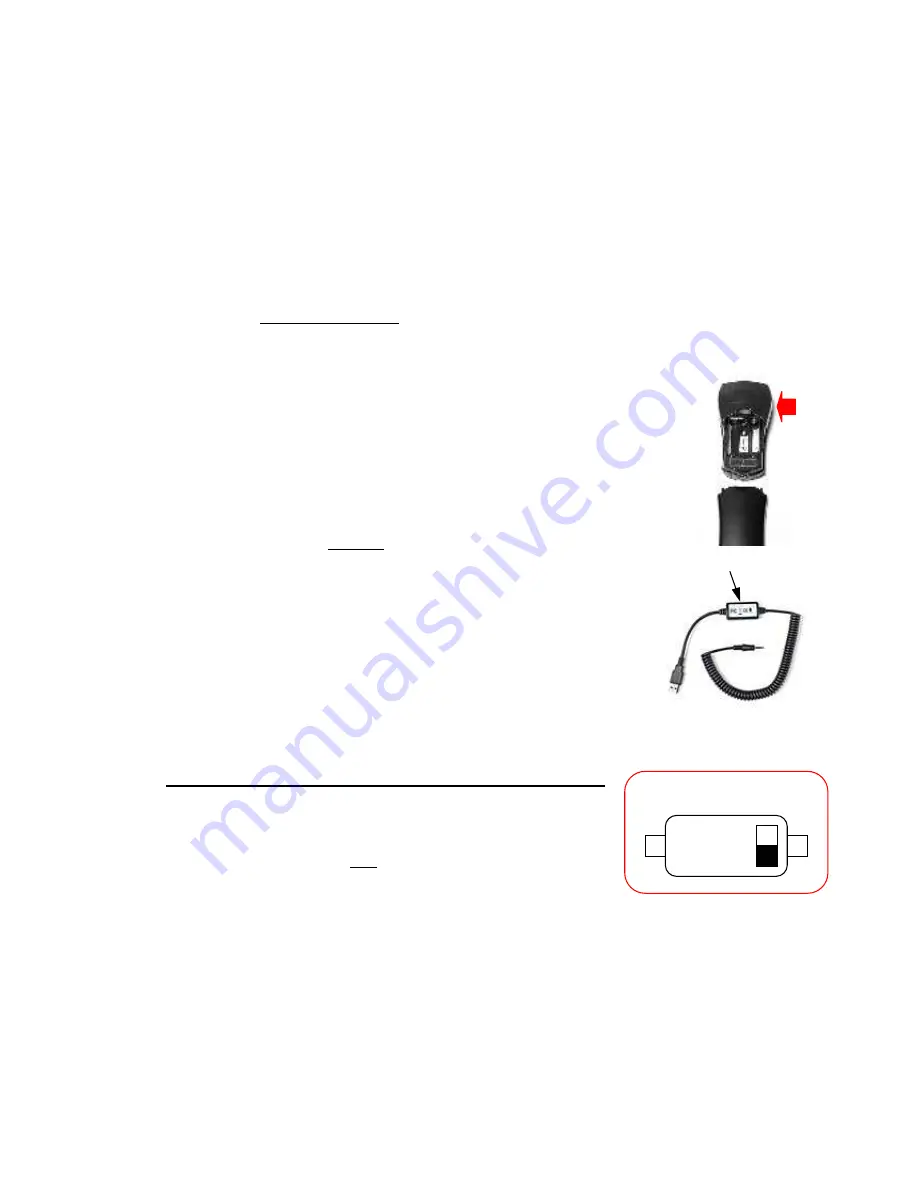
1. Press the battery cover release button, then slide and lift the battery cover.
2. Insert the batteries as shown, noting polarity.
3. To replace the battery cover, make sure that the cover tabs fit into the cover
slots, and then slide the cover until it clicks into place.
Initially the ROV MS2200 scanner will be connected to the host computer using
the USB cable included. (DO NOT connect the ROV scanner to the cable
at this point).
Note:
The Microvision USB cable sends bar codes directly to the computer’s keyboard
buffer so they appear as if they were typed from the keyboard. For more information, see the
USB Cable Quick Start Guide supplied with the cable.
CONNECTION WITH USB CABLE IN HID or KBD MODE
Ensure the selector switch located on the USB cable is set to KBD.
Windows:- Connect the USB cable to a vacant USB port on your
computer, the host computer may respond with a pop up text balloon in
the bottom right of the screen indicating “NEW USB Hardware found”.
Now connect the other end of the USB cable to the input port on your ROV Scanner.
Mac:- Connect the USB cable to the USB port on the Mac device. An installation wizard
appears on the screen and recognises the cable as an unknown keyboard.
Now connect the other end of the USB cable to the input port on your ROV Scanner. The Mac
wizard may prompt for a key to be pressed on the unknown keyboard, instead scan any
convenient bar code to complete the Mac installation process.
Mac & Windows:- The bar code reader is now ready to use, simply open the application that
you require to capture the bar code data and start scanning. For Windows an ideal application
to test the scanner is “Notepad”, this basic editor program can be found from Start>All
Programs>Accessories>Notepad
VCOM
KBD
USB cable VCOM / KBD Switch


