User Manual
POS-Line Series
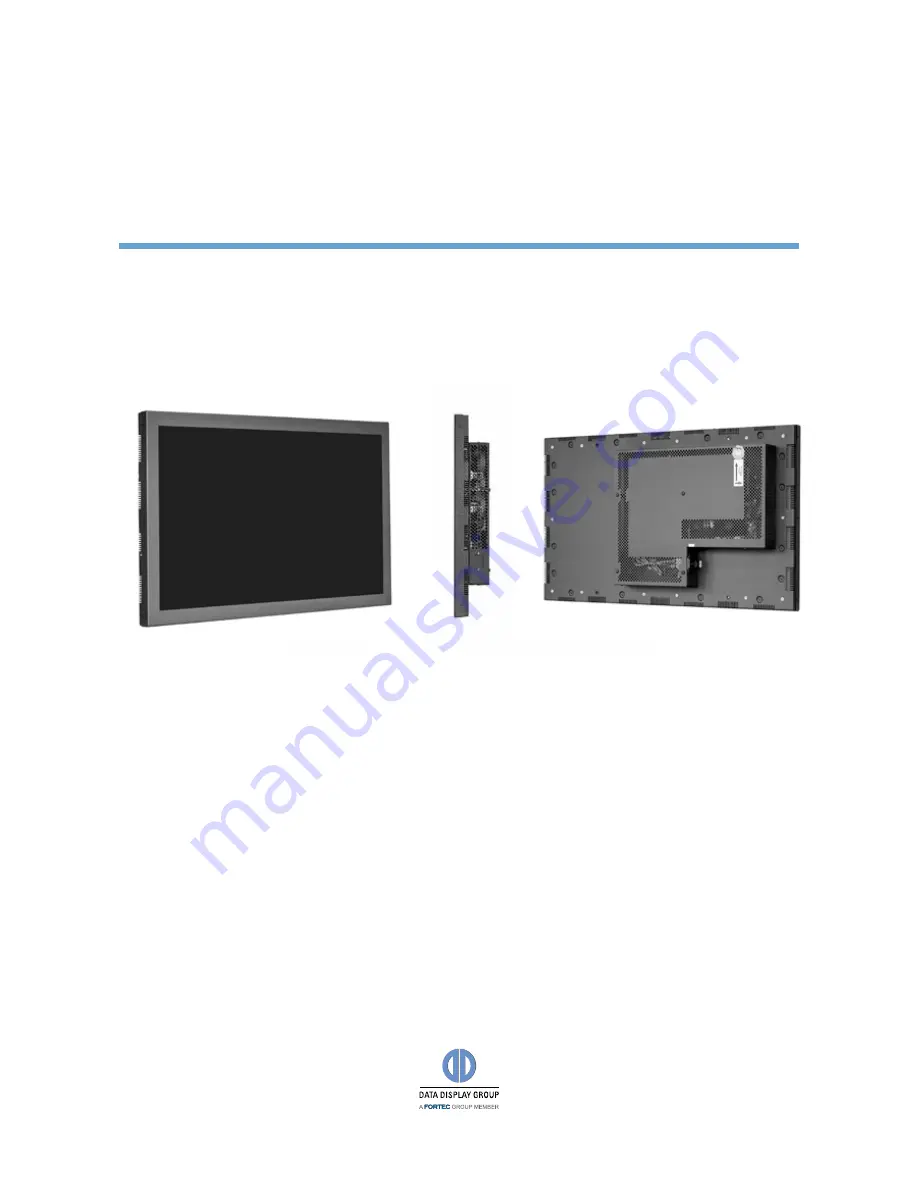
POS-Line monitors from 80 cm (31.5“)
201711_Manual_POS_Line_large_EN.pdf
Page 1: ...User Manual POS Line Series POS Line monitors from 80 cm 31 5 201711_Manual_POS_Line_large_EN pdf ...
Page 2: ...n parts or entirely without the previous authorization of Data Display Group is prohibited Data Display Group is not liable for errors and collateral or subsequent damage which result from supply deployment or any other utilisation of this document All product names mentioned in this document are trademarks or registered trademarks of their due owners ...
Page 3: ...gulations 8 5 First Installation 11 6 Touch Sensors 14 7 POS Line Video PME 15 8 POS Line Video PIII 23 9 POS Line IQ Intel Atom 32 10 POS Line IQ Intel i3 i5 38 11 POS Line VideoPoster 44 12 POS Line IoT 49 13 WebPoster 52 14 Maintenance 54 15 Guarantee Service 54 16 Disposal 56 17 Declaration of Conformity 57 ...
Page 4: ... Data Display Group web site www datadisplay group com POS Line monitor versions POS Line Video PME Monitor with integrated AD converter board 1 x RGB 1 x HDMI 1 x Display Port POS Line Video PIII Monitor with integrated AD converter board 1 x RGB 1 x DVI S Video Composite Video POS Line IQ Atom Monitor with integrated PC board Intel Atom E3845 19 CPU 4 x 1 9 GHz POS Line IQ Core i Monitor with in...
Page 5: ...e All photos and graphic representations in this document show open frame displays All explanations shall also apply to displays with front bezel Displays with various front bezel designs Open frame display without bezel For mounting with angles or VESA mounts Display with front bezel For VESA mounts Display with true flat glass For VESA mounts ...
Page 6: ...Chassis Versions 6 Display with true flat glass and bezel For VESA mounts Display with aluminum bezel For VESA mounts ...
Page 7: ... shipment Note Pictures can differ from actually supplied products DATA DISPLAY GROUP Product information Accompanying DVD Manuals Datasheets Driver Drawings RGB cable USB cable Power cable USB stick screw cover Displays with touch sensor only Cable may vary depending on country POS Line VideoPoster series only POS Line 65 only ...
Page 8: ...orms System start up Before the system start up let the monitor adjust to the room temperature Do not expose the device to direct heat sources In case of condensation please wait a minimum of 12 hours before switching on the monitor The monitor shall only be installed and used according to this documentation data sheets Only qualified personnel may perform the initial installation and system setup...
Page 9: ... loose sockets to plug in the device Plug the device in earthed sockets only Operate the device with the power cables included in the delivery packet only Use undamaged power cables only When plugging in and out do not touch the power cable with wet hands Ensure that the power cable is plugged in the socket safely and correctly Use for devices with external power supply only the supplied original ...
Page 10: ...faces can be easily scratched Therefore please use the prescribed cloth only Please use a soft moist cloth for cleaning For cleaning the screen please use only commercially available screen cleaner Do not spray the cleaner directly to the device but onto a cloth Please clean ventilation slots regularly to ensure a good air circulation Do not install the device in places where it is exposed to envi...
Page 11: ...the back side of the display Video signal cables and OSD keyboard video series only Power cable and on off switch Connectors for PC box option 110 230V AC outlet Mounting Distance to wall devices without integrated PC min 10 mm devices with integrated PC min 40 mm A B C D D C A 50 mm B 50 mm C 10 mm C 10 mm D 0 mm side view top view top bottom ...
Page 12: ... pre assembled VESA brackets a suitable wall bracket must be used whose load bearing capacity corresponds to the weight of the monitor For fas tening to the VESA brackets use 4 metal screws of size M6x25 To mount dismantle the lifting aid eyebolts please refer to the enclosed Mounting Instructions on the enclosed DVD VESA standards 31 5 54 6 displays MIS F 400 x 400 mm M6 Allowed tilt angle for mo...
Page 13: ...ge of 110V 230V AC Note Install all data cables to external devices before connecting the display to power Switch the on of switch in position off Connect the power cable to the display Connect the power cable to a power socket Switch the display on On Off Button Power supply ...
Page 14: ... ordered with operating system The touch can be put directly into operation POS Line Video The drivers for these monitors must be installed on your PC system HID devices do not need drivers for Windows 7 and 10 Please contact our support center if you are using LINUX based computers If a driver is required the touch on this driver must be calibrated Is it a HID Touch Windows calibration in the con...
Page 15: ...ors and OSD buttons of POS Line Video PME series Connecting to a PC with VGA cable Connecting to a PC with HDMI DVI cable VGA RGB USB Touch DisplayPort HDMI USB remote OSD Headphones Power supply On Off Button LED OSD Keyboard VGA RGB VGA RGB HDMI DVI ...
Page 16: ...HDMI cable Connecting to a PC with DisplayPort cable Connecting the Remote OSD to a PC with USB cable Connecting the touch to a PC with USB cable for displays with touch sensor only HDMI HDMI DisplayPort DisplayPort USB USB remote OSD USB Touch USB ...
Page 17: ...ning of various functional parameters like brightness contrast etc The OSD control can either be used to access various functions directly to navigate within the OSD The following two tables give an overview about the functions Direct functions Key Function Comment Menu Open the OSD menu Open volume control Open brightness control Exit Select signal input Power On Off Navigation in OSD menu Key Fu...
Page 18: ...ess adjustment Contrast Panel contrast adjustment Hue Panel hue adjustment Saturation Panel saturation adjustment Sharpness Panel sharpness adjustment Color Opens the color sub menu Color Sub Menu Auto Performs auto color adjustment Color Temp Allow selection of different color temperature schemes predefined and custom Available if color space of input is RGB Full color Selects full received color...
Page 19: ...r optimum image quality input pixels should be sampled at the ideal sampling points Clock This function is a slider to adjust the sample clock of the analogue interface This is helpful for improving the image quality for non standard display modes Position Used to alter placement of the image Move Position Sub Menu Arrows Use arrow keys to move the position of the image on the screen ...
Page 20: ...peakers are not avail able for POS Line monitors Output Sub Menu Speakers Toggles speakers on off Headphone Toggles headphone on off System Menu Input source Sub menu to select input source OSD settings Sub menu for OSD settings Factory reset Sub menu for Factory Reset EDID settings Sub menu for EDID settings FW Revision Firmware revision OSD Revision OSD revision ...
Page 21: ...t DVI HDMI as input signal Auto Scan Enable disable input auto scan OSD Settings Sub Menu Timer Sub menu for timer settings Rotation Sub menu for rotation settings Position Sub menu for image position Transparency Slider to set transparency Timer Sub Menu Timer Selects how many seconds the OSD will remain active after the last use ...
Page 22: ...POS Line Video PME 22 Rotation Sub Menu Rotation Rotates the OSD menu Reset Sub Menu Reset Performs factory reset EDID Write Protect Sub Menu Write protect EDID write protect on off ...
Page 23: ...ons of POS Line Video PIII series Connecting to a PC with VGA cable Connecting to a PC with DVI cable Connecting to a PC with DVI HDMI cable VGA RGB DVI S Video Composite Video USB Touch LED OSD Keyboard RS232 On Off Button Power supply VGA RGB VGA RGB DVI DVI HDMI DVI ...
Page 24: ...onnecting to an external device with Composite Video cable Connecting the Touch to a PC with USB cable for displays with touch sensor only Connecting the Touch to a PC with RS232 cable for Remote OSD only S Video S Video Composite Video Composite Video USB Touch USB RS232 RS232 ...
Page 25: ...lection of input source and fine tuning of various functional parameters like brightness contrast etc The OSD control can either be used to access various functions directly to navigate within the OSD The following two tables provide an overview of the functions Direct functions Key Function Remark Menu Open the OSD menu Open PIP PAP settings Open brightness control Exit Select signal input Power ...
Page 26: ...ture Side by side display of two video sources Tiling Display of a video source on several monitors with mutually non overlapping frames OSD menu Image Settings Menu Scheme Switches between normal sport game cinema vivid presettings Brightness Panel brightness adjustment Contrast Panel contrast adjustment Hue Panel HUE adjustment RGB S Video and Composite only Saturation Panel saturation adjustmen...
Page 27: ...Gain Boost adjustment on red Green Gain Boost adjustment on green Blue Gain Boost adjustment on blue Red Offset Offset level on red Green Offset Offset level on green Blue Offset Offset level on blue Advanced Noise Reduction Sub Menu CCS Mode Changes Cross Color Suppression between off adaptive normal Dynamic NR Changes Dynamic Noise Reduction between low medium high off adaptive High setting may ...
Page 28: ...rlacing between normal off adaptive modes Advanced Film Mode Sub Menu Detection Selection of Video 3 2 Video 2 2 Video 3 2 2 2 off Mode Selection of Normal 3 2 or other future modes Display Settings Menü Aspect Ratio Used to adjust display between full screen panoramic Letter Box Expand Pillar Box and 1 1 PIP PIP sub menu Tiling Tiling sub menu ...
Page 29: ...Enables disables the tiling function If the PIP Mode is PAP Tall or side by side the tiling status will be off and disabled Example 3 by 3 video wall Definition of Horizontal Vertical display position Position 1 2 1 1 1 1 2 1 3 1 2 1 2 2 2 3 2 3 1 3 2 3 3 3 Note Tiling property cannot be used while PAP Tall or Side by Side modes are active If PIP is turned on the PIP image would be displayed on ev...
Page 30: ...gs Menu for RGB Auto Adjust Performs auto adjust function on the image Image Position Image position sub menu Phase Slider to adjust the sampling phase of the analogue interface For optimum image quality input pixels should be sampled at the ideal sampling points Clocks Line Slider to adjust the sample clock of the analogue interface This is help ful for improving the image quality for non standar...
Page 31: ... the OSD horizontally Vertical Flip Flips the OSD vertically Rotation Rotates OSD OSD Zoom Changes OSD size Setup Menu Factory Reset Execute factory reset Speed Mode In graphics mode fast image trans fer is supported Show Menu Of Changes the menu between main image and PIP if the PIP mode is on Input Search Toggles input search on off Auto Brightness Optional Toggles automatic bright ness control ...
Page 32: ...the monitor Passively cooled devices have no moving parts PC specification Please inform yourself current data sheet POS Line large about the details of the PC specification of the IQ Intel Core Atom PC Box The integrated PC is installed in a separate box which can be removed from the display for maintenance purposes The PC box must be plugged into the display for operation The display cannot be o...
Page 33: ...ed from power Unplug the power cable or switch the monitor off with the main power on off switch Remove the safety screw 1 from the PC box Pull carefully at the handle of the PC box 2 and lift the PC box from the bolts To mount the PC box please proceed as follows Make sure that the display is completely disconnected from power Unplug the power cable or switch the monitor off with the main power o...
Page 34: ...erated as stand alone device without display for maintenance purposes This requires an external power supply with cable 12V DC 60 Watt which is available as kit for maintenance order number DS 91 945 Please connect monitor keyboard and mouse before switching on power PC box connectors ...
Page 35: ...m series Connecting to a network using a patch cable Connecting to a PC using a cross over cable Connecting keyboard and mouse with USB cable USB 3 0 1x 2 0 3x LAN 2x Push button VGA RGB Buttonbrightness COM HDMI Power supply On Off Button LAN LAN LAN LAN USB USB ...
Page 36: ...e display on and off If in normal operation push the push button once to shut down the system into sleep mode The panel is switched off If switched off push the push button once to wake up the display Adjusting brightness Using rocker switch can be set the brightness of the backlight Factory default is 80 By pressing up down allows to change the backlight 10 up and down HDMI HDMI VGA RGB VGA RGB T...
Page 37: ...system Windows Embedded This OS is already activated The license key sticker is located on the back side of the display Windows 7 and 10 This OS is not activated The license key sticker is added to the product documentation After switching on the display for the first time Windows will prompt for the key PC Box as separately option The optional POS Line Atom Box DS 91 930 does not have a separate ...
Page 38: ... that routes by which the heat of the processor to a heat sink on the back of the monitor Passively cooled devices have no moving parts PC specification Please inform yourself current data sheet POS Line large about the details of the PC specification of the IQ Intel Core i3 i5 PC Box The integrated PC is installed in a separate box which can be removed from the display for maintenance purposes Th...
Page 39: ...n off switch Remove the safety screw 1 from the PC box Pull carefully at the handle of the PC box 2 and lift the PC box from the bolts 3 To mount the PC box please proceed as follows Make sure that the display is completely disconnected from power Unplug the power cable or switch the monitor off with the main power on off switch Insert the PC box into the bolts 3 Make sure that the round openings ...
Page 40: ...r maintenance purposes This requires an external power supply 12V DC 80 Watt which is available as option order number DS 30 615 Please connect monitor keyboard and mouse before switching on power PC box connectors Pin definition R7B 2 1 4 3 1 4 12V 2 3 GND MIC Speaker Line in 2 x LAN 4 x USB 3 0 DVI VGA COM1 COM2 4 x USB 2 x PS 2 ...
Page 41: ...series Connecting to a network using a patch cable Connecting to a PC using a cross over cable Connecting keyboard and mouse with USB cable USB 3 0 4x 2 0 4x LAN 2x MIC Spk Line in DVI VGA RGB COM 2x PS 2 Power supply Push button On Off Button LAN LAN LAN LAN USB USB ...
Page 42: ... Connecting keyboard and mouse with PS 2 cable Connecting an external monitor with DVI cable Connecting an external monitor with VGA cable Connecting active speakers with audio cable PS 2 DVI DVI VGA RGB VGA RGB Line out Line in ...
Page 43: ... display has been ordered with this option In this case all main board drivers or touch drivers are installed Activating the operating system Windows Embedded This OS is already activated The license key sticker is located on the back side of the display Windows 7 and 10 This OS is not activated The license key sticker is added to the product documentation After switching on the display for the fi...
Page 44: ...rmation carefully Unplug the power cable before exchanging the battery There is a risk of explosion if the battery is not installed correctly Replace the battery always with a battery of the same type Recycle empty batteries with the free battery collection system Please read the chapter Disposal in this document Connectors of POS Line VideoPoster series Connecting to a network using a patch cable...
Page 45: ...POS Line VideoPoster 45 Connecting to a PC using a cross over cable Connecting an USB stick Connecting active speakers Connecting a signal source using a HDMI cable LAN LAN USB Line out Line in HDMI DVI ...
Page 46: ...ss assigned by DHCP server fallback to static IP address 192 168 0 1 if no DHCP server is available in the network Netmask assigned by DHCP server fallback to 255 255 255 0 if no DHCP server is available in the network Hostname Videoposter IV xx xx xx last 6 bytes of the devices MAC address Login Name Artista Password Artista Content auto update off MicroSD Card The Mediaplayer stores its playlist...
Page 47: ...ist Software The following software and accompanying documentation were made available to you by e mail ACC Windows software to create play lists for POS Line VideoPoster devices Use ACC to transfer play lists to VideoPoster and to store play lists on USB sticks for manual transfer ADF Windows software to support installation and configuration of VideoPoster devices Connect your VideoPoster as shi...
Page 48: ...k on Submit Configuration to store the settings and change the configuration Clicking on Reset Configuration deletes all entries in the web page but does not change the configuration Date and Time Enter date time and time zone Enter a network time server for automatic synchronization NTP Content Auto Update To configure automatic content updates with FTP server enter the FTP server access informat...
Page 49: ...lace the battery with another one of the same type Supply empty batteries to the local waste battery return system Please also observe the notes in chapter Disposal Passive cooling Monitors of the POS Line IoT series are equipped with a passive cooling system Passively cooled monitors divert the heat of the processor to the monitor s housing Passively cooled devices have no moving parts Spezificat...
Page 50: ... Line IoT 50 Connecting to a PC using a cross over cable Connecting to an USB stick Connecting active speakers Connecting a signal source using a HDMI cable LAN LAN USB Line out Line in HDMI HDMI HDMI HDMI ...
Page 51: ...y of the compute module It is only used for the first commissioning of the monitors The IoT Monitor can be equipped and programmed by the customer with its own operating system image For this the USB port on the back of the monitor in the connection cover can be used which is located under the OSD menu A guide for the integration of an image can be found on the enclosed DVD or on our homepage http...
Page 52: ...ing software and related documentation ADF A program that simplifies the installation and configuration of HTML players Connect any HTML player in the factory configu ration to the network and start ADF It displays all the HTML players in a list Select the devices one by one and remove the network configuration Configuration of the media player The configuration of the HTML player can work with an...
Page 53: ...software version If you contact our Support please add this page to your E Mail to ensure a fast response Restart Restart Restart of the media player Display of IP address and hostname When booting the HTML player s current IP address and the host name of the HTML player is displayed on the screen for about 5 seconds ...
Page 54: ... Data Display group is not responsible and which includes but is not limited to the following Unauthorized opening or disassembling of the product Faulty maintenance by non observation of maintenance instructions Inappropriate storage or cleaning of the product Unauthorized modification of the product Incorrect use or misuse Non observation of operating and installation instructions Permanent disp...
Page 55: ...ects on warranty Guarantee Processing Group RMA process In order to avoid unnecessary charges it is important to adhere to the RMA regulations Products must be appropriately and professionally packed for a safe return to the Data Display Group Service Centre Products with panel sizes equal or larger then 81 cm 32 must be shipped on pallets in upright position Data Display Group does not assume lia...
Page 56: ...rvice 16 Disposal Disposal of old devices If the acquired Distec product is to be disposed of must be implemented into national law the Directive 2012 19 EU Disposal of batteries Applicable in all countries of the EU and in countries with separate battery collection systems The Batteries in this product should not be disposed with other household waste The chemical symbol Pb CD or Hg indicate that...
Page 57: ...accordance with the instruction manual may cause harmful interference to radio communications Operation of this equipment in a residential area is likely to cause harmful interference in which case the user will be required to correct the interference at his own expense Canadian Department of Communications Compliance Statement This Class A digital apparatus meets all requirements of the Canadian ...