The Piranha XL XDR Camera
•
37
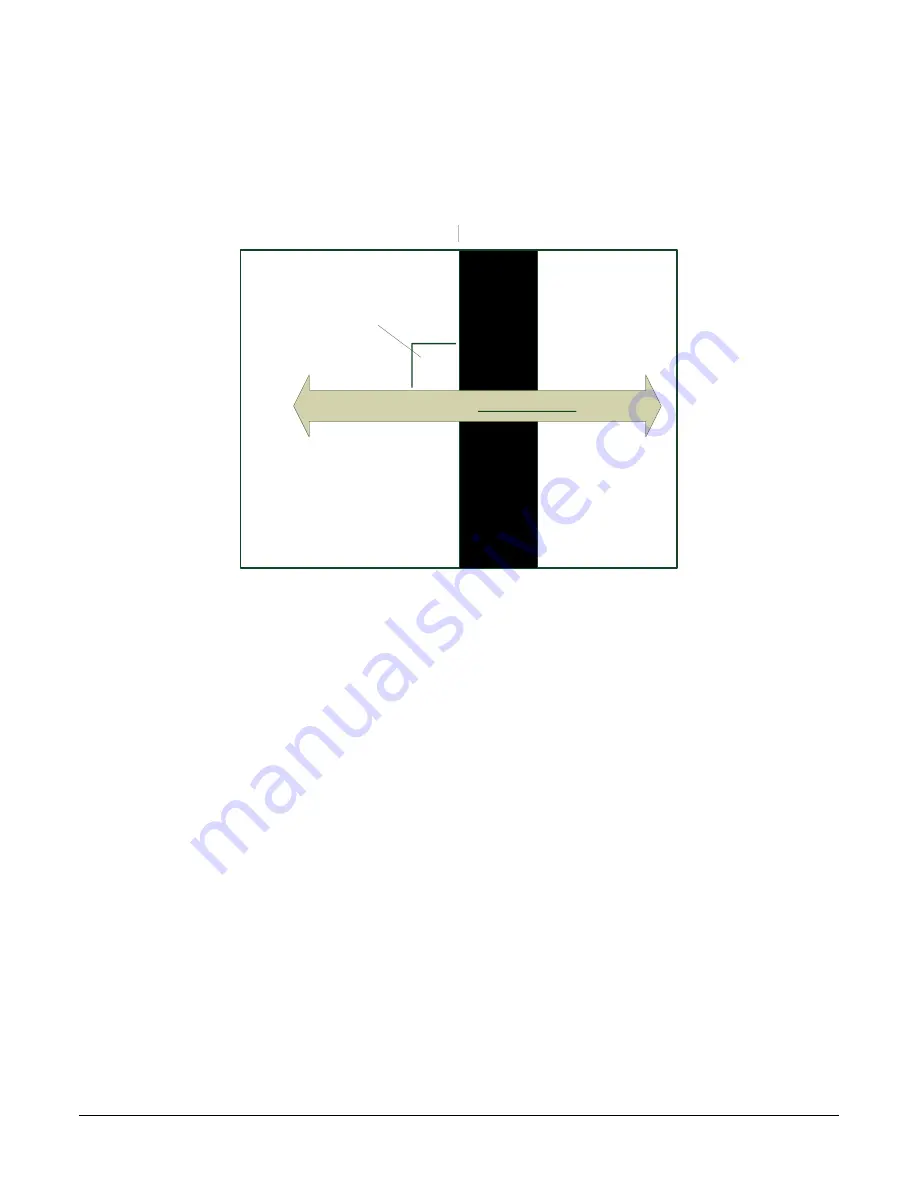
black-to-white single, sharp transition perpendicular to the direction of motion, and is in focus. The
black to white transition should be located at the point where all the cameras are to be optically
aligned.
Motion of Object When Inspecting
Black to White Transition
Perpendicular to Motion
Move Edge into Field of View of
Camera Then Leave Target Stationary
Target for
Camera
Alignment
Note: It is assumed that the camera mounting system has the ability to rotationally adjust the
camera about its central axis and in the scan direction to perform the desired alignment.
•
Select the CamExpert line profile analysis tool.
•
Continue using the camera setup in 12 row mode and continuous imaging.
•
Align the camera such that only the white, fully illuminated portion is being imaged. This
can be determined when rotational and scan direction adjustments of the camera do not
result in changes in the image line profile.
•
Adjust the illumination, exposure time and/or gain to achieve a peak value of approximately
200 DN.
•
Perform a Flat Field calibration with a target of 200 DN.
•
Adjust the camera in the scan direction such that the center of the image is 100 DN. This
will align the black-to-white transition at the center of the FOV to the center rows of the
camera.
•
While watching the line profile, rotate the camera and make both ends of the sensor equal
to the center value. The line transition at the center of the image should not move. If it
does, it means that the camera is not being rotated around its center axis. Adjust the
camera in the scan direction until the center value again reaches 100 DN.
•
When both end of the line profile are equal to the center, then the camera will be aligned
both in the scan direction and rotationally with the black-to-white transition.
•
The accuracy of the adjustment can be increased by using 8 rows. However, this will be
associated with an increase in sensitivity to camera adjustments. Start with 12 rows to get


