


First-Time Power Up
21
10 First-Time Power Up
A laptop is required to communicate with the display. In the ISP enclosure, connect the
red Ethernet cable with the Connect to Laptop tag to an Ethernet port on the laptop.
First-Time Power Up
1�
Loosen the screws that secure the ISP
.
2�
Remove the ISP enclosure cover, including the
lanyard, and set aside.
3�
Install the Modem according to the ISP
schematic. Ensure the modem has power and
is connected to the network switch. Ensure the
webcam is connected to the POE network
switch.
4�
For displays sharing the Internet connection,
connect a Cat5 cable from port 8 on the
network switch of the primary display to port 8
of the network switch on the secondary display.
5�
Turn on site power at the main breaker at the structure
base.
6�
Verify the status lights on the surge suppressor are on.
7�
Check the LED indicators on the equipment in the ISP
enclosure to ensure they are on.
8�
Ensure the DMP-8000 and VIP-5160 LED indicators LEDs
are on. The power light runs steadily and the VIP run
indicator flashes.
9�
Connect a laptop to the red crossover cable in the
ISP enclosure.
10�
Call Daktronics help desk at 1-877-DAK-HELP to verify
connectivity to the display, perform a diagnostics
check, activate the SmartLink
TM
, and perform several
display setting checks. The help desk technician will
ask for the SmartLink
TM
ICCID or MEID number. This
number is located on the bottom of the SmartLink
TM
or on the mezzanine card in the
SmartLink
TM
.
11�
After the help desk verifies the diagnostics is clean and performs their tasks,
disconnect the laptop from the cross-over cable and reinstall the ISP enclosure cover.
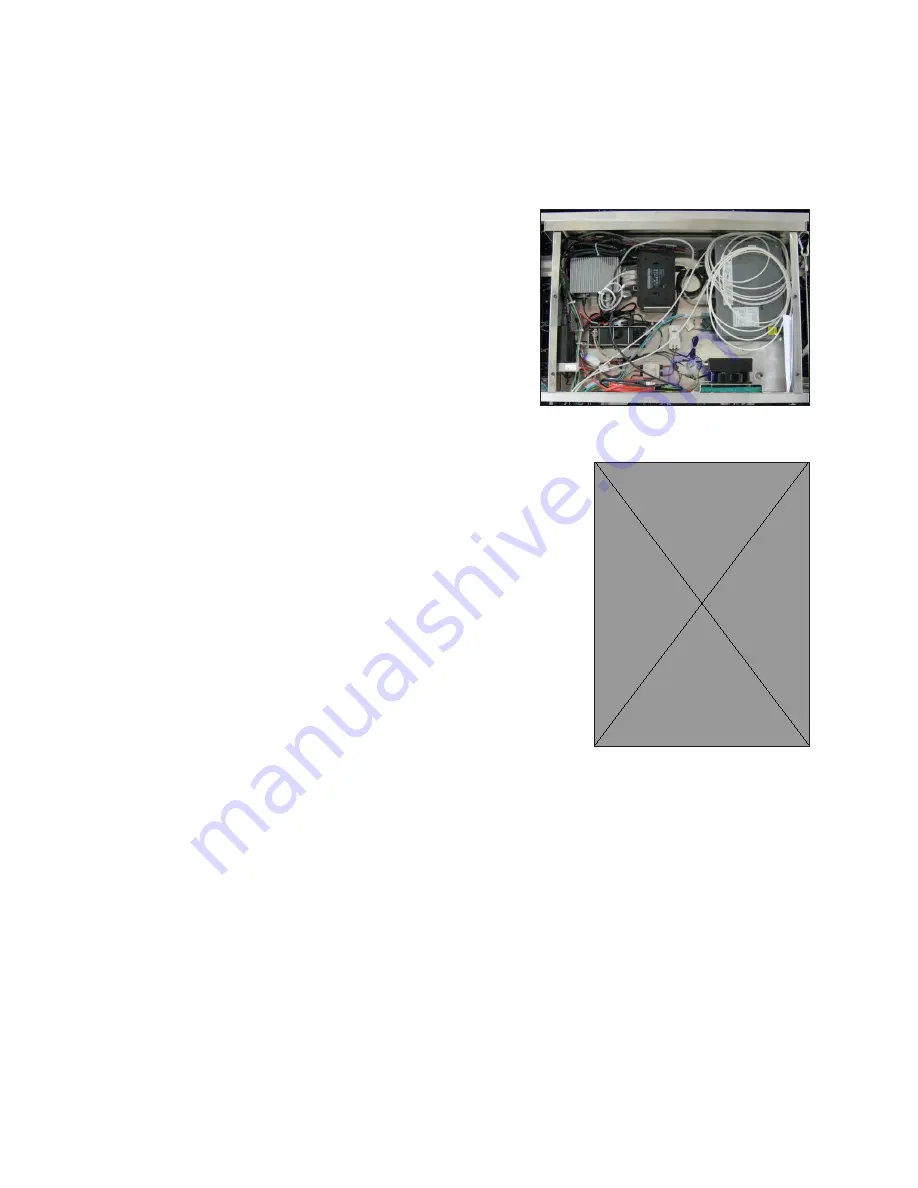
Figure 37:
ISP Box With Cover Removed
Figure 38:
ICCID/MEID Number
on Mezzanine Card


