


50
OWNER'S MANUAL
This the monitor can be set to turn off automatically at specific times that you choose.
Before using the timer, you must set the monitor's clock as described previously.
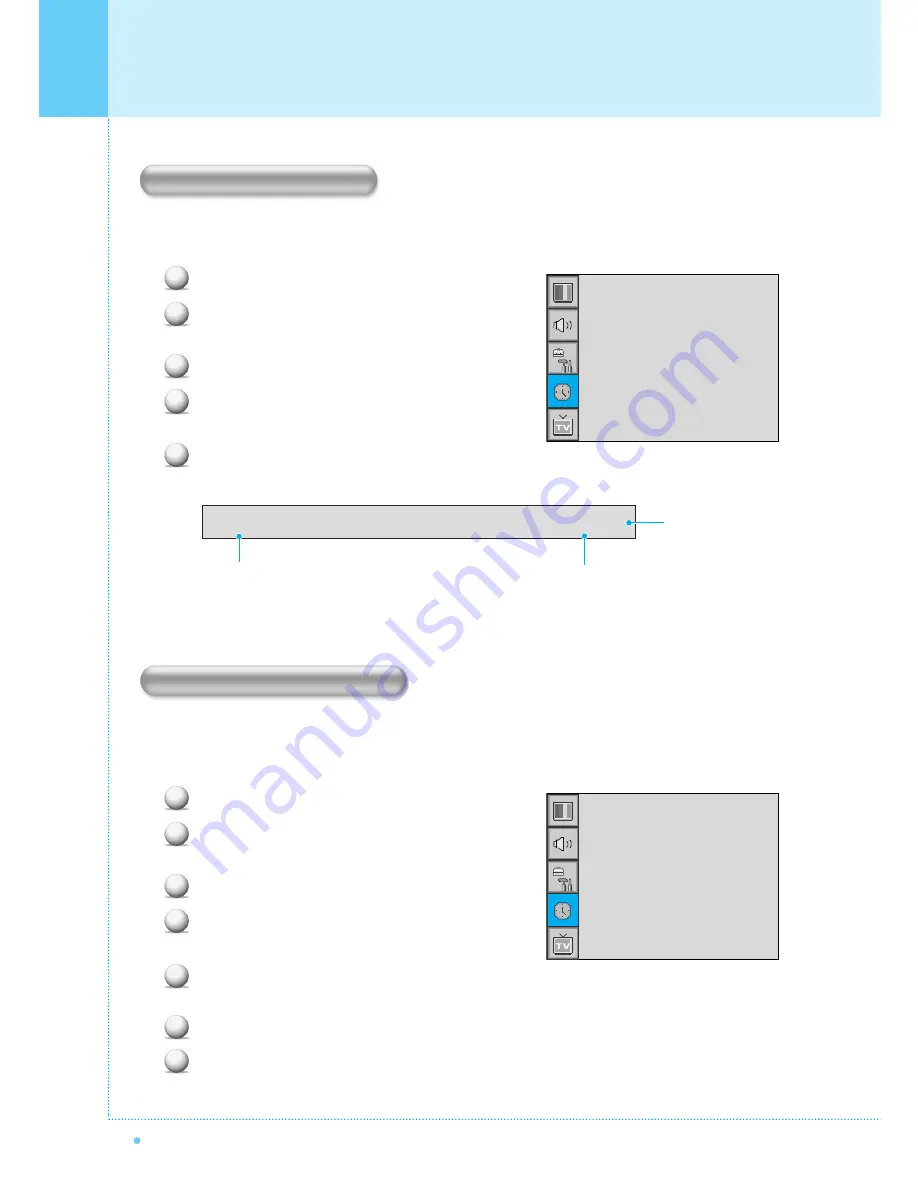
Press Menu/Set button to display the main OSD menu.
Select the Time main menu with PG+/PG- button on
the remote control.
Press Menu/Set button to enter the sub menu.
Select
Off Time
with PG+/PG- button on the remote
control and press VOL+ button.
Move the cursor with VOL+/VOL- button and adjust
time with PG+/PG- button.
You can set your the monitor to automatically turn off after a preset interval.
If you turn off the monitor in the state of setting up sleep time and turn on again, sleep time erased therefore
Setup again. The time period runs from OFF (0min) to 180min. (OFF, 10min, 20, 30, 60, 90, 120, 150, 180)
Press Menu/Set button to display the main OSD menu.
Select the Time main menu. with PG+/PG- button on
the remote control.
Press Menu/Set button to enter the sub menu.
Select
Sleep
with PG+/PG- button on the remote
control and press VOL+ button.
Enter to the
¥
part with VOL+ button. Then the
cursor moves into the
¥
parts.
Set the time period with PG+/PG- button.
Press Back button to return.
Setting the Time
1
2
3
4
5
Setting the Off Time
Setting the Sleep Timer
1
2
3
4
5
6
7
Time Set
On Time
On Channel
On Volume
Off Time
Sleep
AM 03:29
AM 05:11 ON
¥
99
¥
100
AM 05:11 OFF
¥
OFF
Time Set
On Time
On Channel
On Volume
Off Time
Sleep
AM 03:29
AM 05:11 ON
¥
99
¥
100
AM 05:11 OFF
¥
OFF
Off Time
AM 05:11 ON
Activated
Auto power-off time
Item Name


