GB
12
1. Reading an image sequence stored on the microSD card
The detector red LED flashes quickly for 90 s to indicate a new sequence
of recorded images. This notification is repeated up to 10 times in a row
whenever somebody is in front of the detector.
These sequences can be read on the microSD card inserted in a computer
drive.
1.
Disarm the control panel.
2.
Briefly press the detector test button.
3.
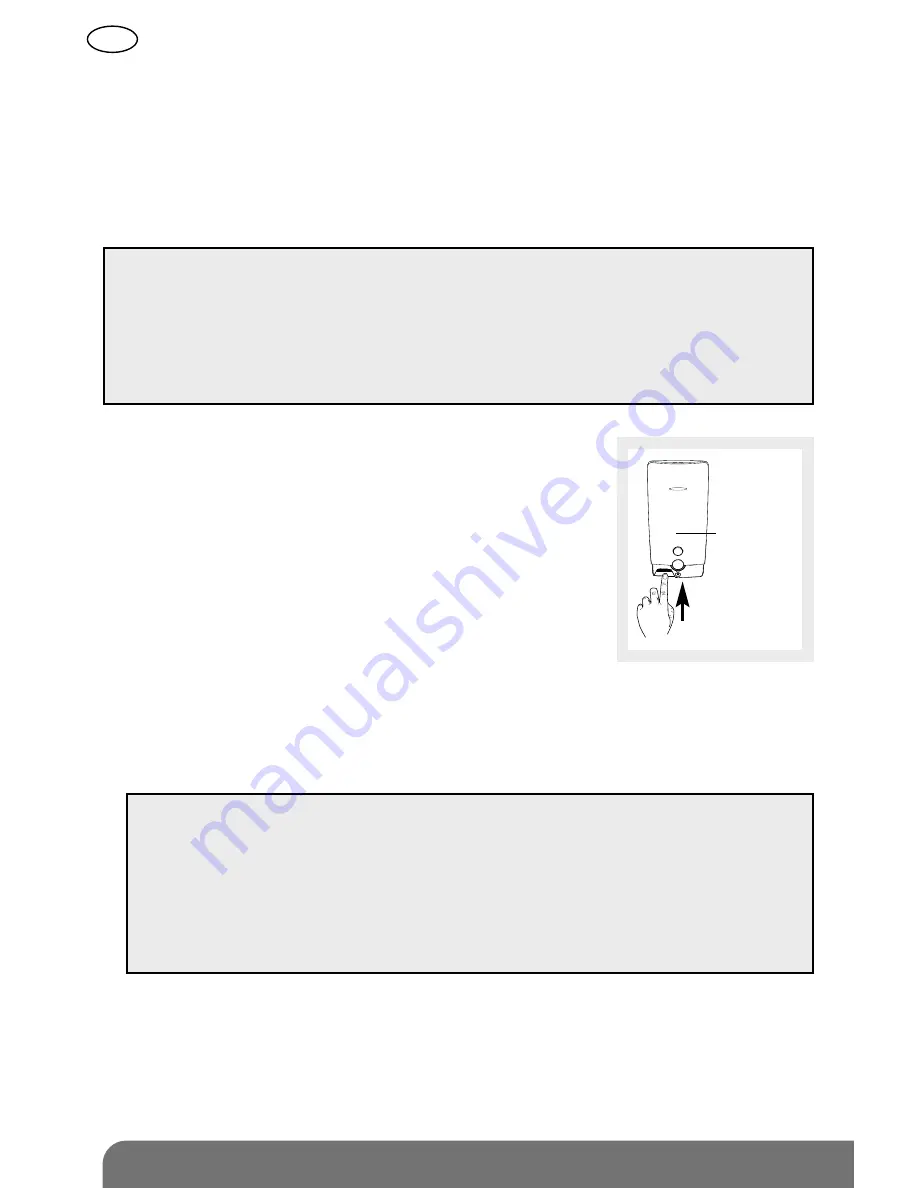
Remove the card from the detector by pushing
it briefly upwards and releasing.
4.
Place the card in the adapter supplied and insert
this in the computer drive.
5.
If this is the first installation, click on “setup.htm”
and follow the instructions in the installation
menus in order to install the software programs
needed to read the recorded image sequences using Windows Media
Player (only do this once while connected to internet).
6.
Click on the films present (.VCR films) on the microSD card in order to
view them with Windows Media Player.
7.
Put the card back in the detector after viewing the recorded image
sequences. The red LED lights up to confirm the microSD card has
been properly inserted.
• It is essential to use the microSD card supplied. Image recording
may not work with another card or that of another detector.
• An internet connection is required when installing the detector
(installation should be performed in one go).
• Windows SX SP2 minimum required – not compatible with other
operating systems such as Mac OS X, Linux, etc.
Red LED
behind
lens
• If reading the film in a 64 bit environment (Windows 7 and over)
is impossible, first open the program “wmplayer.exe” by following
the link: C:\Program Files\Windows Media Player, then select
the film to be read by clicking on “Ouvrir…” (“Open...”) in the menu
“Fichier” (“File”).
• Do not use the program “wmplayer.exe” to be found in “Program
Files (86)”.


