REMOVAL
PROCEDURE
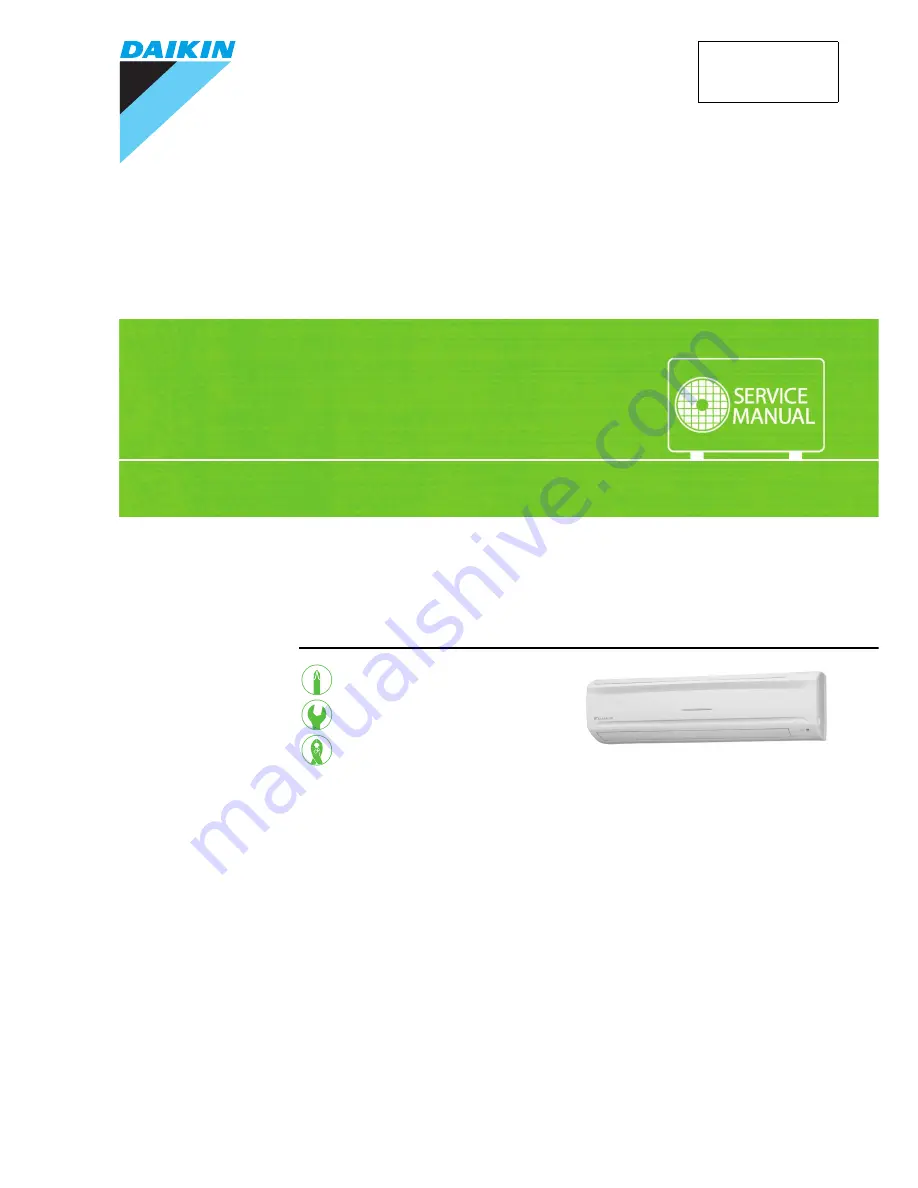
S E R V I C E M A N U A L
Indoor Unit
Inverter
Wall Mounted Type
15000/18000/24000 Btu/h Class
Si04-955
Page 1: ...REMOVAL PROCEDURE S E R V I C E M A N U A L Indoor Unit Inverter Wall Mounted Type 15000 18000 24000 Btu h Class Si04 955...
Page 2: ...Service Manual Removal Procedure Indoor Unit zCooling Only zHeat Pump FTE18JV2S FTXS15HVJU FTXS18HVJU FTE24GV2S FTXS24HVJU...
Page 3: ...Removal of Horizontal Blades Vertical Blades 6 4 Removal of Electrical Box 8 5 Removal of PCBs 10 6 Removal of Swing Motor 13 7 Removal of Indoor Heat Exchanger 14 8 Removal of Fan Rotor Fan Motor 17...
Page 4: ...to confirm the signal reception When the ON OFF button is kept pressed for 5 seconds the forced cooling operation is performed for about 15 minutes 2 Remove the air filters 1 Open the front panel to...
Page 5: ...urifying filter to unfasten the hooks 2 on lower 3 on upper and take the filter out The right and left filters are interchangeable 4 Remove the front panel Slide the front panel side to side to releas...
Page 6: ...ing work Step Procedure Points 1 Remove the service cover Preparation Remove the front panel according to Removal of Air Filters Front Panel 1 Remove the screw of the service cover 2 Pull out the serv...
Page 7: ...f the upper part Refer to the removal procedure in a reverse way when reassembling The convex marks on the front panel indicate the position of the hooks 3 Pull the upper part of the front grille out...
Page 8: ...Release the left shaft of the horizontal blade 3 Bend the horizontal blade slightly and release the 2 center shafts Slide the horizontal blade to the left and release the right shaft There is a key a...
Page 9: ...e methods 2 Remove the vertical blade ASSY 1 Remove the interlocking shaft for the vertical blades 2 Release the 3 hooks with a flat screwdriver and remove the vertical blade ASSY Step Procedure Point...
Page 10: ...arness Preparation Remove the front grille according to Removal of Front Grille 1 Remove the screw and remove the drip proof plate 2 Remove the screw of the earth ground wire and cut the clamp Be care...
Page 11: ...ll the connection wirings 7 Remove the screw and remove the wire clamp 2 Remove the electrical box 1 Remove the screw of the electrical box 2 Lift up the lower part of the electrical box 3 Release the...
Page 12: ...plies before disassembling work Step Procedure Points 1 Remove the screw of the terminal board 2 Release the 3 hooks to remove the shield plate The shield plate also has 2 hooks on the upper side 3 Pr...
Page 13: ...has 3 PCBs From the back side release the 3 hooks to remove the buzzer PCB and release the 2 hooks to remove the display PCB 6 Release the 2 hooks to remove the signal receiver PCB 7 Remove the screw...
Page 14: ...upper hooks to remove the control PCB S1 DC fan motor S6 swing motor for horizontal blades S8 swing motor for vertical blades S26 buzzer PCB S28 signal receiver PCB S32 indoor heat exchanger thermisto...
Page 15: ...ait for 10 minutes or more after turning off all power supplies before disassembling work Step Procedure Points 1 Remove the screw and remove the swing motor for horizontal blades Preparation Remove t...
Page 16: ...connecting the refrigerant pipe If the refrigerant pipe is disconnected with the compressor operating and the stop valve open air may be sucked in and may generate an over pressure in refrigeration cy...
Page 17: ...emove the indoor unit from the installation plate 3 Remove the indoor heat exchanger 1 Unfasten the hook of the piping fixture at the back of the indoor unit and pull out the piping 2 Slightly widen t...
Page 18: ...g the indoor heat exchanger be sure to wear protective gloves or wrap the indoor heat exchanger with cloths You may be injured by the fins 4 Push to release the fixing hooks on the right side 5 Pull t...
Page 19: ...work Step Procedure Points 1 Remove the right side plate 1 Remove the 2 screws of the right side plate You can remove the fan rotor without detaching the right side plate 2 Lift the right side plate a...
Page 20: ...turn 3 Rotate the fan rotor and confirm the fan motor and the fan rotor are installed appropriately 4 Tighten the screw completely if appropriate 5 If not appropriate go back to 1 3 Remove the bearing...
Page 21: ...Step Procedure Points 1 Pull out the drain hose 2 Pull out the drain plug from the left side with pliers 3 Push the drain plug into the right hole with a hexagonal wrench 4 mm Caution Do not push the...
Page 22: ...Revision History Month Year Version Revised contents 02 2013 Si04 955 First edition...
Page 23: ...ies supplied or specified by Daikin Ask a qualified installer or contractor to install those parts and accessories Use of unauthorised parts and accessories or improper installation of parts and acces...