REMOVAL
PROCEDURE
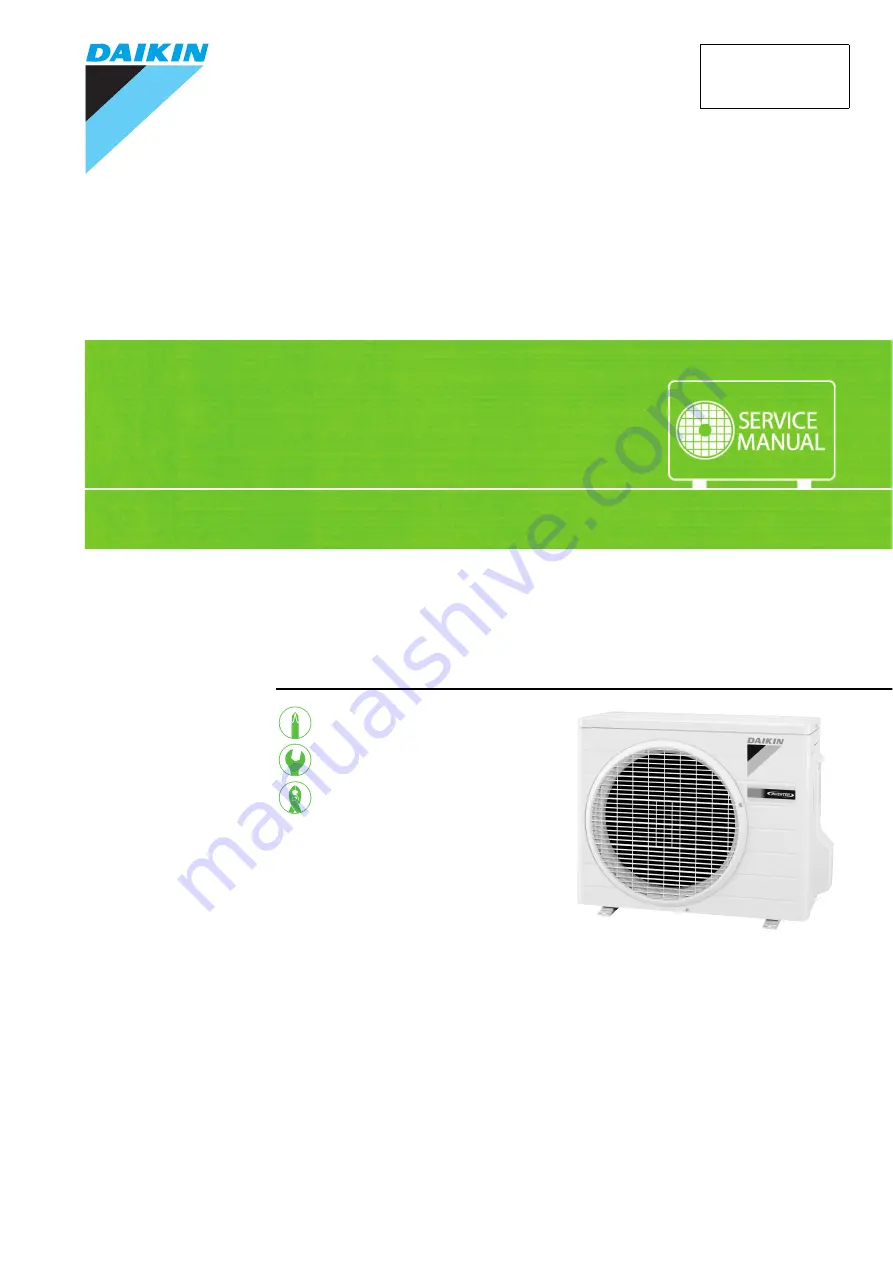
S E R V I C E M A N U A L
1.5 kW Class
Outdoor Unit
Inverter
Pair Type
Si001159
Page 1: ...REMOVAL PROCEDURE S E R V I C E M A N U A L 1 5 kW Class Outdoor Unit Inverter Pair Type Si001159...
Page 2: ...Service Manual Removal Procedure Outdoor Unit Applicable Model zCooling Only RK15KEVM...
Page 3: ...1 Table of Contents 1 Removal of Outer Panels 2 2 Removal of Outdoor Fan Fan Motor 4 3 Removal of Electrical Box PCBs 6 4 Removal of Sound Blankets 19 5 Removal of Electronic Expansion Valve ASSY 21...
Page 4: ...work Step Procedure Points 1 Appearance features Take care not to cut your finger by the fins of the outdoor heat exchanger 2 Remove the panels The stop valve cover is united with the shield plate Whe...
Page 5: ...move the 5 screws of the front panel 4 Lift up the left side and unfasten the hooks 5 Unfasten the right side hooks and remove the front panel 6 7 Remove the 4 screws of the discharge grille Unfasten...
Page 6: ...the outdoor fan Preparation Remove the panels according to the Removal of Outer Panels Nut size M6 1 2 Remove the nut of the outdoor fan Remove the outdoor fan When reassembling align mark of the out...
Page 7: ...n reassembling put the fan motor lead wire through the back of the fan motor so as not to be entangled with the outdoor fan 4 Release the fan motor lead wire from the hooks 5 Remove the 3 screws to re...
Page 8: ...ower supplies before disassembling work Step Procedure Points 1 Remove the right side panel Preparation Remove the panels according to the Removal of Outer Panels 1 Unhook the outdoor temperature ther...
Page 9: ...moval Procedure 7 4 Remove the 3 screws and remove the wire clamp 5 Remove the screw on the rear side of the right side panel 6 Remove the 4 screws on the right side panel Step Procedure Points R14783...
Page 10: ...edure 7 Unfasten the hook on the rear side When reassembling make sure to fit the hook 8 Unfasten the hook above the electrical box 9 Unfasten the hook and remove the right side panel Step Procedure P...
Page 11: ...ure for thermistor When reassembling do not insert the thermistor up to the dent of fixture 1 Release the discharge pipe thermistor 2 Release the outdoor heat exchanger thermistor 3 Cut the upper clam...
Page 12: ...10 Removal Procedure 4 Cut the lower clamp 5 Lift the hook with a flat screwdriver and remove the electronic components mounting plate 6 Release the harnesses Step Procedure Points R14792 Electronic...
Page 13: ...r for the thermistors S90 S90 outdoor temperature thermistor outdoor heat exchanger thermistor discharge pipe thermistor 8 Remove the thermistor ASSY 3 Remove the electrical box 1 Disconnect the conne...
Page 14: ...otor 3 Release the harnesses from the hook 4 Disconnect the connector for the electronic expansion valve coil S20 5 Unfasten the hook of the electrical box from the partition plate with a flat screwdr...
Page 15: ...6 Lift and remove the electrical box 4 Remove the control PCB 1 Disconnect the 2 terminals of the reactor 2 Pull out the terminals from the terminal board Step Procedure Points Electrical box R14802...
Page 16: ...9 14 Removal Procedure 3 Cut the clamp 4 Remove the 3 screws and remove the reactor 5 Disconnect the 3 connectors for the filter PCB S10 HN3 HL3 6 Release the harnesses Step Procedure Points R14805 Re...
Page 17: ...ical Box PCBs Removal Procedure 15 7 Remove the 5 screws of the control PCB 8 Remove the screw of the earth wire 9 Remove the plate with a flat screwdriver 10 Remove the screw Step Procedure Points R1...
Page 18: ...ontrol PCB 13 Feature of the control PCB S10 HN3 HL3 filter PCB S20 electronic expansion valve coil S40 overload protector S70 fan motor S90 thermistors 5 Remove the filter PCB 1 Cut the clamp 2 Relea...
Page 19: ...Si001159 Removal of Electrical Box PCBs Removal Procedure 17 3 Remove the screw 4 Unfasten the 2 hooks Step Procedure Points R14815 R14816 R14817...
Page 20: ...Removal of Electrical Box PCBs Si001159 18 Removal Procedure 5 Release the harnesses 6 Remove the filter PCB Step Procedure Points R14818 R14819 Filter PCB...
Page 21: ...more after turning off all power supplies before disassembling work Step Procedure Points 1 Remove the partition plate 1 Remove the 3 screws 2 The partition plate has a hook on the lower side Lift an...
Page 22: ...he sound blanket are torn easily remove the blanket carefully 1 Lift and remove the sound blanket top 2 Pull the sound blankets outer and inner 2 out 3 Pull the sound blanket inner 1 out Step Procedur...
Page 23: ...the electronic expansion valve because it contains plastic parts They may melt with heat and cause operation failure Replace the whole assembly Caution Do not directly heat the electronic expansion va...
Page 24: ...ing work Step Procedure Points 1 Remove the peripheries 1 Remove the terminal cover 2 Remove the protection bushing 3 Disconnect the terminals of the compressor 4 Remove the overload protector 5 Remov...
Page 25: ...y with gas brazing machine 1 Disconnect the brazed part where is easy to disconnect and restore 2 Cut pipes on the main unit with a tube cutter in order to make it easy to disconnect Before working ma...
Page 26: ...Revision History Month Year Version Revised contents 08 2012 Si001159 First edition...
Page 27: ...ries supplied or specified by Daikin Ask a qualified installer or contractor to install those parts and accessories Use of unauthorised parts and accessories or improper installation of parts and acce...