


9
English
SPECIAL PRECAUTIONS WHEN CHARGING UNIT WITH
SCROLL COMPRESSORS
These precautions are intended for use with Scroll compressors only with R22, R407C, R134A, R404A, R507 and R410A refriger-
ants but are not applied to other compressors.
Scroll compressors have a very high volumetric efficiency and quickly pump a deep vacuum if there is insufficient refrigerant in the
system or if refrigerant is added too slowly. Operation with low suction pressure will quickly lead to very high discharge tempera-
tures. While this process is happening, the scrolls are not being well lubricated – scrolls depend on the oil mist in the refrigerant for
lubrication. A lack of lubrication leads to high friction between the scroll flanks and tips and generates additional heat. The combina-
tion of heat of compression and heat from increased friction is concentrated in a small localized discharge area where temperatures
can quickly rise to more than 300
˚
C. These extreme temperatures damage the Scroll spirals and the orbiting Scroll bearing. This
damage can occur in less than one minute especially on larger compressors. Failure may occur in the first few hours or the damage
done during field charging may show up some time later.
Other typical field charging problems include undercharging, overcharging, moisture or air in the system etc. In time each one of
these problems can cause compressor failure.
Minimal equipment is required for field charging. The minimum equipment required to do a satisfactory job is:-
Set of service gauges
Vacuum gauge
Hoses
Scales
Vacuum pump
Thermometer
The proper refrigerant charge should follow the volume as recommended by manufacturer and recommendation should be followed
by the installer.
1. Charging procedures – Single phase compressors
Evacuate the system to 500 microns Hg. (67Pa). To reduce evacuation time, use short, large diameter hoses and connect to
unrestricted service ports on the system. Quality of vacuum cannot be determined by time – a reliable vacuum gauge must be
used. (etc. electronic vacuum gauge)
Turn the refrigerant cylinder upside down, purge the charging hose and charge liquid through the liquid line charging port until
refrigerant no longer flows or until the correct charge has been weighed in. If additional charge is required start the system and
slowly bleed liquid into the suction side until the system is full.
Scroll compressor manufacturer recommends charging liquid in a CONTROLLED manner into the suction side until the
system is full
. This recommendation does not hold true for other compressors where liquid charging into the suction side could
cause severe damage.
Carefully monitor the suction and discharge pressures – ensure that the suction pressure does not fall below 25 psig (1.7 bar) at
any time during the charging process.
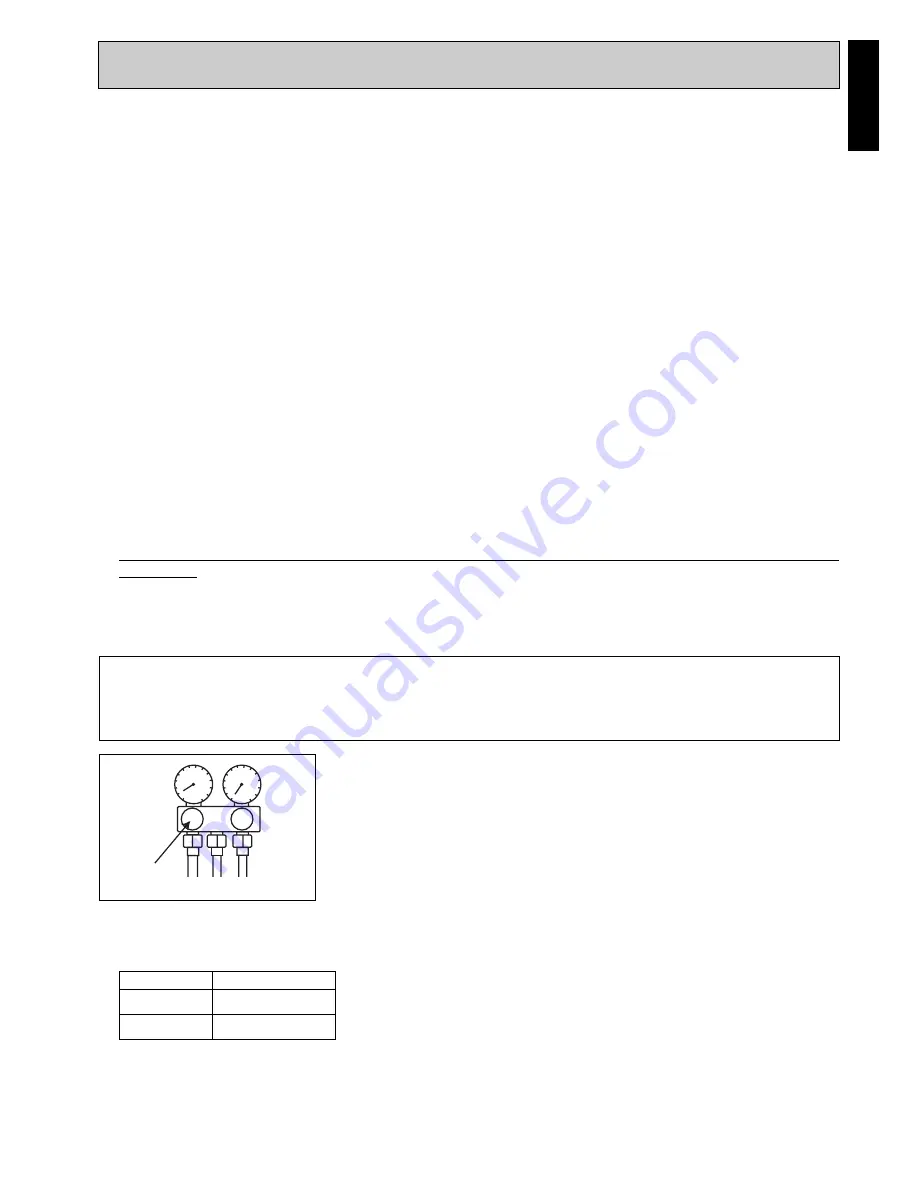
•
Manifold Gauge will show cylinder pressure rather than suction pressure if the cylinder valve and Manifold valve
“A” are both open.
!
CAUTION
There are many ways of charging liquid in a “controlled manner” into the suction side:-
1. Use valve A on the manifold gauge set
2. Use the valve on the refrigerant cylinder
3. Charge through a Shredder valve
4. Use a hose with a Shredder valve depressor
5. Charge into the suction side at some distance from the compressor
6. All of the above
2. Charging procedures – Three phase compressors
The fundamental procedure is the same as for single phase models but the compressor can run in the wrong direction on starting.
If this happens reverse any two phases and start again. Short term reverse rotation will not damage the compressor.
A
Outdoor
Compressor Type
RY30-80
Rotary
RY100-160
Scroll


