8 Configuration
Installer reference guide
42
ERLQ004~0 EHVH/X04+0 EHVH/X08S26CA
Daikin Altherma - Low Temperature Split
4P313775-1C – 2012.11
2
3
4
5
H
J
S
T
8.1.2
To access the most used commands
To access the installer settings
1
Set the user permission level to Installer.
2
Go to [A]:
> Installer settings.
To access the overview settings
1
Set the user permission level to Installer.
2
Go to [A.8]:
> Installer settings > Overview settings.
To set the user permission level to Installer
1
Go to [6.4]:
> Information > User permission level.
2
Press
for more than 4 seconds.
Result:
is displayed on the home pages.
3
If you do NOT press any button for more than 1 hour or press
again for more than 4 seconds, the installer permission level
switches back to End user.
To switch between user permission levels
(End user and Advanced end user)
1
Go to [6] or any of its submenus:
> Information.
2
Press
for more than 4 seconds.
Result:
The user permission level switches to Adv. end user.
Additional information is displayed and "+" is added to the menu
title.
3
If you do NOT press any button for more than 1 hour or press
again for more than 4 seconds, the user permission level
switches back to End user.
8.1.3
To copy the system settings from the first
to the second user interface
If an optional user interface is connected, the installer must first
proceed below instructions for the proper configuration of the two
user interfaces.
This procedure offers you also the possibility to copy the language
set from one user interface to the other one: e.g. from EKRUCAL2 to
EKRUCAL1.
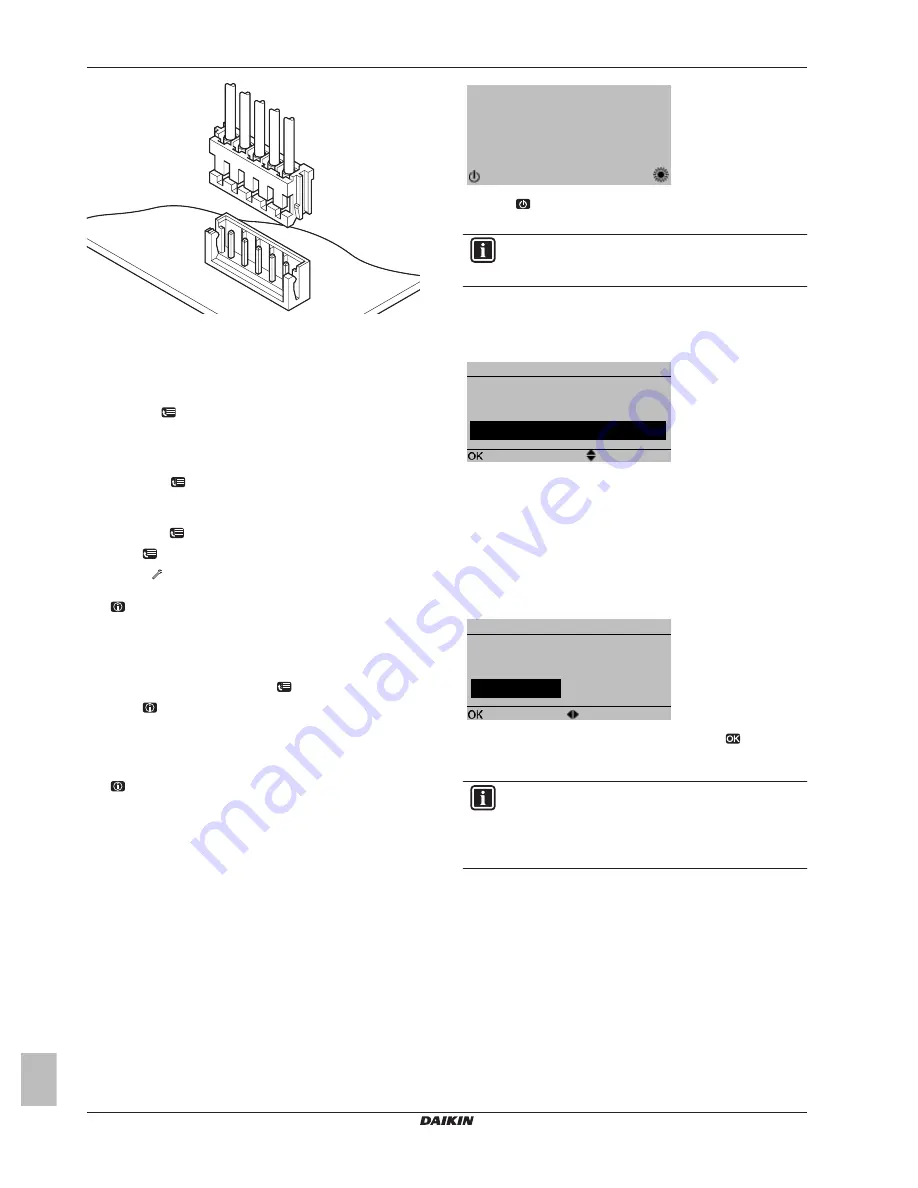
1
When power is turned on for the first time, both user interfaces
display:
15:10
Tue
U5: Auto adress
Push 4 sec. to continue
2
Push
for 4 sec. on the user interface on which you want to
proceed to the quick wizard.
INFORMATION
During the quick wizard, the second user interface displays
Busy and will not be possible to operate.
3
The quick wizard will guide you.
4
For proper operation of the system, the local data on the two
user interfaces must be the same. If this is not the case, both
user interfaces will display:
Synchronization
Confirm
Data difference detected.
Please select action:
Adjust
Send data
5
Select the required action:
▪ Send data: the user interface you are operating contains the
correct data and the data on the other user interface will be
overwritten.
▪ Receive data: the user interface you are operating doesn’t
contain the correct data and the data on the other user
interface will be used to overwrite.
6
The user interface requests confirmation if you are sure to
proceed.
Start copy
Confirm
Are you sure you want to
start the copy operation?
Adjust
OK
Cancel
7
Confirm the selection on the screen by pushing
and all data
(languages, schedules etc.) will be synchronised from the
selected source user interface to the other one.
INFORMATION
▪ During the copying, both controllers display Busy and
will not be possible to operate. Please do not power off
or disconnect the user interface.
▪ The copy operation can take uptil 90 minutes.
8
Your system is now set to be operated by the two user
interfaces.
8.1.4
To copy the language set from the first to
the second user interface
See "8.1.3 To copy the system settings from the first to the second
user interface" on page 42.
8.1.5
Quick wizard: Set the system layout after
first power ON
After first power ON of the system, you are guided on the user
interface to do initial settings:
▪ language,
Summary of Contents for ERLQ004~008CAV3
Page 111: ......


